Love this? Save it for later!
Share the inspiration with your friends
“I never thought a picnic cooler could turn into a battle zone,” I confessed to my friend while we sat under the shade of a scraggly beach umbrella last summer. The sun was relentless, the sand was scorching, and my perfectly packed snacks? Melting into gooey, sticky messes before we even hit the sand. Honestly, the kids were less than thrilled, and I was scrambling to find something edible that didn’t require a napkin the size of a beach towel.
That chaotic afternoon sparked a mission that quickly became my go-to for all beach days: perfect no-melt beach day snacks kids will love. You know that feeling when you want your little ones to enjoy their treats without turning them into a sticky, sandy disaster? Yeah, I’ve been there. I mean, who wants to wrestle a melting chocolate bar or a dripping sandwich in the blazing sun?
What makes this recipe collection so special is that it’s not just about beating the heat — it’s about making snack time easy, fun, and mess-free for both kids and grown-ups. The idea came from a surprisingly casual conversation with a local mom at the farmer’s market, who swore by these simple, homemade snacks that stayed solid no matter how hot it got. Since that day, these snacks have been a staple in our beach bag, picnic basket, and even after-school munchies.
So, if you’re tired of soggy sandwiches and sticky fingers, you’re going to love these beach day snacks that hold up under the sun and keep everyone smiling. Let me tell you, these recipes have saved many of my outings from snacktime meltdowns — and I’m betting they’ll do the same for you.
Why You’ll Love This Recipe
After testing countless snack ideas under the glaring sun, I can confidently say these perfect no-melt beach day snacks kids will love are a game changer. Here’s why they’ve quickly become my top pick for sunny outings:
- Quick & Easy: Whip up these snacks in under 30 minutes—ideal for busy mornings or last-minute beach trips.
- Simple Ingredients: No need for fancy or hard-to-find items; most are pantry staples you probably already have.
- Perfect for Outdoor Fun: Great for beach days, picnics, or even long car rides where melting treats are a no-go.
- Crowd-Pleaser: Kids (and adults!) keep asking for more, making snack time a breeze instead of a battle.
- Unbelievably Delicious: The texture and flavor combo hits that sweet spot between satisfying and refreshing.
What really sets these snacks apart is the clever twist on traditional favorites—like using dried fruits and nuts in place of juicy fillers or creating no-bake bars that stay firm in the heat. The balance of flavors is spot on, with just enough sweetness without being overpowering. Honestly, the first time I made these, I thought, “Why didn’t I think of this years ago?”
They’re not just snacks; they’re little bundles of sunshine that keep energy up and mess down. Whether you’re packing for a summer camp day or a lazy beach afternoon, these recipes will make your snack bag the star of the shore.
What Ingredients You Will Need
This recipe collection uses straightforward, wholesome ingredients that combine to deliver flavor and staying power. Most are easy to find year-round and require minimal prep—perfect for quick assembly before heading out.
- For the No-Melt Energy Bars:
- Rolled oats (gluten-free if needed) – the chewy base that holds everything together
- Natural peanut butter or almond butter (creamy, unsweetened preferred) – adds richness and binds the bars
- Honey or maple syrup – natural sweetener that keeps bars moist yet firm
- Chopped dried apricots or cranberries – for bursts of sweet-tart flavor
- Sunflower seeds or pumpkin seeds – for crunch and nutrition
- Mini chocolate chips (optional, use heat-stable varieties) – for a little indulgence without melting
- For the Savory Snack Mix:
- Air-popped popcorn – light and perfect for munching
- Roasted chickpeas (store-bought or homemade) – protein-packed crunch
- Seaweed snacks (small sheets) – a fun, salty twist
- Dried sea salt and smoked paprika – seasoning that wakes up the taste buds
- For the Fruit & Nut Skewers:
- Seedless grapes and cherry tomatoes – juicy but firm, less messy
- Cheese cubes (firm varieties like cheddar or gouda) – hold shape well in heat
- Whole almonds or cashews – adds texture and keeps kids busy chewing
I tend to pick Justin’s almond butter for that smooth texture and a trustworthy flavor. When choosing dried fruits, look for varieties without added sugars or preservatives — it keeps things clean and natural. If you want a gluten-free option, rolled oats labeled gluten-free work perfectly.
Equipment Needed
Most of the gear needed for these snacks are kitchen basics, so no need for fancy gadgets. Here’s what you’ll want on hand:
- Mixing bowls (various sizes) – I like using glass bowls for easy cleanup.
- Baking sheet lined with parchment paper – for shaping bars and roasting chickpeas.
- Sharp knife and cutting board – essential for chopping dried fruit and cheese cubes.
- Measuring cups and spoons – accuracy helps keep the bars consistent.
- Skewers or small wooden sticks – perfect for assembling fruit and nut skewers.
- Food processor (optional) – speeds up chopping and blending but not necessary.
If you don’t have a food processor, no worries. A good knife and some patience do the trick. For roasting chickpeas, a sturdy baking sheet works better than a flimsy one to keep even heat. Parchment paper is your friend here; it prevents sticking and reduces cleanup time.
Preparation Method
-
Prepare the No-Melt Energy Bars:
Start by preheating your oven to 350°F (175°C). In a large bowl, mix 2 cups (160g) of rolled oats with 1 cup (250g) of your chosen nut butter and 1/3 cup (80ml) honey or maple syrup until combined. Stir in 1/2 cup (70g) chopped dried apricots, 1/4 cup (35g) sunflower seeds, and 1/4 cup (45g) mini chocolate chips if using. Press mixture firmly into a parchment-lined 8×8-inch baking pan. Bake for 12-15 minutes or until edges turn golden. Let cool completely before cutting into bars. (Pro tip: Press firmly to avoid crumbly bars!)
-
Make the Savory Snack Mix:
While bars bake, toss 4 cups (32g) air-popped popcorn with 1 cup (150g) roasted chickpeas. Sprinkle with 1 tsp sea salt and 1/2 tsp smoked paprika. Mix well and store in an airtight container. This mix holds beautifully in the heat and keeps kids happily crunching.
-
Assemble Fruit & Nut Skewers:
Thread seedless grapes, cherry tomatoes, cheese cubes (about 1/2-inch pieces), and whole almonds onto wooden skewers, alternating for color and texture. Aim for about 4-5 items per skewer. These are refreshing, easy to eat, and no-mess, which is a total win on the beach.
-
Pack and Store:
Place bars and skewers in a cooler with ice packs. Keep the savory snack mix in a separate container to maintain crunch. When you hit the sand, everything stays firm and ready to munch. (Side note: I once forgot the ice packs and learned the hard way that these snacks are best kept cool, especially on scorching days.)
Cooking Tips & Techniques
Honestly, the trick to perfect no-melt beach day snacks is all about ingredient balance and smart prep. Here are a few tips I swear by:
- Choose the right nut butter: Creamy but not oily varieties work best; natural nut butters with oil separation can make bars greasy and prone to melting.
- Press bars firmly: This helps them hold together without crumbling under the sun’s heat.
- Skip fresh fruit in bars: Fresh fruit adds moisture that can cause melting and sogginess—dried fruit is your friend here.
- Roast chickpeas well: A crisp roast prevents them from getting chewy or soft, and adds satisfying crunch.
- Keep cheese cubes small and firm: Smaller chunks stay cooler and less likely to sweat, especially firm cheeses like gouda or cheddar.
- Pack smart: Use separate containers for wet and dry items to avoid sogginess and keep everything fresh longer.
I once tried mixing fresh berries into the bars, and let me tell you, they turned into a sticky mess within minutes. Lesson learned! Also, timing your prep the night before helps flavors meld and cuts down morning stress. And if you’re short on time, no-bake bars are a solid shortcut.
Variations & Adaptations
Feel free to make these no-melt snacks your own! Here are a few ways to switch things up:
- Gluten-Free: Use certified gluten-free oats and swap regular soy sauce in snack mix for a gluten-free tamari alternative.
- Nut-Free: Replace nut butters with sunflower seed butter and use pumpkin seeds instead of nuts on skewers.
- Sweet Twist: Add coconut flakes or use dried mango in bars for tropical vibes that kids adore.
- Spicy Kick: Toss a pinch of cayenne or chili powder into the savory mix for older kids who like a little heat.
- Vegan Options: Swap honey for maple syrup and use dairy-free cheese cubes or omit cheese on skewers.
My personal favorite variation includes swapping in chopped dried cherries and adding a dash of cinnamon to the bars—it adds a subtle warmth that feels cozy even on hot days. I once made a vegan version with coconut yogurt-based cheese cubes that surprised everyone at the picnic!
Serving & Storage Suggestions
These snacks are best enjoyed chilled or at room temperature. I recommend serving the energy bars straight from the cooler for that perfect firm bite, while the fruit and nut skewers are refreshing when slightly cold but not frozen.
Pair these with a crisp lemonade or iced herbal tea to keep everyone hydrated and happy. They also complement light sandwiches or crispy garlic chicken if you’re planning a full beachside meal.
For storage, keep energy bars wrapped individually in parchment or plastic wrap inside an airtight container in the fridge for up to 5 days. The savory snack mix should be stored in a sealed jar or bag at room temperature, while the skewers are best consumed within a day or two and kept refrigerated until serving.
When reheating bars (if you want them softer), a quick 10-second zap in the microwave works wonders. But honestly, they’re designed to stay delightfully firm—perfect for avoiding sticky hands covered in sand!
Nutritional Information & Benefits
These snacks pack a solid nutritional punch while staying light and kid-friendly. Each energy bar provides roughly 150-180 calories, with a good balance of protein, fiber, and healthy fats from the nut butter and seeds. Dried fruits offer natural sugars and antioxidants, making the bars a wholesome energy boost.
The savory snack mix offers fiber and protein thanks to chickpeas and seeds, helping keep little tummies satisfied longer. Cheese cubes and nuts add calcium and essential healthy fats, supporting growing bodies.
These recipes are naturally gluten-free if you choose certified oats and ingredients, and can be adapted easily for vegan or nut-free diets. They’re also free from artificial colors, flavors, and preservatives, making them a smart choice for mindful parents looking for clean, homemade options.
Conclusion
If you’re tired of the usual sticky, melty mess at beach snack time, these perfect no-melt beach day snacks kids will love are your new best friend. They’re simple, tasty, and hold up like champs under the sun. Honestly, I love that I can pack these with confidence and spend more time enjoying the waves and less time managing snack disasters.
Feel free to tweak the ingredients and flavors to match your family’s favorites. Maybe add a little extra cinnamon or swap in sun-dried tomatoes for a savory spin—it’s all about making snack time a joy, not a chore.
Try these recipes on your next beach outing and let me know how they turn out! I’d love to hear your twists or any fun no-melt snack ideas you’ve discovered. Happy snacking and sunny days ahead!
FAQs
What makes these snacks “no-melt” for the beach?
The recipes focus on ingredients that don’t melt easily, like dried fruits, firm cheeses, and no-bake bars with nut butters instead of chocolate or fresh fruits that get soggy in heat.
Can I prepare these snacks ahead of time?
Absolutely! Most can be made the day before and stored in airtight containers or the fridge, making morning prep quick and stress-free.
Are these snacks suitable for kids with nut allergies?
Yes! You can substitute nut butters with seed butters like sunflower seed butter, and use seeds instead of nuts on skewers to keep them safe.
How should I store these snacks on a hot day?
Keep energy bars and skewers chilled in a cooler with ice packs. Store snack mix at room temperature in a sealed container to maintain crunch.
Can I freeze any of these snacks?
Energy bars freeze well wrapped tightly and thaw quickly at room temperature. Skewers and snack mix are best fresh but can be refrigerated for short-term storage.
Pin This Recipe!
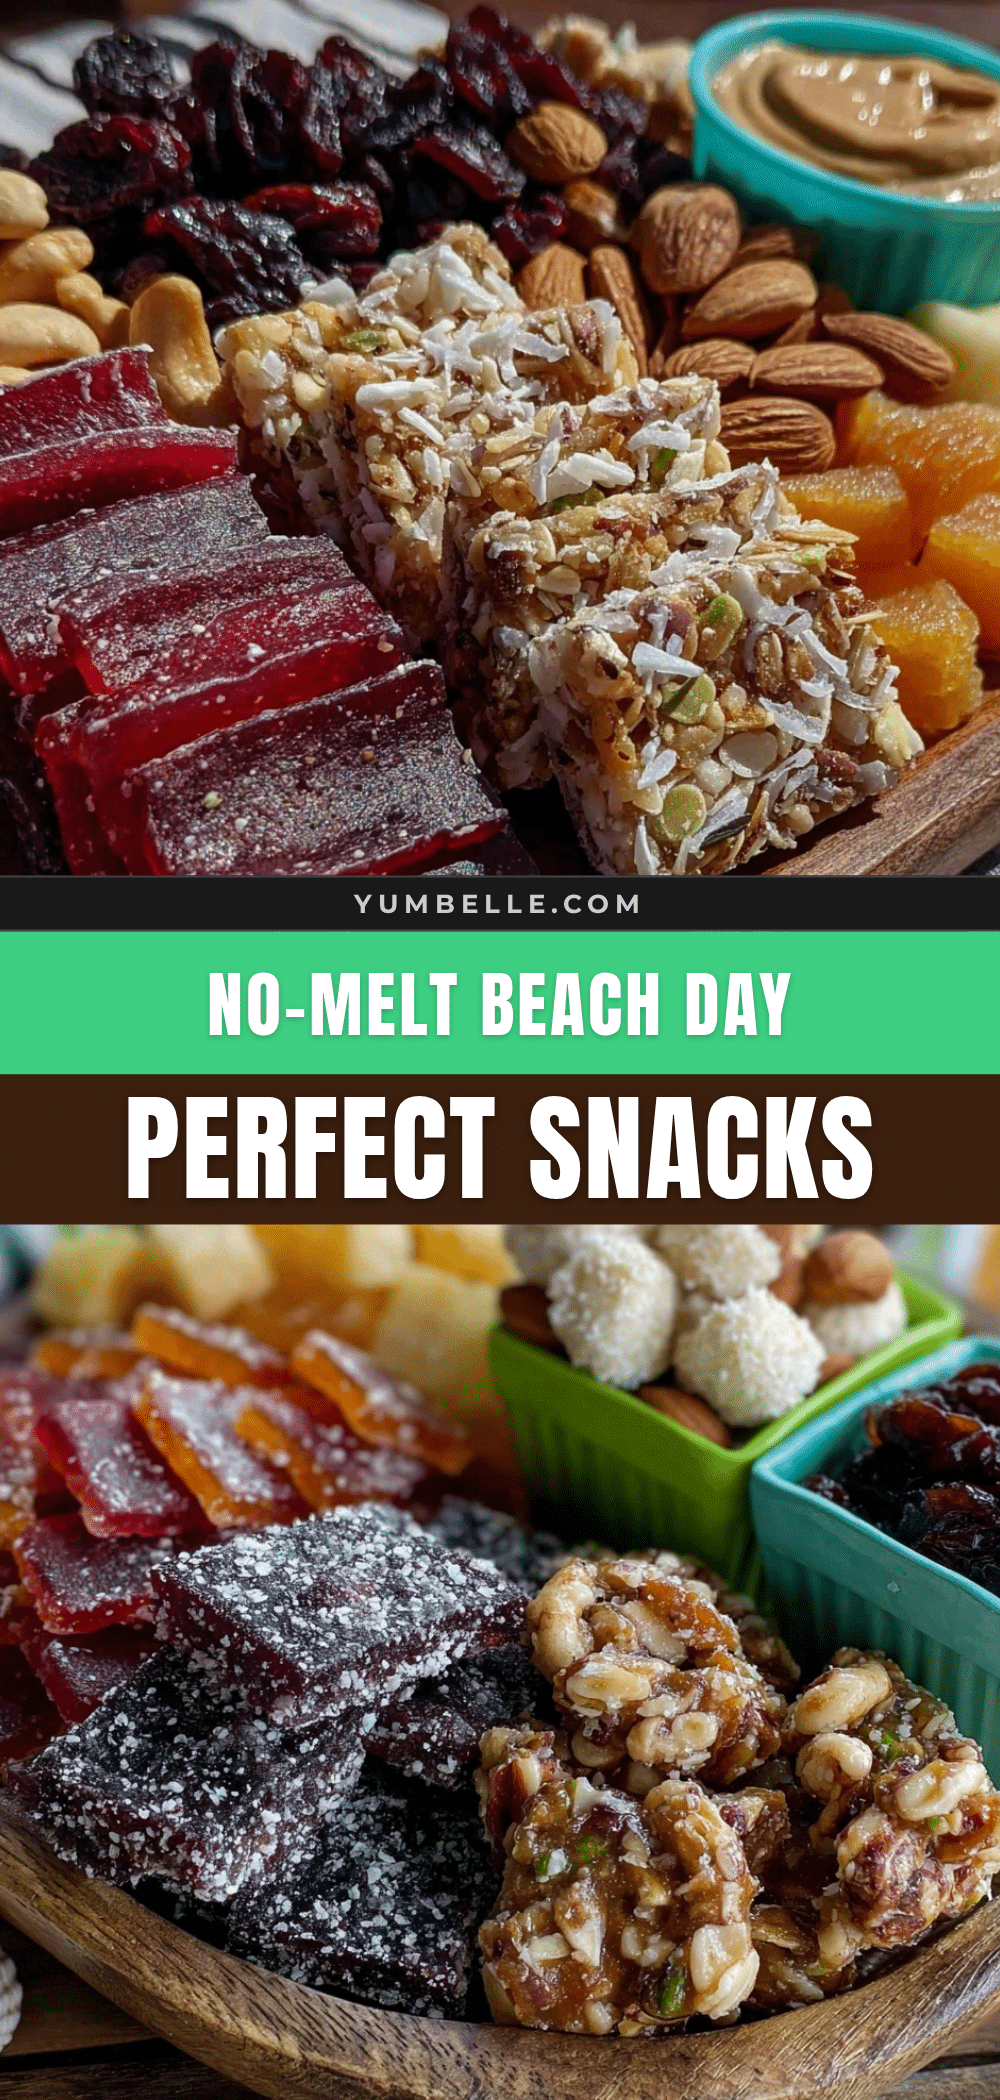
Perfect No-Melt Beach Day Snacks Kids Will Love

A collection of easy, no-melt snacks perfect for beach days that kids will love, including energy bars, savory snack mix, and fruit & nut skewers. These snacks stay firm and mess-free even in the heat.
- Prep Time: 15 minutes
- Cook Time: 15 minutes
- Total Time: 30 minutes
- Yield: 12 bars, 4 servings of snack mix, 8 skewers 1x
- Category: Snack
- Cuisine: American
Ingredients
- 2 cups (160g) rolled oats (gluten-free if needed)
- 1 cup (250g) natural peanut butter or almond butter (creamy, unsweetened preferred)
- 1/3 cup (80ml) honey or maple syrup
- 1/2 cup (70g) chopped dried apricots or cranberries
- 1/4 cup (35g) sunflower seeds or pumpkin seeds
- 1/4 cup (45g) mini chocolate chips (optional, heat-stable varieties)
- 4 cups (32g) air-popped popcorn
- 1 cup (150g) roasted chickpeas (store-bought or homemade)
- 1 tsp dried sea salt
- 1/2 tsp smoked paprika
- Seedless grapes
- Cherry tomatoes
- Cheese cubes (firm varieties like cheddar or gouda, about 1/2-inch pieces)
- Whole almonds or cashews
- Optional variations: coconut flakes, dried mango, cayenne or chili powder, dairy-free cheese cubes, sunflower seed butter
Instructions
- Preheat oven to 350°F (175°C). In a large bowl, mix rolled oats, nut butter, and honey or maple syrup until combined.
- Stir in chopped dried apricots, sunflower seeds, and mini chocolate chips if using.
- Press mixture firmly into a parchment-lined 8×8-inch baking pan.
- Bake for 12-15 minutes or until edges turn golden. Let cool completely before cutting into bars.
- While bars bake, toss air-popped popcorn with roasted chickpeas.
- Sprinkle with sea salt and smoked paprika, mix well, and store in an airtight container.
- Thread seedless grapes, cherry tomatoes, cheese cubes, and whole almonds onto wooden skewers, alternating for color and texture (about 4-5 items per skewer).
- Place bars and skewers in a cooler with ice packs. Keep savory snack mix in a separate container to maintain crunch.
Notes
[‘Press bars firmly to avoid crumbly texture.’, ‘Use creamy but not oily nut butters to prevent greasiness.’, ‘Skip fresh fruit in bars to avoid sogginess; use dried fruit instead.’, ‘Roast chickpeas well for crispness.’, ‘Keep cheese cubes small and firm to reduce sweating.’, ‘Pack wet and dry items separately to maintain freshness.’, ‘Energy bars can be frozen and thawed at room temperature.’, ‘Reheat bars for 10 seconds in microwave if softer texture is desired.’, ‘Prepare snacks the night before to meld flavors and reduce morning prep time.’]
Nutrition
- Serving Size: 1 energy bar, 1/4 cu
- Calories: 150180
- Sugar: 8
- Sodium: 120
- Fat: 8
- Saturated Fat: 1.5
- Carbohydrates: 20
- Fiber: 3
- Protein: 5
Keywords: no-melt snacks, beach snacks, kids snacks, energy bars, savory snack mix, fruit nut skewers, no-bake bars, picnic snacks, gluten-free snacks, vegan options