Love this? Save it for later!
Share the inspiration with your friends
“You won’t believe what happened last summer at camp,” my friend Jenna said as we chatted over coffee. Her usually calm voice was tinged with exhaustion and amusement. It turns out, her son’s summer camp had a strict no-nut policy — no peanuts, no almonds, not even traces allowed. Jenna, like many parents, scrambled to find snacks that were not only safe but actually tasty enough to get her son through those long, active days. I remember thinking, ‘I’ve been there too.’ Honestly, it’s a challenge to find easy nut-free school summer camp snacks that kids actually want to eat.
Last year, I tried a bunch of recipes that looked promising but flopped hard with my picky nephew. One time, I even forgot to check the labels on a “nut-free” granola bar, which led to a minor panic and a quick dash to the local store. (Don’t ask how I managed that.) But all the trial and error taught me a lot about what works and what doesn’t when it comes to making snacks that are safe, simple, and kid-approved. Maybe you’ve been there — standing in the grocery aisle, overwhelmed, wondering if you’ll ever find something both allergy-friendly and delicious.
These easy nut-free school summer camp snacks are the result of that journey. I put together recipes that took me from stressed snack-maker to confident kitchen ninja. They’re simple, made with everyday ingredients, and perfect for all kids — whether they’re at school, camp, or just hanging out. I’ve included a mix of crunchy, chewy, sweet, and savory options because, let’s face it, kids can be unpredictable. Plus, these recipes have been tested by my own crew of little taste-testers (and a few grown-ups who sneaked bites). So grab your apron — or just a snack container — and let me share these lifesavers with you.
Why You’ll Love This Recipe
Honest truth: finding nut-free snacks that kids actually want to eat feels like a mini victory every time. These recipes bring that win right to your kitchen, making snack prep less of a headache and more of a treat. Here’s why you’ll want to keep these easy nut-free school summer camp snacks in your recipe arsenal:
- Quick & Easy: Many of these recipes take less than 15 minutes to prep, ideal for busy mornings or last-minute packing sessions.
- Simple Ingredients: No need for specialty stores — just grab what you likely have on hand already.
- Perfect for Summer Camp and School: Designed to be mess-free, portable, and withstand a day at camp or classroom.
- Crowd-Pleaser: Tested on a range of kids — from toddlers to tweens — these snacks always get thumbs up.
- Nut-Free and Allergy-Friendly: Crafted with safety in mind, so you can pack snacks without worry.
What makes these recipes stand out is the focus on texture and flavor balance. Whether it’s a crispy baked treat or a soft chewy bite, each snack has a little twist — like using sunflower seed butter for creaminess or adding a touch of cinnamon for warmth. I mean, this isn’t just another boring nut-free snack list; it’s a collection of real, tested recipes that bring a little joy to snack time. You’ll find yourself closing your eyes after the first bite — and that’s the sign of a winner in my book.
What Ingredients You Will Need
These easy nut-free school summer camp snacks rely on wholesome, accessible ingredients to keep things simple but tasty. Most are pantry staples, with a few fresh or seasonal items. Here’s a handy ingredient list grouped by type to make shopping or prep a breeze.
- For the Snack Bases:
- Rolled oats (gluten-free if needed) — great for chewy bars and granola
- All-purpose flour or gluten-free flour blend — for baked goodies
- Whole wheat bread or wraps — perfect for savory rolls or mini sandwiches
- Natural Sweeteners & Binders:
- Honey or maple syrup — adds sweetness and helps hold ingredients together
- Sunflower seed butter — creamy and nut-free alternative to peanut butter
- Applesauce, unsweetened — moisture and gentle sweetness
- Ripe bananas, mashed — natural sweetener and binding agent
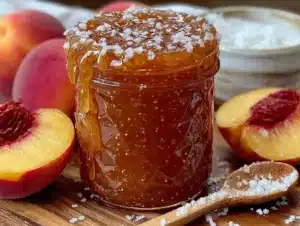
- Fresh & Dried Fruits:
- Fresh berries (strawberries, blueberries) — seasonal freshness
- Dried cranberries or raisins (unsweetened if possible) — chewy, natural sweetness
- Grated apple or carrot — sneaky veggies for extra nutrition
- Crunchy Add-Ins:
- Sunflower seeds or pumpkin seeds (pepitas) — nut-free crunch
- Toasted coconut flakes — adds texture and flavor
- Rice cereal (gluten-free if needed) — light and crispy
- Dairy & Eggs:
- Greek yogurt — adds creaminess and protein
- Eggs (large, room temperature) — for binding in baked snacks
- Cheese slices or shredded cheddar — for savory options
- Flavor Boosters & Spices:
- Cinnamon and vanilla extract — comforting warmth
- Sea salt — balances sweetness and enhances flavor
- Ground flaxseed — optional, adds fiber and omega-3
Tip: I often rely on SunButter for sunflower seed butter because it’s creamy and free from nut cross-contamination. For flour, Bob’s Red Mill gluten-free blend works wonders if you need a nut-free, gluten-free option. And if you’re making these snacks during summer, swapping fresh berries for dried fruit really lifts the freshness.
Equipment Needed
Most of these easy nut-free school summer camp snacks don’t require fancy kitchen gadgets — just the basics you probably already own. Here’s what you’ll need:
- A mixing bowl (preferably medium to large) — I love using a slightly cracked ceramic bowl I found at a thrift store; it just feels right for mixing snacks.
- Measuring cups and spoons — accuracy is key, especially for baking.
- Baking sheet or tray — lined with parchment paper for easy cleanup.
- Spatula or wooden spoon — for mixing and folding ingredients.
- Food processor or blender (optional) — handy for chopping or blending fruits and seeds quickly.
- Loaf pan or silicone molds — if you want uniform snack bars or shaped bites.
- Cooling rack — helps baked snacks firm up without getting soggy.
If you don’t have a food processor, no worries! Many recipes can be mixed by hand or with a simple fork. I’ve also found that using silicone baking mats saves a step and cuts down on waste. For budget-friendly options, a basic baking sheet lined with parchment works just fine. Just be sure to clean your equipment thoroughly to avoid any nut residue if you usually cook with nuts.
Preparation Method
- Preheat and Prep (5-10 minutes): Start by preheating your oven to the temperature specified in your chosen recipe (usually between 325°F/163°C and 350°F/177°C). Line baking sheets with parchment paper or silicone mats to prevent sticking.
- Mix Dry Ingredients (5 minutes): In a large bowl, combine rolled oats, flour, seeds, cinnamon, and a pinch of salt. Use a whisk or spoon to blend evenly. This step ensures your dry ingredients are well distributed, which helps with texture and flavor balance.
- Combine Wet Ingredients (5 minutes): In a separate bowl, mix mashed banana or applesauce with sunflower seed butter, honey or maple syrup, eggs, and vanilla extract. Stir until smooth and creamy. If the mixture is too thick, add a tablespoon of Greek yogurt or milk alternative to loosen it.
- Fold and Mix (5 minutes): Gently fold the wet ingredients into the dry mix. Use a spatula to combine everything without overmixing. You want the batter to be slightly sticky but not runny. Add dried fruit or toasted coconut flakes here for extra flavor.
- Shape or Spread (5 minutes): Transfer the mixture to your prepared baking tray or molds. Press it down firmly to ensure it holds shape and bakes evenly. For bars, aim for about 1/2-inch (1.3 cm) thickness to get that perfect chewy texture.
- Bake (15-20 minutes): Place in the oven and bake until golden brown around the edges and firm to the touch. Ovens vary, so start checking at 15 minutes. A toothpick inserted in the center should come out mostly clean with a few moist crumbs.
- Cool and Cut (15 minutes): Let your snacks cool completely on a wire rack. This step is crucial for texture — warm bars can be crumbly and fall apart. Once cool, slice into squares or bars using a sharp knife.
- Pack and Store: Place snacks in airtight containers or reusable snack bags. They stay fresh for up to 5 days at room temperature or up to 2 weeks in the fridge.
Tip: If you’re in a rush, you can double the recipe and freeze half for later. Just thaw in the fridge overnight before packing for camp. Also, keep an eye on your oven temperature — I learned the hard way that a hot spot can cause uneven baking, so rotating the tray halfway through helps.
Cooking Tips & Techniques
Making nut-free snacks that kids love can test your patience, but a few tricks make all the difference. I’ve gathered some tips from my own kitchen experiments that might save you a few headaches:
- Don’t skip the parchment paper: It makes cleanup easier and prevents sticking, especially with sticky batters.
- Measure carefully: Baking is a science. Too much flour or oats can dry out your snacks, while too little makes them crumbly. Use a scale if you can for precision.
- Choose ripe bananas: For recipes calling for mashed banana, overripe ones with lots of brown spots work best — they’re sweeter and mash easily.
- Mix gently: Overmixing batter can make baked goods tough. Fold ingredients just until combined.
- Test bake times: Every oven is different. Start checking your snacks a few minutes before the recipe time ends to avoid overbaking.
- Use sunflower seed butter wisely: It can be thicker than peanut butter; warming it slightly makes mixing easier.
- Freeze in single portions: If you freeze snacks, wrap individual bars in parchment or wax paper to prevent sticking together.
I once tried skipping the cooling step and ended up with a crumbled mess of bars. Lesson learned: patience pays off! Also, multitasking by prepping a batch of homemade granola bars while the kids are doing homework is a great way to save time and keep everyone happy.
Variations & Adaptations
One of the best things about these easy nut-free school summer camp snacks is how adaptable they are. Here are some ideas to mix things up and suit different tastes or dietary needs:
- Gluten-Free Option: Swap all-purpose flour for a gluten-free flour blend and use certified gluten-free oats. This makes the snacks safe for kids with gluten sensitivities without sacrificing taste.
- Vegan Variation: Replace eggs with flax eggs (1 tablespoon ground flaxseed + 3 tablespoons water, let sit 5 minutes) and use maple syrup instead of honey. Coconut yogurt works as a creamy binder.
- Seasonal Flavors: Add pumpkin puree and pumpkin pie spice in fall, or swap fresh berries for diced peaches and a splash of lemon juice in summer for bright, fresh flavors.
- Savory Twist: Instead of sweet, try mixing cheese, finely chopped olives, and herbs into your batter for a salty snack that’s still nut-free and kid-friendly.
- My Personal Favorite: I like adding a handful of mini chocolate chips to the sunflower seed butter bars — a subtle treat without overpowering sweetness.
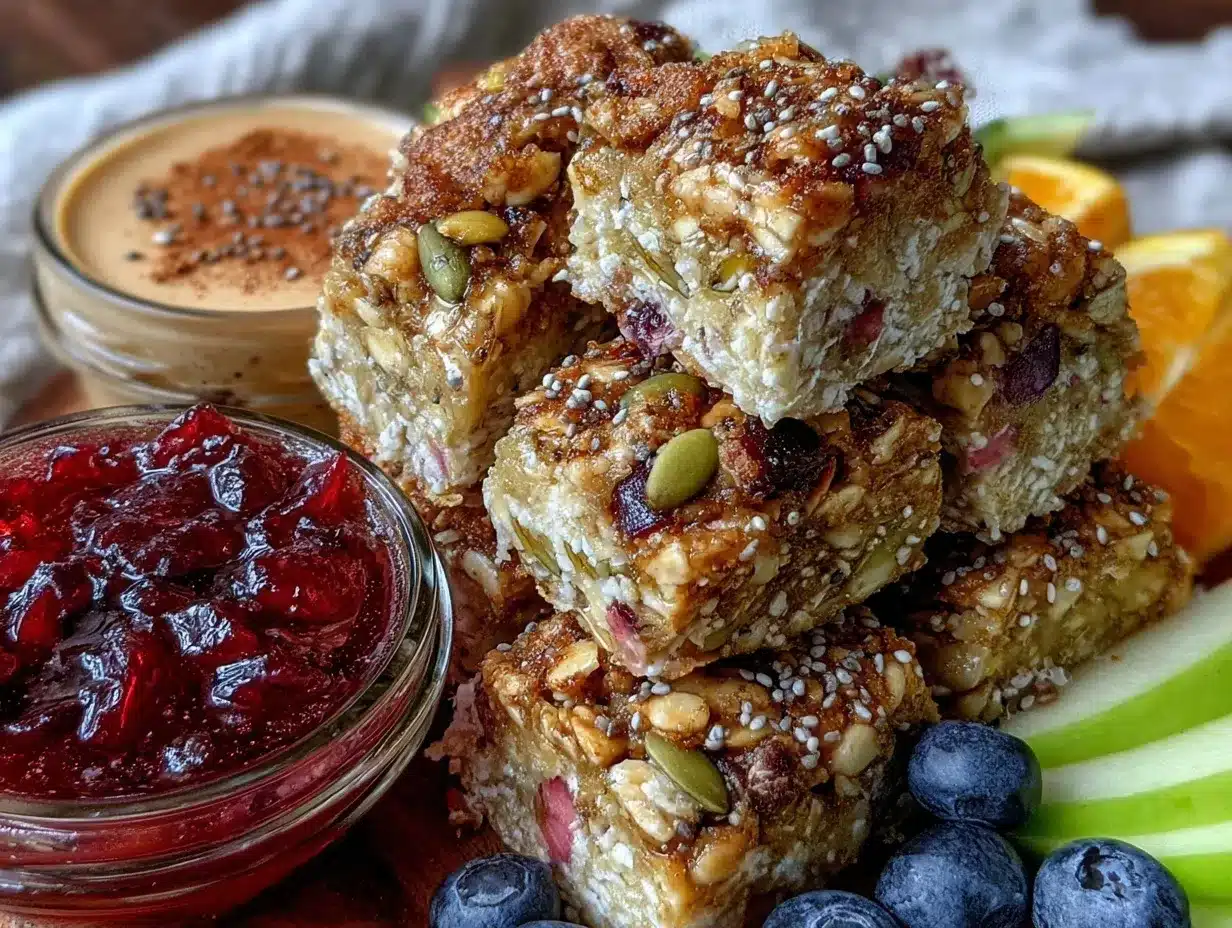
Serving & Storage Suggestions
These snacks are best served at room temperature, making them perfect for packing in lunchboxes or snack bags. For a fun presentation, try cutting bars into fun shapes with cookie cutters — kids love that little surprise. Pairing sweet snacks with a cold glass of milk or a cup of fruit-infused water makes for a well-rounded break.
Storage is straightforward: keep the snacks in an airtight container at room temperature for up to five days. If you want to keep them longer, refrigeration extends freshness up to two weeks, and freezing can preserve them for up to three months. When reheating refrigerated snacks, a quick 10-15 second zap in the microwave brings back softness. Just don’t overdo it, or they’ll dry out.
Remember, flavors often deepen overnight, so making snacks a day ahead can improve taste. Just wrap them tightly to avoid drying. And if you’re packing for camp, slipping a small ice pack alongside keeps things fresh in warmer weather.
Nutritional Information & Benefits
These easy nut-free school summer camp snacks are designed to be wholesome and nourishing. While exact nutritional values vary by recipe, here’s a general idea per serving (about one bar or handful):
| Nutrition | Approximate Amount |
|---|---|
| Calories | 150-180 kcal |
| Protein | 4-6 g |
| Fiber | 3-5 g |
| Sugar | 6-9 g (natural sugars from fruit and honey) |
| Fat | 5-8 g (mostly from sunflower seed butter and seeds) |
Key ingredients like sunflower seed butter provide healthy fats and vitamin E, while oats add fiber and sustained energy. Using natural sweeteners keeps these snacks free from refined sugars. They’re free from nuts, gluten (if using gluten-free oats and flour), and common allergens, making them a safer choice for many kids.
From a wellness perspective, these snacks offer a balance of carbs, protein, and fats to keep kids energized and satisfied during active camp days. Plus, sneaking in fruits and seeds adds antioxidants and nutrients without fuss.
Conclusion
Easy nut-free school summer camp snacks don’t have to be complicated or boring. These recipes prove that with a little creativity and a few simple ingredients, you can whip up snacks that are safe, tasty, and loved by kids. Whether you’re packing for school, camp, or just an afternoon adventure, these snacks have got you covered.
I love these recipes because they bring peace of mind — no more last-minute scrambles or stressing over allergies. Plus, it’s a joy watching kids reach for these snacks with smiles, knowing they’re fueling their day right. I hope you’ll try them, tweak them to your family’s taste, and maybe even share your own favorite versions in the comments below. Let me know how these easy nut-free school summer camp snacks work for you — I’m all ears!
FAQs About Easy Nut-Free School Summer Camp Snacks
Q1: Are these snacks safe for kids with severe nut allergies?
Yes! All recipes are made without nuts and can be prepared in a nut-free environment to minimize cross-contact. Always double-check ingredient labels, though.
Q2: Can I make these snacks ahead of time and freeze them?
Absolutely. Most of these snacks freeze well for up to three months. Just thaw overnight in the fridge before serving.
Q3: What’s the best way to keep these snacks fresh during a hot summer day?
Pack them in an insulated lunchbox with an ice pack to keep them cool and fresh until snack time.
Q4: Can I substitute sunflower seed butter with soy or seed butters?
Yes, seed butters like pumpkin seed butter or soy nut butter work well. Just ensure they’re allergy-safe for your child.
Q5: Are these snacks suitable for gluten-free diets?
Many recipes can be made gluten-free by using certified gluten-free oats and flour. Always verify ingredient labels to avoid gluten contamination.
Pin This Recipe!
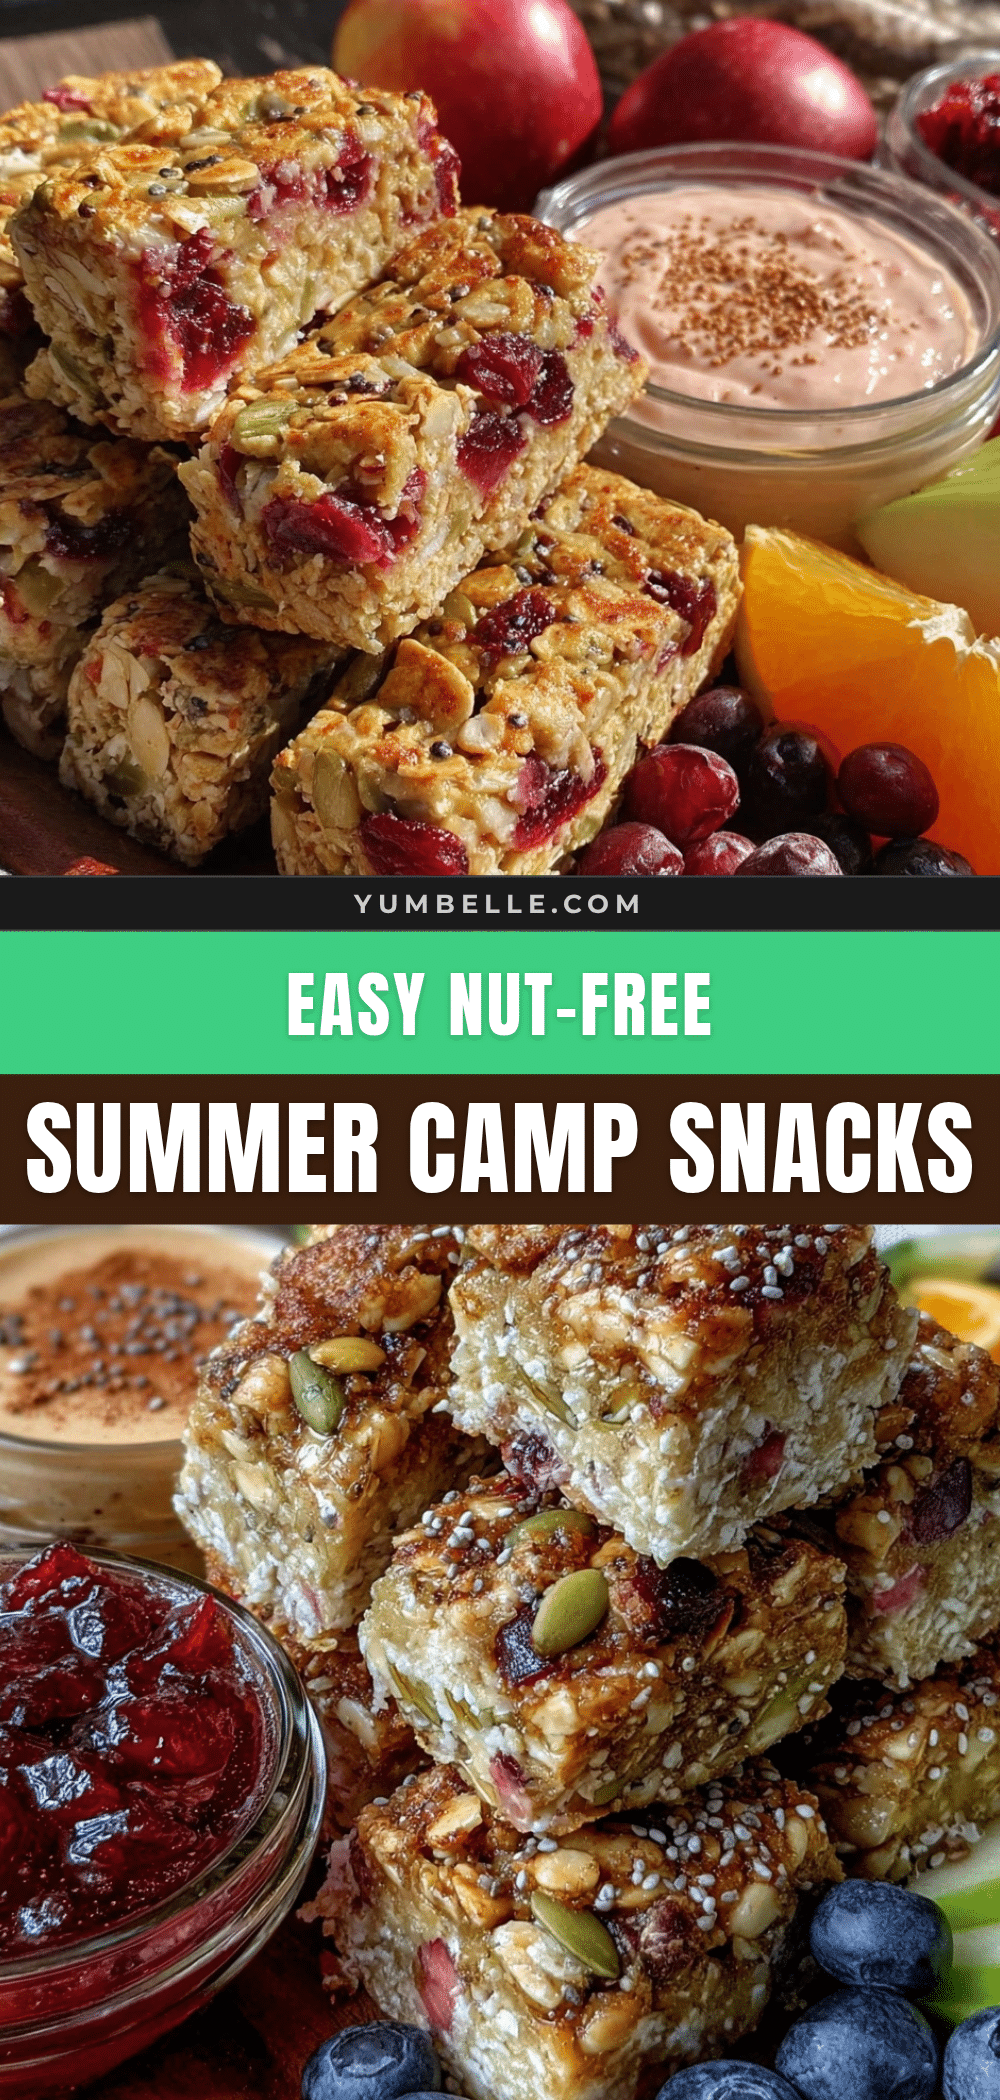
Easy Nut-Free School Summer Camp Snacks

A collection of simple, safe, and tasty nut-free snack recipes perfect for kids at school or summer camp. These snacks are quick to prepare, allergy-friendly, and kid-approved.
- Prep Time: 15 minutes
- Cook Time: 20 minutes
- Total Time: 35 minutes
- Yield: 12 servings
- Category: Snack
- Cuisine: American
Ingredients
- Rolled oats (gluten-free if needed)
- All-purpose flour or gluten-free flour blend
- Whole wheat bread or wraps
- Honey or maple syrup
- Sunflower seed butter
- Unsweetened applesauce
- Ripe bananas, mashed
- Fresh berries (strawberries, blueberries)
- Dried cranberries or raisins (unsweetened if possible)
- Grated apple or carrot
- Sunflower seeds or pumpkin seeds (pepitas)
- Toasted coconut flakes
- Rice cereal (gluten-free if needed)
- Greek yogurt
- Eggs (large, room temperature)
- Cheese slices or shredded cheddar
- Cinnamon
- Vanilla extract
- Sea salt
- Ground flaxseed (optional)
Instructions
- Preheat your oven to 325°F to 350°F (163°C to 177°C). Line baking sheets with parchment paper or silicone mats.
- In a large bowl, combine rolled oats, flour, seeds, cinnamon, and a pinch of salt. Mix evenly.
- In a separate bowl, mix mashed banana or applesauce with sunflower seed butter, honey or maple syrup, eggs, and vanilla extract until smooth. Add Greek yogurt or milk alternative if mixture is too thick.
- Fold the wet ingredients into the dry mix gently. Add dried fruit or toasted coconut flakes if desired.
- Transfer mixture to prepared baking tray or molds. Press down firmly to about 1/2 inch thickness.
- Bake for 15-20 minutes until golden brown and firm. Check with a toothpick for doneness.
- Cool completely on a wire rack before cutting into bars or squares.
- Store in airtight containers at room temperature for up to 5 days, refrigerate up to 2 weeks, or freeze up to 3 months.
Notes
Use SunButter for sunflower seed butter to avoid nut cross-contamination. For gluten-free, use certified gluten-free oats and flour. Warm sunflower seed butter slightly for easier mixing. Rotate baking tray halfway through baking for even cooking. Freeze individual bars wrapped in parchment for easy storage.
Nutrition
- Serving Size: One bar or handful
- Calories: 165
- Sugar: 7.5
- Sodium: 100
- Fat: 6.5
- Saturated Fat: 1
- Carbohydrates: 25
- Fiber: 4
- Protein: 5
Keywords: nut-free snacks, school snacks, summer camp snacks, allergy-friendly, kid-friendly, easy snacks, gluten-free options