Love this? Save it for later!
Share the inspiration with your friends
“Mom, can we make something sweet today?” my niece asked one rainy Saturday afternoon. The kitchen was a mess from breakfast, and frankly, I wasn’t sure if I was up for a complicated project. But then I remembered this easy jam making recipe I’d stumbled on last summer at a local farmers market. Honestly, I wasn’t expecting much — just a quick way to keep the kids busy while turning fresh fruit into something magical. What followed was pure joy: sticky fingers, laughter echoing through the house, and a batch of jam thick enough to spread but still bursting with natural fruit flavor.
Let me tell you, easy jam making with kids is one of those rare kitchen adventures that really sticks with you. You know that feeling when a simple activity turns into a treasured memory? Maybe you’ve been there — the smell of simmering berries, the colorful bowls lined up, and little hands eager to stir. It’s messy, a bit chaotic, and perfectly imperfect. That day, between a spilled jar and an accidental extra scoop of sugar, we created something more than jam — a family moment you want to bottle up forever.
This recipe is exactly why I keep coming back to easy jam making with kids. It’s approachable, fun, and honestly, it tastes way better than anything store-bought. Plus, it’s flexible enough to fit whatever fruit you have on hand or whatever the kids can pick themselves. Whether it’s a weekend activity or a last-minute gift idea, this jam recipe turns ordinary days into sticky, sweet celebrations. So, if your kitchen could use a little excitement (and maybe a little mess), grab your fruit, round up the kids, and let’s make some memories.
Why You’ll Love This Recipe
- Quick & Easy: Comes together in under 45 minutes, perfect for busy weekends or rainy day projects with the kids.
- Simple Ingredients: Uses fresh fruit, sugar, and a splash of lemon juice — all pantry staples or easy to find at your local market.
- Perfect for Family Fun: Makes a fantastic bonding activity that gets kids involved in cooking and understanding where food comes from.
- Crowd-Pleaser: Kids love the hands-on approach and adults appreciate the natural, homemade taste without additives.
- Unbelievably Delicious: The jam is bursting with real fruit flavor and has just the right balance of sweetness and tartness.
- This isn’t just any jam recipe — it’s designed with little helpers in mind. The steps are simplified, safe, and encourage creativity (you can’t beat letting your kids pick their favorite fruit combos!).
- Plus, the texture is just right — not too runny, not too firm — thanks to a gentle simmer and patient stirring technique that I swear makes all the difference.
- Honestly, this recipe turns jam making from a daunting, time-consuming task into a delightful family ritual that kids remember and ask to do again.
What Ingredients You Will Need
This easy jam making recipe relies on simple, wholesome ingredients to deliver bold flavor and satisfying texture without fuss. You can mix and match fruits—or stick with one you love—and the sugar and lemon juice balance out the natural sweetness and acidity perfectly.
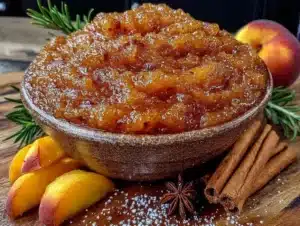
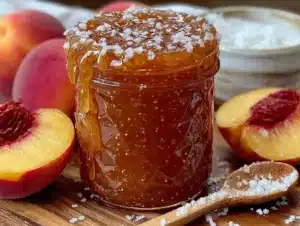
- Fresh fruit (4 cups / 600g): Strawberries, blueberries, raspberries, peaches, or a mix. Choose ripe but firm fruit for best results.
- Granulated sugar (2 cups / 400g): Regular white sugar works well; you can swap for coconut sugar or honey if you want a different twist, though texture may vary.
- Lemon juice (2 tablespoons / 30ml): Freshly squeezed. This helps the jam set and brightens the flavor.
- Pectin (optional, 1 packet / 7g): If you want a thicker set, especially with low-pectin fruits like peaches, adding pectin helps. I usually skip it when making with berries.
- Water (1/4 cup / 60ml): Just a splash to help the fruit start cooking evenly.
Ingredient tips: I prefer organic fruit when possible for the purest flavor—Trader Joe’s has a great selection that’s kid-friendly and budget-conscious. For sugar, plain white is easiest, but experimenting with natural sweeteners can be fun too. And if you’re feeling adventurous, try adding a pinch of cinnamon or a vanilla bean for a subtle flavor lift.
Equipment Needed
- Large heavy-bottomed pot: Essential for even heat distribution to prevent burning the jam.
- Wooden spoon or heatproof spatula: For stirring — kids love helping with this part!
- Measuring cups and spoons: Accuracy helps, but don’t stress if it’s a little off.
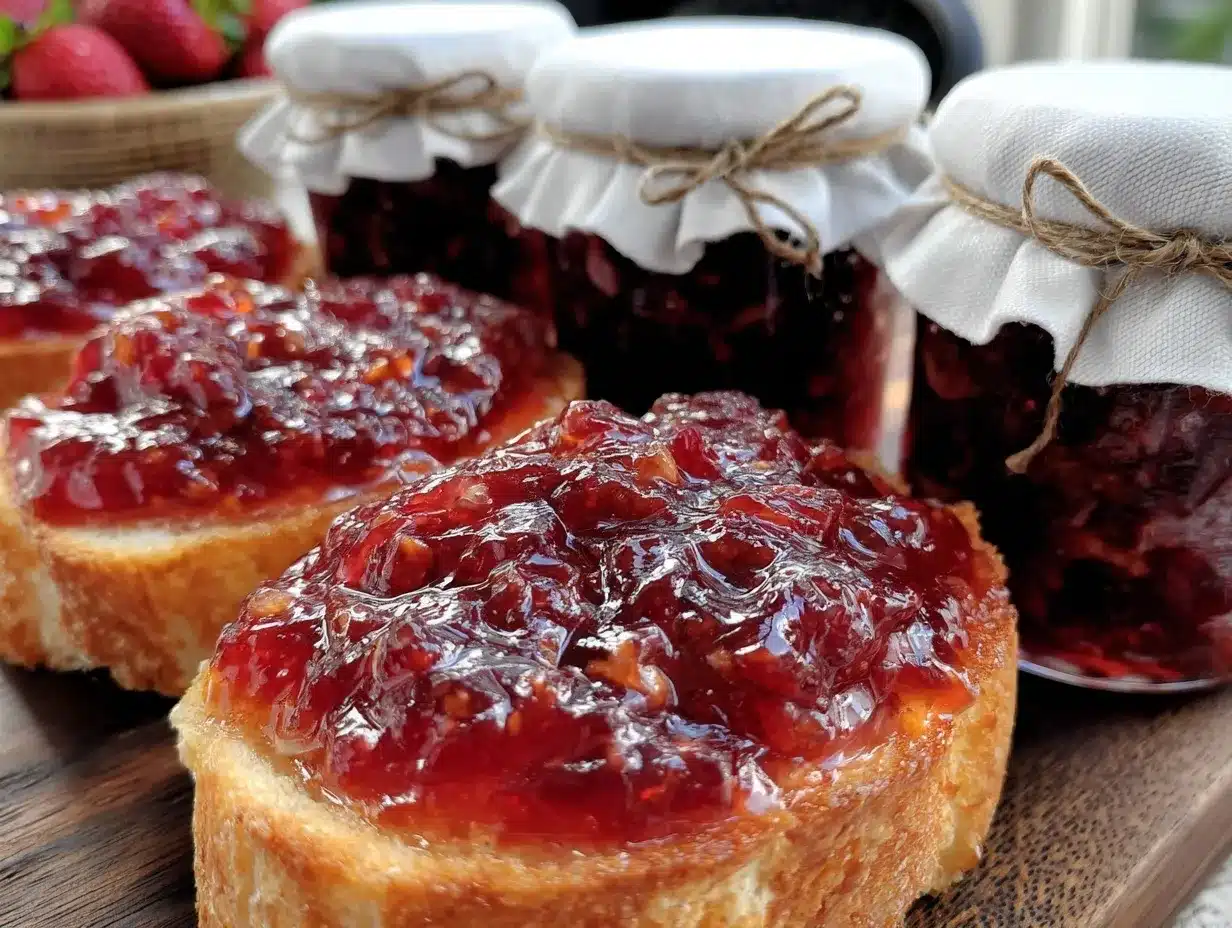
- Clean glass jars with lids: For storing your jam. Mason jars are ideal, but any sterilized jar will do.
- Fine mesh strainer (optional): If you want super smooth jam without seeds.
If you don’t have a heavy-bottomed pot, a thick stainless steel one works fine. I usually keep a set of inexpensive wooden spoons just for jam projects because the sticky sugar can be tough to clean off plastic. Pro tip: warm your jars in hot water before filling to reduce cracking risk.
Preparation Method
- Prepare the fruit (10 minutes): Wash and hull berries or peel and chop stone fruits into small pieces. Measure out 4 cups (600g). It’s okay if the fruit isn’t perfectly uniform; the cooking process softens everything nicely.
- Combine fruit and water (5 minutes): Place fruit and 1/4 cup (60ml) water into your pot. Heat over medium, stirring gently until the fruit starts to break down and release juice — about 5 minutes. The mixture should look juicy and bubbling slightly.
- Add sugar and lemon juice (2 minutes): Stir in 2 cups (400g) sugar and 2 tablespoons (30ml) lemon juice. If using pectin, mix it in now according to package instructions.
- Simmer the jam (20-30 minutes): Bring mixture to a gentle boil, stirring frequently to prevent sticking. The jam should thicken and reduce by about half. You’ll notice it turning glossy and the bubbles will get bigger and slower.
- Test for doneness (2 minutes): Place a small spoonful on a chilled plate and let it cool for a minute. Push it with your finger — if it wrinkles and holds shape, it’s ready. If not, simmer a few minutes longer.
- Remove from heat and jar (5 minutes): Carefully ladle the hot jam into warm jars, leaving about 1/4 inch (0.5 cm) headspace. Wipe rims clean and seal tightly.
- Cool and store: Let jars cool completely at room temperature, then refrigerate. Jam will thicken more as it cools.
Tip: I once forgot to stir properly, and the jam scorched on one side — lesson learned, stirring is non-negotiable! Also, if your kids get impatient waiting, hand them a small spoon to taste test — that usually keeps them engaged.
Cooking Tips & Techniques
Jam making is pretty straightforward, but a few tricks make it way easier and tastier:
- Choose ripe, firm fruit: Overripe fruit can turn mushy and affect the jam’s set.
- Stir often: Prevents burning and helps jam thicken evenly.
- Use fresh lemon juice: Bottled lemon juice lacks the acidity needed for proper setting and flavor balance.
- Don’t rush the simmer: Patience pays off — lowering heat once boiling starts keeps jam from overcooking or losing bright flavor.
- Test jam thickness with a cold plate: This old-school method beats relying on timers alone.
- Keep kids safe: Let them help with washing, measuring, and stirring, but handle the boiling steps yourself.
- Multitask by prepping jars while jam cooks: Saves time and keeps the flow going.
I remember my first batch went too runny because I was distracted answering emails — lesson learned to give jam my full attention. But honestly, even imperfect batches taste great on warm toast, so don’t stress the little stuff.
Variations & Adaptations
This easy jam recipe is super flexible. Here are some ways to make it your own:
- Low-sugar version: Cut sugar by 25%, but add extra lemon juice for acidity and simmer longer to thicken.
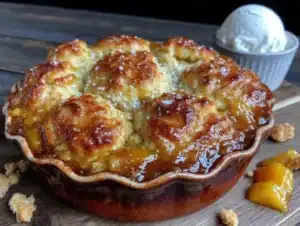
- Mixed fruit jams: Combine berries with stone fruits like peach or apricot for a complex flavor.
- Herbed jam: Add a sprig of fresh rosemary or a vanilla bean pod while cooking for a gourmet twist.
- Allergen-friendly: Naturally gluten-free and vegan; just swap sugar type if needed.
- Freezer jam: Skip canning and store jam in freezer-safe containers for longer storage.
My personal favorite is a blueberry-lavender jam that kids adored despite the fancy-sounding combo — they loved picking the flowers to add in! Adapt it however your family likes and enjoy the fun of experimentation.
Serving & Storage Suggestions
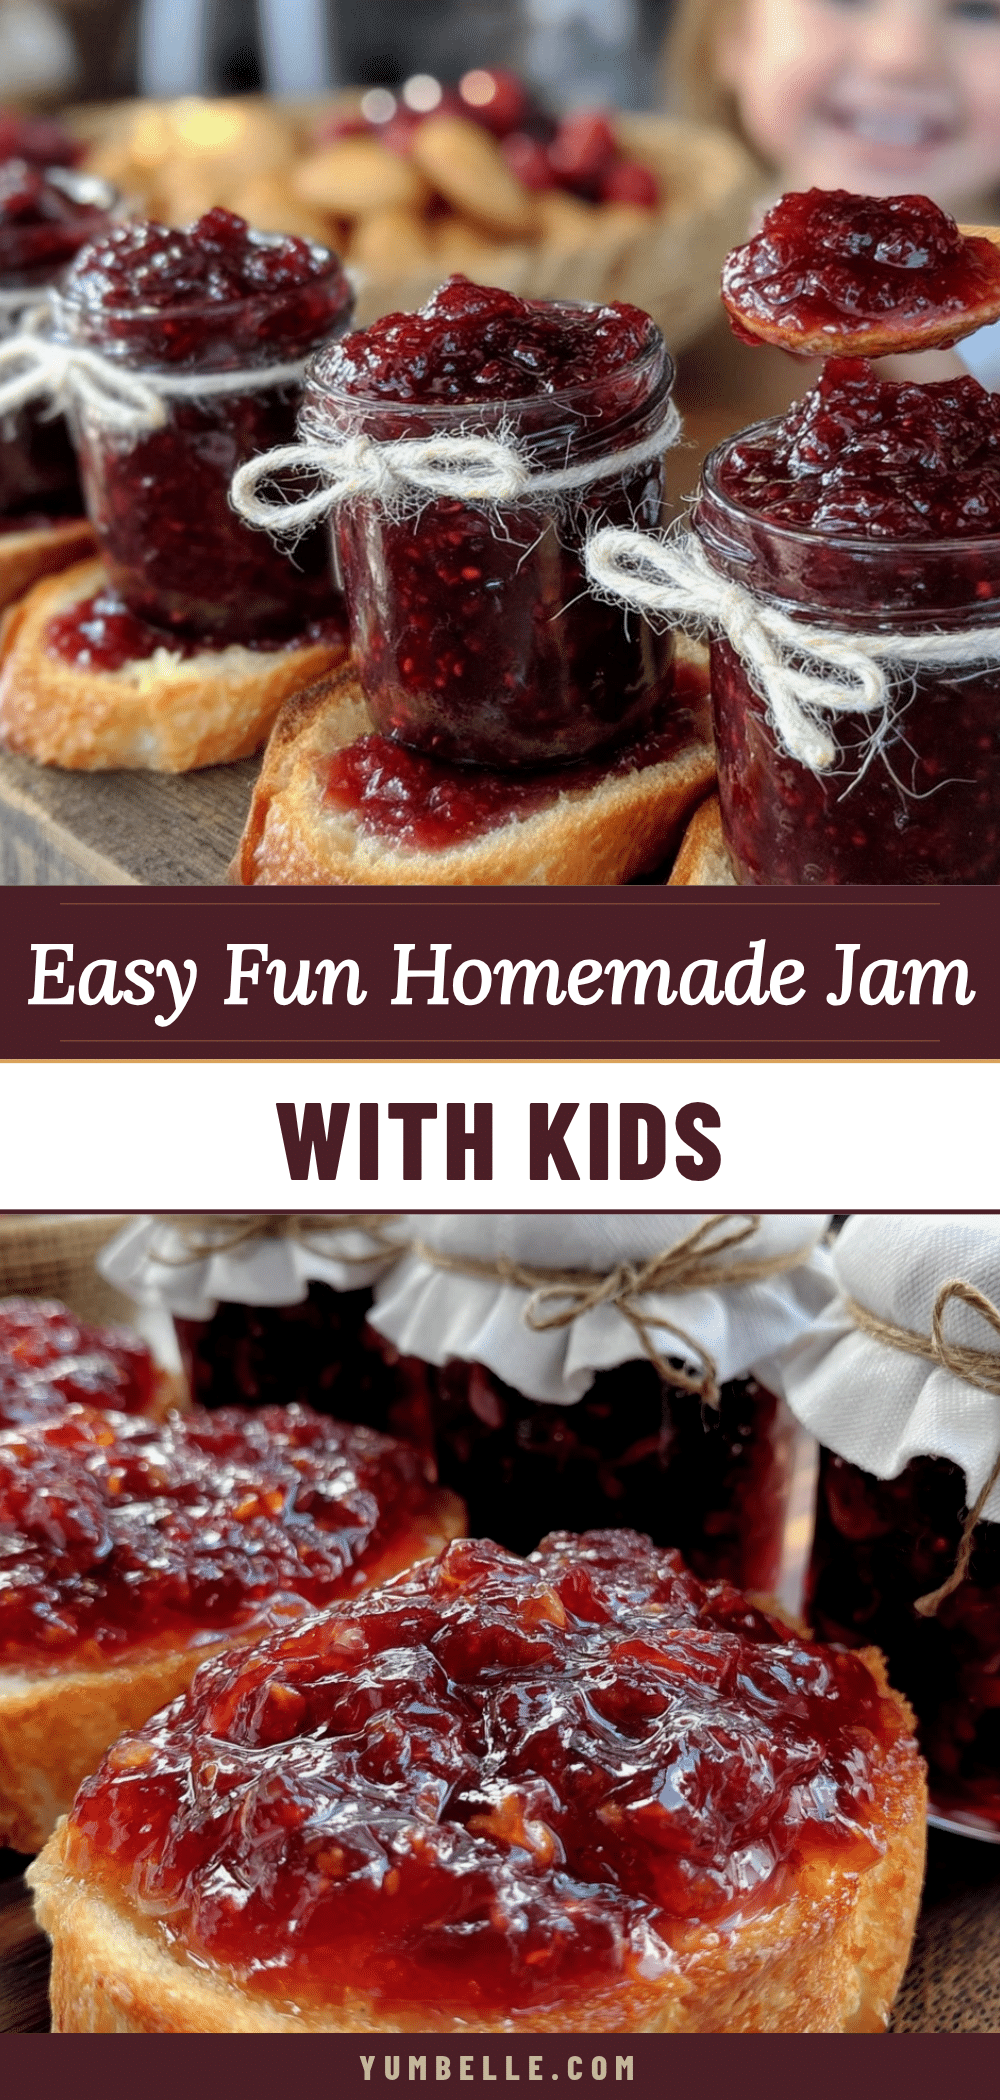
Serve your homemade jam fresh on warm toast, swirled into yogurt, or dolloped over pancakes. It’s also fantastic as a sweet spread on peanut butter sandwiches or spooned over vanilla ice cream for an easy dessert.
Store jam in the refrigerator for up to 3 weeks. For longer storage, freeze in airtight containers for up to 6 months. When reheating frozen jam, warm gently in a saucepan over low heat to preserve flavor and texture.
Flavors usually deepen after a day or two in the fridge, so making it ahead is a smart move. And if you’re giving it as a gift, decorate jars with cute labels and ribbons for that homemade touch everyone appreciates.
Nutritional Information & Benefits
Each serving (about 1 tablespoon/20g) of this jam contains roughly 50 calories, mostly from natural fruit sugars and added sugar. It’s fat-free and has small amounts of fiber and vitamin C from the fruit.
Using fresh fruit means you get antioxidants and vitamins, while lemon juice adds a boost of vitamin C and helps preserve freshness naturally. For families watching sugar intake, adjusting the sugar amount or pairing jam with whole-grain toast can help balance the meal.
From a wellness perspective, making jam at home means fewer preservatives and additives compared to store versions, giving you a cleaner, more wholesome treat to enjoy.
Conclusion
Easy jam making with kids isn’t just about the final product — it’s about the process, the laughter, and the memories created along the way. This recipe is straightforward enough for little hands to help, yet yields a delicious jam that tastes like a hug in a jar.
Feel free to tweak the fruit, sugar, and flavors to match your family’s tastes. I love how this recipe brings out the best in fresh fruit while making the kitchen a place for connection and fun.
So grab some fruit, gather the kids, and start your own jam-making tradition. And hey, I’d love to hear how your family’s jam adventure went — leave a comment or share your variations. Happy cooking and even happier memories!
Frequently Asked Questions About Easy Jam Making with Kids
Can kids safely help with jam making?
Absolutely! Kids can wash fruit, measure ingredients, and stir the mixture under supervision. Just keep them away from the hot pot and boiling jam to avoid burns.
What fruit works best for jam?
Berries like strawberries, raspberries, and blueberries are great, as well as stone fruits like peaches and apricots. Choose ripe but firm fruit for best results.
Do I need pectin for this jam recipe?
Pectin is optional. It helps jams set faster and firmer, especially with low-pectin fruits. If you prefer a natural approach, just simmer longer to thicken.
How long can homemade jam be stored?
Refrigerated jam lasts about 3 weeks. For longer storage, freeze it in airtight containers for up to 6 months.
Can I use frozen fruit for jam?
Yes! Frozen fruit works well and can be a convenient, year-round option. Just thaw and drain excess liquid before cooking.
Also, if you’re interested in other fun recipes to make with your kids, you might enjoy my crispy garlic chicken that’s perfect for family dinners, or the healthy berry smoothie, which uses fresh fruit in a kid-friendly way.
Pin This Recipe!
Easy Jam Making with Kids

A quick and fun jam recipe perfect for family bonding, using fresh fruit, sugar, and lemon juice. Simple enough for kids to help and yields delicious homemade jam bursting with natural fruit flavor.
- Prep Time: 15 minutes
- Cook Time: 30 minutes
- Total Time: 45 minutes
- Yield: About 6 half-pint jars (approximately 12 servings of 1 tablespoon each) 1x
- Category: Preserves
- Cuisine: American
Ingredients
- 4 cups (600g) fresh fruit (strawberries, blueberries, raspberries, peaches, or a mix)
- 2 cups (400g) granulated sugar
- 2 tablespoons (30ml) freshly squeezed lemon juice
- 1 packet (7g) pectin (optional)
- 1/4 cup (60ml) water
Instructions
- Prepare the fruit (10 minutes): Wash and hull berries or peel and chop stone fruits into small pieces. Measure out 4 cups (600g).
- Combine fruit and water (5 minutes): Place fruit and 1/4 cup (60ml) water into a large heavy-bottomed pot. Heat over medium, stirring gently until the fruit starts to break down and release juice, about 5 minutes.
- Add sugar and lemon juice (2 minutes): Stir in 2 cups (400g) sugar and 2 tablespoons (30ml) lemon juice. If using pectin, mix it in now according to package instructions.
- Simmer the jam (20-30 minutes): Bring mixture to a gentle boil, stirring frequently to prevent sticking. The jam should thicken and reduce by about half, turning glossy with bigger, slower bubbles.
- Test for doneness (2 minutes): Place a small spoonful on a chilled plate and let cool for a minute. If it wrinkles and holds shape when pushed with a finger, it’s ready. If not, simmer a few minutes longer.
- Remove from heat and jar (5 minutes): Carefully ladle hot jam into warm sterilized jars, leaving about 1/4 inch (0.5 cm) headspace. Wipe rims clean and seal tightly.
- Cool and store: Let jars cool completely at room temperature, then refrigerate. Jam will thicken more as it cools.
Notes
Stir frequently to prevent burning. Use fresh lemon juice for best setting and flavor. Test jam thickness with a cold plate. Kids can help with washing, measuring, and stirring but avoid hot pot handling. Warm jars before filling to reduce cracking risk. Pectin is optional depending on fruit type and desired thickness.
Nutrition
- Serving Size: 1 tablespoon (20g)
- Calories: 50
- Sugar: 12
- Carbohydrates: 13
- Fiber: 0.5
Keywords: jam making, easy jam recipe, family cooking, kids cooking, homemade jam, fruit jam, berry jam, peach jam, jam with kids, simple jam