Love this? Save it for later!
Share the inspiration with your friends
This was supposed to be a simple lunchbox fix for an after-school snack. I grabbed the wrong kind of bread—one that was too soft and a little too fresh—and the sandwich press was still warm from breakfast. Honestly, I was already running late, juggling a phone call, and the kitchen looked like a tornado had just passed through. What came out was nothing like the neat, store-bought Uncrustables I had in mind—more like a squished, sealed mess. But here’s the kicker: it tasted even better. The peanut butter and jelly melded perfectly inside the sealed edges, and the sandwich felt like a cozy, handheld hug.
I mean, maybe you’ve been there, where the plan goes sideways but somehow, the results surprise you. I ended up making a batch of these Easy Homemade Uncrustables PB&J Sealed Sandwiches that quickly became a go-to snack not just for the kids but for me too. The best part? I could control what went inside—no mystery ingredients or preservatives. Let me tell you, turning a kitchen mishap into an all-time favorite recipe is a quiet kind of victory I’m still smiling about every time I pull one out of the fridge.
Why You’ll Love This Recipe
After testing and tweaking this Easy Homemade Uncrustables PB&J Sandwiches recipe multiple times, I can confidently say it’s a real winner for any busy kitchen. Here’s why it stands out:
- Quick & Easy: Whip up a batch in under 20 minutes—perfect when time’s tight but you need a reliable snack.
- Simple Ingredients: You probably already have peanut butter, jelly, and bread on hand. No fancy trips to specialty stores.
- Perfect for Snacks & Lunchboxes: These sealed sandwiches travel well and stay fresh without any mess.
- Crowd-Pleaser: Both kids and adults love the familiar taste, but homemade makes it feel special.
- Unbelievably Delicious: The sealed edges lock in moisture, creating a soft, flavorful pocket of nostalgia.
What makes this recipe different? The sealing technique. Instead of just slapping together a sandwich and hoping for the best, sealing the edges traps the filling in a way that stops sogginess and keeps the bread perfectly tender. Plus, you get to customize with your favorite peanut butter and jelly combos—no more settling for the usual grape or strawberry if you don’t want to.
Honestly, this recipe isn’t just a snack; it’s a little moment of joy that brings back those simpler afternoons with a twist of homemade love. It’s comfort food that fits right into your busy life, no stress included.
What Ingredients You Will Need
This recipe uses straightforward, everyday ingredients to create those nostalgic sealed sandwiches you love—without the preservatives or mystery additives. Here’s what you’ll need:
- White sandwich bread: 12 slices, crusts removed (use fresh but firm bread for easy sealing)
- Peanut butter: 1 cup (smooth or crunchy based on preference; I recommend Skippy for the perfect spreadability)
- Jelly or jam: 1/2 cup (grape, strawberry, or your favorite flavor; homemade jam works beautifully here)
- Butter or margarine: Optional, for a light brushing on the bread edges to help seal better
- Powdered sugar: For dusting (optional, adds a sweet finishing touch)
Substitution tips: Use gluten-free bread for a gluten-free option. Swap peanut butter with almond or sunflower seed butter for allergy-friendly choices. Try sugar-free or low-sugar jam if you’re watching sugar intake.
Equipment Needed
- Round sandwich cutter or biscuit cutter: About 3 to 4 inches in diameter to create neat sealed sandwiches. If you don’t own one, a sharp knife and a steady hand work fine.
- Fork: To press and crimp the edges, ensuring a good seal.
- Baking sheet or tray: To place the sandwiches on while sealing and chilling.
- Wax paper or parchment paper: For easy sandwich handling and storage.
- Optional sandwich press or panini maker: If you want to try a warm version, but it’s not needed for the classic sealed sandwiches.
Personally, I find a simple biscuit cutter the easiest for shaping and sealing. No fancy gadgets required, and cleanup is a breeze. If you have a food-safe pastry brush, it’s great for brushing the bread edges to help them stick better.
Preparation Method
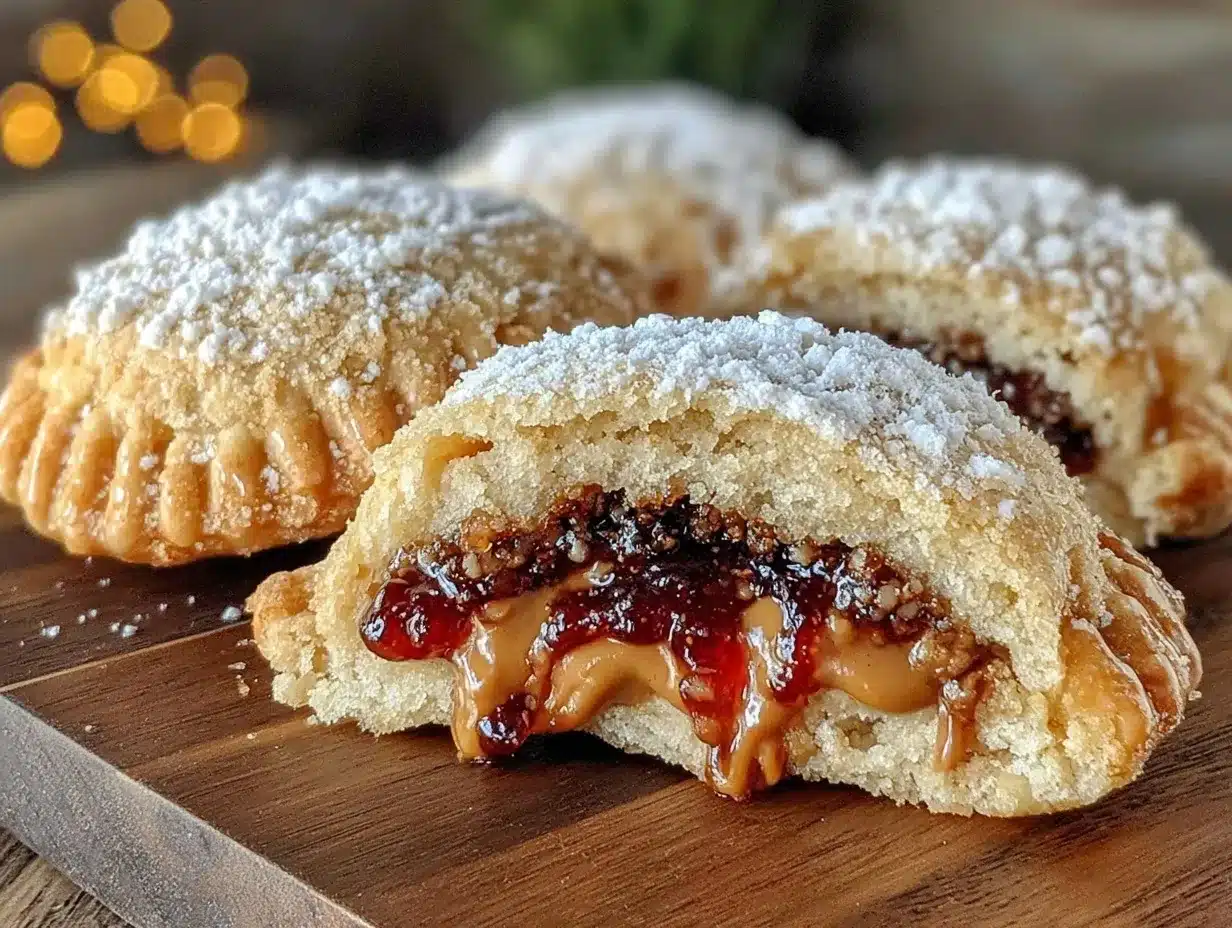
- Remove crusts: Lay out 12 slices of white sandwich bread and carefully cut off the crusts using a sharp knife. This helps create the classic soft edges of Uncrustables.
- Spread peanut butter: Take 6 slices and evenly spread about 2 tablespoons (30g) of peanut butter on each. Try to stay within the center area, leaving about a half-inch border free around the edges.
- Add jelly: On top of the peanut butter, spread 1 tablespoon (15g) of your chosen jelly or jam. Again, avoid the edges to make sealing easier and less messy.
- Optional butter brushing: Lightly brush the edges of the other 6 bread slices with melted butter or margarine. This step helps with the sealing process but can be skipped if you prefer.
- Assemble sandwiches: Carefully place the plain slices on top of the peanut butter and jelly slices, pressing gently to stick.
- Cut and seal: Using your sandwich cutter, press down firmly to cut and seal the edges. If you don’t have a cutter, use a knife to trim and then press edges with a fork to crimp and seal well. This prevents filling from leaking out.
- Chill sandwiches: Place the sealed sandwiches on a baking sheet lined with wax paper and refrigerate for at least 30 minutes. Chilling firms them up and makes them easier to handle.
- Optional dusting: Before serving, lightly dust with powdered sugar for a nostalgic touch.
- Store properly: Keep sandwiches in an airtight container or wrapped individually in plastic wrap for up to 3 days in the fridge, or freeze for longer storage.
Pro tip: If your bread is too soft, the sealing can get tricky. Try chilling the bread slices for 10 minutes before spreading to make them firmer and easier to handle. Also, don’t overload with jelly or peanut butter; less is more for a clean seal.
Cooking Tips & Techniques
Making Easy Homemade Uncrustables PB&J Sandwiches might seem simple, but a few tricks make all the difference:
- Choose the right bread: Fresh but slightly firm bread seals better. Too soft, and it tears; too dry, and it cracks.
- Spread evenly: Consistent peanut butter and jelly layers prevent sogginess and make sealing easier.
- Seal firmly: Use a fork to crimp edges with gentle pressure. This not only seals but adds a charming homemade look.
- Chill before serving: Refrigerating the sandwiches helps the filling set and keeps the bread from becoming soggy.
- Don’t skip crust removal: It may seem tedious, but removing crusts is key to that classic Uncrustables soft texture.
- Watch your fillings: Avoid watery jams or too much jelly to maintain the sandwich’s integrity.
One time, I tried using a thick homemade berry jam that was a bit runny, and the sandwiches fell apart. Lesson learned: thicker jams or preserves work best. Also, if you want to make these ahead for school lunches, freezing them individually wrapped keeps them fresh and ready to grab.
Variations & Adaptations
Feel like mixing it up? These sandwiches are surprisingly versatile:
- Nut-free version: Swap peanut butter for sunflower seed butter or soy nut butter to accommodate allergies.
- Different breads: Try whole wheat for a heartier option or gluten-free bread for dietary needs.
- Flavored fillings: Use honey, Nutella, or even cream cheese and jam combos for a tasty twist.
- Warm Uncrustables: Toast the sealed sandwiches lightly in a panini press for a melty, warm treat.
- Fruit additions: Add thinly sliced bananas or strawberries inside for extra freshness and texture.
I once added a sprinkle of cinnamon to the peanut butter before sealing, and it brought a cozy fall vibe to the snack. It’s a simple way to play with flavors without complicating the process.
Serving & Storage Suggestions
These Easy Homemade Uncrustables PB&J Sealed Sandwiches are best served chilled or at room temperature. They make perfect grab-and-go snacks or lunchbox staples.
Pair them with fresh fruit, a glass of milk, or even a handful of crunchy veggie sticks for a balanced snack. They also travel well on picnics or road trips—no mess, no fuss.
Store sandwiches individually wrapped in plastic wrap or beeswax wraps to keep them fresh. Refrigerate for up to 3 days or freeze for up to a month. When ready to eat from frozen, let thaw in the fridge overnight or at room temperature for about 30 minutes.
Interestingly, letting sandwiches sit for a few hours allows the peanut butter and jelly to meld deliciously, making each bite more flavorful than the last.
Nutritional Information & Benefits
Each Easy Homemade Uncrustables PB&J Sandwich contains approximately:
| Calories | 320 kcal |
|---|---|
| Protein | 10g |
| Carbohydrates | 38g |
| Fat | 14g |
| Fiber | 3g |
These sandwiches provide a good mix of protein and carbs, great for energy-packed snacks. Peanut butter delivers heart-healthy fats and protein, while the jelly adds natural sweetness and antioxidants if you use fruit preserves. Remember to pick natural or low-sugar peanut butter and jam options to keep it wholesome.
This recipe can be adapted for gluten-free or nut-free diets, and it’s a fun way to sneak in homemade ingredients you trust. Plus, homemade means no added preservatives or strange additives—just good, honest food.
Conclusion
Easy Homemade Uncrustables PB&J Sealed Sandwiches are a simple, nostalgic treat that’s as satisfying as the store-bought version but with your personal touch. Whether you’re packing lunches, prepping snacks ahead, or just craving a handheld comfort food, this recipe hits the spot.
Feel free to swap fillings or bread types to make it your own. I love how this recipe grew from a kitchen blunder into a staple, and I’m sure you’ll find your own favorite twist too.
If you try this recipe, leave a comment or share your variations—I’m always curious about how you make it your own. Here’s to no-fuss snacks that feel homemade and loved every single time!
Frequently Asked Questions
Can I freeze these homemade Uncrustables?
Yes! Wrap them individually in plastic wrap and freeze for up to a month. Thaw in the fridge overnight or at room temperature before eating.
What’s the best bread to use for sealing?
Fresh but slightly firm white sandwich bread works best. Too soft or stale bread can tear or not seal well.
Can I use crunchy peanut butter?
Absolutely, though smooth peanut butter tends to seal better. If you love crunch, go for it!
How do I prevent the jelly from leaking out?
Use a moderate amount and keep it away from the edges. Thick jams or preserves work better than runny jelly.
Are these sandwiches safe for young kids?
Yes, as long as they have no peanut allergies. For younger kids, consider using a nut-free butter alternative.
For more easy snack ideas and homemade lunchbox treats, you might enjoy the crispy garlic chicken recipe or our homemade pasta basics for cozy dinners.
Pin This Recipe!
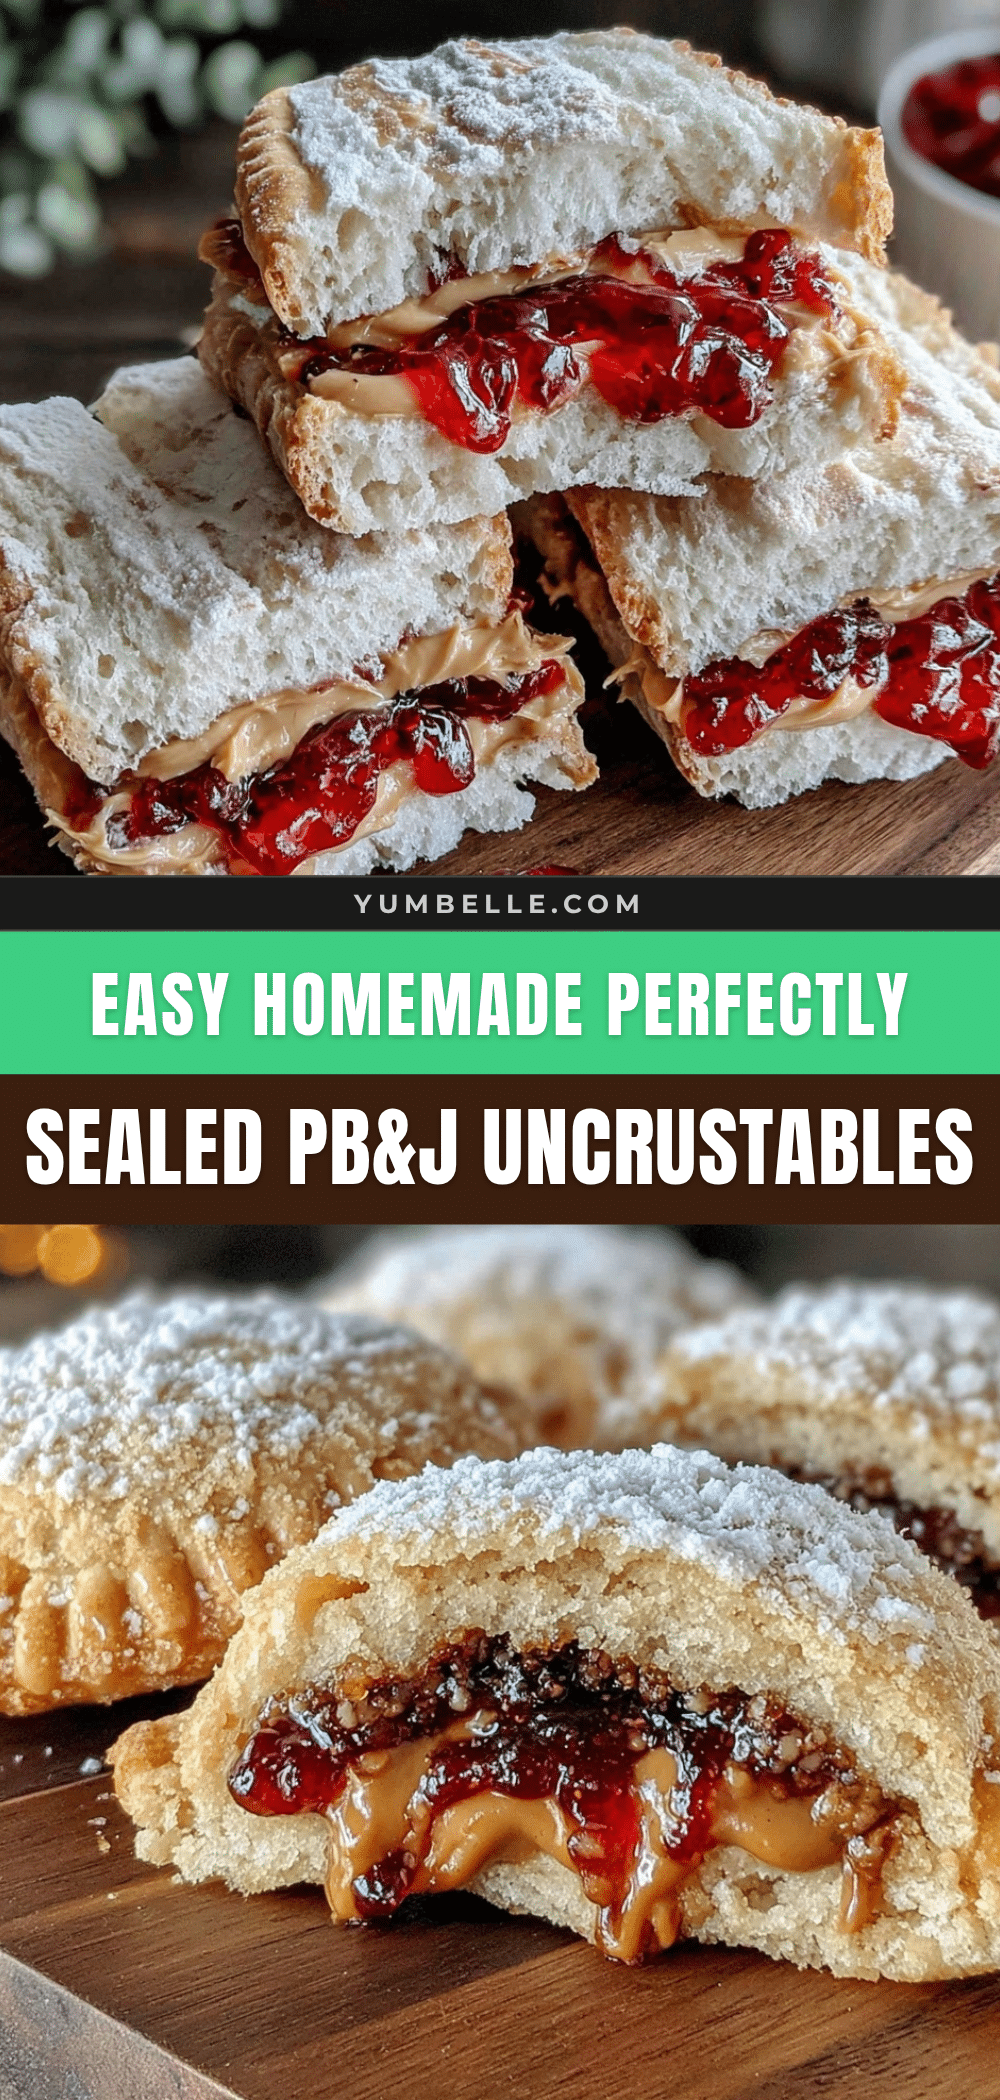
Easy Homemade Uncrustables PB&J Sandwiches Recipe for Perfect Snacks
A quick and easy recipe for homemade sealed peanut butter and jelly sandwiches that are perfect for snacks and lunchboxes, with customizable fillings and no preservatives.
- Prep Time: 10 minutes
- Cook Time: 0 minutes
- Total Time: 40 minutes
- Yield: 6 sandwiches 1x
- Category: Snack
- Cuisine: American
Ingredients
- 12 slices white sandwich bread, crusts removed
- 1 cup peanut butter (smooth or crunchy)
- 1/2 cup jelly or jam (grape, strawberry, or favorite flavor)
- Butter or margarine (optional, for brushing bread edges to help seal)
- Powdered sugar (optional, for dusting)
Instructions
- Remove crusts from 12 slices of white sandwich bread using a sharp knife.
- Spread about 2 tablespoons (30g) of peanut butter evenly on 6 slices, leaving a half-inch border around edges.
- Spread 1 tablespoon (15g) of jelly or jam on top of the peanut butter, avoiding edges.
- Optionally, lightly brush edges of the other 6 bread slices with melted butter or margarine to help seal.
- Place the plain slices on top of the peanut butter and jelly slices, pressing gently to stick.
- Use a round sandwich cutter or biscuit cutter (3 to 4 inches diameter) to cut and seal the edges firmly. If no cutter, trim with a knife and crimp edges with a fork to seal.
- Place sealed sandwiches on a baking sheet lined with wax paper and refrigerate for at least 30 minutes to firm up.
- Optionally, dust sandwiches with powdered sugar before serving.
- Store sandwiches individually wrapped in plastic wrap or airtight container in the fridge for up to 3 days or freeze for longer storage.
Notes
Use fresh but slightly firm bread for easier sealing. Chill bread slices before spreading if too soft. Avoid overfilling with jelly or peanut butter to prevent leaks. Thicker jams or preserves work best. Sandwiches can be frozen individually wrapped for up to one month. Let thaw in fridge overnight or at room temperature for 30 minutes before eating.
Nutrition
- Serving Size: 1 sandwich
- Calories: 320
- Fat: 14
- Carbohydrates: 38
- Fiber: 3
- Protein: 10
Keywords: Uncrustables, peanut butter and jelly, homemade snacks, lunchbox ideas, sealed sandwiches, easy snacks


