Love this? Save it for later!
Share the inspiration with your friends
I was standing in the baking aisle of my local grocery store last August, staring at a box of pectin that cost almost as much as the bag of peaches in my cart. A woman next to me was loading up her cart with what looked like fifty pounds of fruit, and I felt that familiar pang of intimidation. Making jam always seemed like something you needed special equipment for—a massive stockpot, a candy thermometer, those little jars with the two-piece lids that never seal right on the first try. I almost walked away from the peaches entirely. But then I remembered my neighbor, Mrs. Kowalski, who used to make the most incredible strawberry jam without any of that stuff. She’d just mash the fruit, stir in some sugar and lemon juice, and call it a day. I mean, honestly, that seemed too simple to work. But standing there in that aisle, I figured I had nothing to lose. So I grabbed the peaches, skipped the pectin, and went home to figure it out.
The first batch was a glorious, messy accident. I forgot to stir it every five minutes like some recipes insist, and I definitely didn’t sterilize anything. But when I pulled that jar out of the freezer a week later and spread it on toast, I literally closed my eyes. It tasted like summer had been condensed into a jar—bright, peachy, with this perfect soft-set texture that you just can’t get from the store-bought stuff. No pectin needed. No complicated water bath canning. Just fruit, sugar, and a little patience.
This easy small-batch peach freezer jam has become my secret weapon for using up those last few peaches that are about to go soft. It’s forgiving, it’s fast, and it makes your kitchen smell like heaven. Maybe you’ve been there—staring at a pile of fruit that’s too good to waste but too much to eat before it turns. This recipe is your answer. Let me show you how to make it.
Why You’ll Love This Recipe
I’ve tested this recipe about seven times now, tweaking the sugar ratio and the cooking time, and I can say with confidence that this version is the one. Here’s what makes it special:
- No Pectin Required — Most jam recipes call for powdered or liquid pectin, which can be expensive and finicky. This one uses the natural pectin in the fruit and a little lemon juice to get that perfect set. No special ingredients needed.
- Small Batch Perfection — This recipe makes just about 2 cups of jam, which is perfect if you don’t want to commit to a massive canning project. It’s ideal for using up a small basket of peaches without feeling overwhelmed.
- Ready in Under an Hour — From cutting peaches to stashing jars in the freezer, you’ll be done in about 45 minutes. Most of that time is hands-off simmering.
- No Water Bath Canning — Because this is a freezer jam, you skip the entire complicated sealing process. Just fill your jars, let them cool, and pop them in the freezer. It’s that simple.
- Perfect Texture Every Time — The texture is soft and spreadable, not stiff like commercial jam. It’s the kind that melts into warm toast or swirls beautifully into yogurt.
- Customizable Sweetness — You control how much sugar goes in. I’ve made versions with honey and maple syrup too, and they work beautifully.
This isn’t just another jam recipe. It’s the one that makes you feel like you actually know what you’re doing in the kitchen, even on days when you’re pretty sure you don’t. It’s the kind of recipe that makes people say, “Wait, you made this yourself?” with genuine surprise. And honestly, that never gets old.
What Ingredients You Will Need
This recipe uses simple, everyday ingredients that come together to create something genuinely special. The magic is in the technique, not the grocery list.
- 2 pounds ripe peaches (about 5-6 medium peaches) — Look for peaches that give slightly when you press them gently. They should smell intensely peachy. Under-ripe peaches don’t have enough natural pectin or sweetness. I prefer freestone peaches because the pit comes out easily, but any variety works.
- 1 ½ cups granulated sugar — This isn’t just for sweetness. Sugar helps preserve the fruit and creates the right texture. You can reduce it to 1 cup if your peaches are very sweet, but don’t go lower than that or the jam won’t set properly.
- 2 tablespoons fresh lemon juice (about 1 lemon) — The acid in lemon juice helps the natural pectin in the peaches do its job. It also brightens the flavor and prevents browning. Use fresh lemon juice, not bottled—the flavor difference is real.
- 1 teaspoon vanilla extract (optional but recommended) — This is my little trick. Vanilla rounds out the peachy flavor and makes it taste more complex. I use pure vanilla extract, not imitation.
- Pinch of salt — Just a tiny pinch. Salt enhances sweetness and balances flavors. You won’t taste it, but you’ll notice if it’s missing.
Ingredient Selection Tips: If you can get your hands on local or farmers’ market peaches, do it. They have more flavor and natural pectin than grocery store peaches that were picked early for shipping. In a pinch, frozen peaches work too—just thaw them completely and drain off any excess liquid before using. I’ve tested this with frozen peaches from Trader Joe’s and it worked great.
Sweetener Substitutions: You can use honey or maple syrup instead of some of the sugar, but the texture will be slightly different. I recommend replacing no more than half the sugar with liquid sweeteners, and you may need to simmer the jam a little longer to get it to thicken. For a low-sugar version, use a no-sugar-needed pectin alternative, but that changes the recipe significantly.
Equipment Needed
You don’t need a fancy canning setup for this recipe. Here’s what you’ll actually use:
- Medium saucepan (2-3 quart capacity) — A heavy-bottomed saucepan works best because it distributes heat evenly and prevents scorching. I use my trusty stainless steel one that cost about $20.
- Wooden spoon or silicone spatula — You’ll be stirring frequently, so use something that won’t scratch your pan. A flat-edged wooden spoon is ideal for scraping the bottom.
- Sharp knife and cutting board — For peeling and chopping peaches. A paring knife works great for this.
- Large bowl — For holding the chopped peaches before cooking.
- Measuring cups and spoons — Standard kitchen basics. Use dry measuring cups for sugar and liquid measures for lemon juice.
- Potato masher or fork — For mashing the peaches to your desired consistency. I prefer a potato masher because it gives you more control.
- Two 8-ounce jars or one 16-ounce jar — Wide-mouth Mason jars work perfectly. You can reuse pasta sauce jars too, just make sure they’re clean and have tight-fitting lids. Plastic freezer-safe containers also work.
- Small plate and freezer — For testing if the jam is set. Pop a small plate in the freezer before you start cooking.
- Funnel (optional but helpful) — A wide-mouth funnel makes filling jars much less messy. If you don’t have one, you can use a ladle carefully.
Budget-Friendly Tip: Don’t rush out to buy special canning equipment. I made my first batch using an old pickle jar and a soup pot. The jam turned out perfectly. Upgrade your tools only if you find yourself making this recipe regularly.
Preparation Method
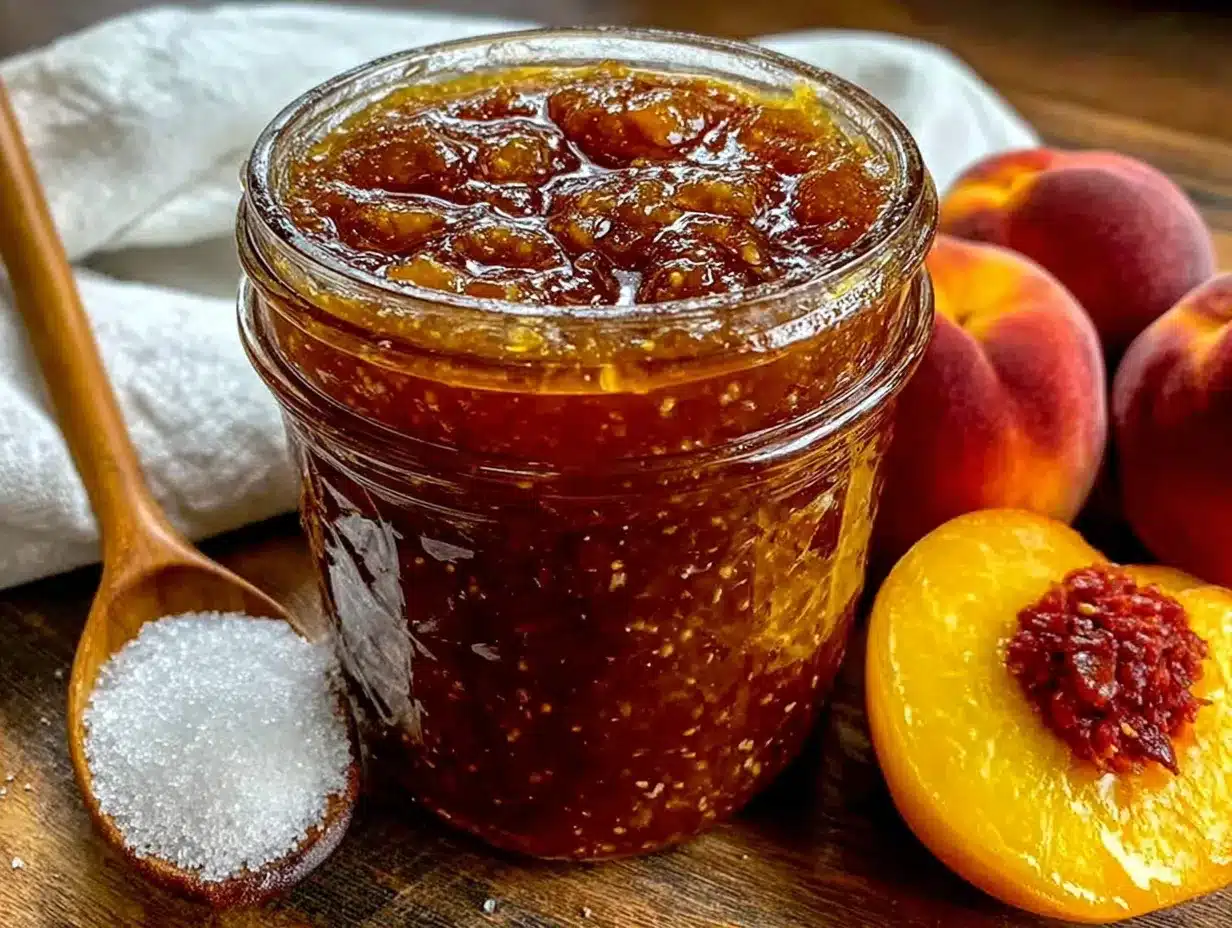
Let’s get cooking! This whole process takes about 45 minutes, with about 15 minutes of active work. Here’s exactly how to do it.
- Prepare your peaches (10 minutes): Bring a small pot of water to a boil. Score a small “X” on the bottom of each peach with your knife. Drop the peaches into the boiling water for 30-45 seconds, then transfer them to a bowl of ice water. The skins should slip right off. If they don’t, give them another 15 seconds in the boiling water. Once peeled, cut each peach in half, remove the pit, and chop the flesh into small chunks—about ½-inch pieces. Don’t stress about uniformity, just keep them roughly the same size so they cook evenly.
- Mash and mix (5 minutes): Place the chopped peaches in your saucepan. Using a potato masher or fork, mash them to your desired consistency. I like mine a little chunky—about half mashed, half small pieces. Add the sugar, lemon juice, vanilla extract (if using), and a pinch of salt. Stir everything together until the sugar starts to dissolve. Let it sit for 5 minutes. This resting time helps draw out the peach juices.
- Cook the jam (20-25 minutes): Place the saucepan over medium-high heat and bring the mixture to a full rolling boil, stirring frequently. Once it’s boiling, reduce the heat to medium and let it simmer. Stir every couple of minutes to prevent sticking. You’ll see foam forming on top—that’s normal. Skim it off with a spoon if you want a clearer jam, but I usually leave it because it adds flavor.
- Test for doneness (2 minutes): After about 15 minutes of simmering, start testing the jam. Place a small spoonful on your frozen plate and let it sit for 30 seconds. Run your finger through it. If the jam wrinkles and holds its shape, it’s done. If it’s still runny, keep cooking for another 3-5 minutes and test again. The jam will thicken more as it cools, so don’t overcook it. You’re looking for a consistency that’s slightly looser than you want the final product to be.
- Cool slightly (5 minutes): Remove the saucepan from the heat. Let the jam sit for 5 minutes. This allows it to cool just enough that it won’t crack your jars when you pour it in. Give it one last stir to redistribute any fruit that settled.
- Fill the jars (5 minutes): Using a funnel or a careful ladle, pour the jam into your clean jars. Leave about ½ inch of headspace at the top—the jam will expand as it freezes. Wipe the rims clean with a damp paper towel, then screw on the lids. Don’t overtighten; just make them snug.
- Cool completely (1-2 hours): Let the jars sit on the counter until they reach room temperature. You’ll see the jam start to set as it cools. Once they’re cool, pop the lids on tightly and transfer them to the freezer.
Important Note: If your jam doesn’t seem to be setting after 20 minutes of cooking, don’t panic. You can add an extra tablespoon of lemon juice and cook for 5 more minutes. The acid helps activate the natural pectin. I’ve had to do this once when I used slightly under-ripe peaches, and it worked like a charm.
Cooking Tips & Techniques
After making this jam more times than I care to count, I’ve learned a few things the hard way. Let me save you some trouble.
The wrinkle test is your best friend. I cannot stress this enough. The first time I made this, I cooked it until it looked thick in the pan, and it turned into something closer to peach candy than jam. The jam will look looser in the pan than it will when it’s cooled. Trust the wrinkle test on the frozen plate. It’s never let me down.
Don’t walk away from the stove. I know, I know, simmering sounds like a low-maintenance activity. But this jam can go from perfect to scorched in about 30 seconds if you’re not watching. Set a timer for every 5 minutes so you remember to stir. I learned this lesson when I got distracted by a phone call and ended up with a smoky kitchen and a ruined batch.
Skim the foam if you want a prettier jam. The pinkish foam that forms on top is perfectly edible, but it can make your jam look a little cloudy. If you’re planning to give jars as gifts, skim it off with a spoon. If it’s just for your family, leave it—it’s full of flavor and you won’t notice it once it’s mixed in.
Use a heavy-bottomed pan. Thin pans create hot spots that can burn your jam before the rest of it is cooked. If you only have a thin pan, stir more frequently and keep the heat on the lower side of medium. Your arm will get a workout, but your jam will thank you.
Let the peaches shine. This is a simple recipe, so the quality of your ingredients matters. Taste your peaches before you start. If they’re not sweet and flavorful, add a little more sugar or a splash of vanilla to compensate. I once used bland grocery store peaches and ended up adding a tablespoon of honey to boost the flavor. It worked, but it wasn’t as good as using really ripe peaches from the start.
Variations & Adaptations
One of the best things about this recipe is how easy it is to customize. Here are some variations I’ve tried and loved:
Spiced Peach Jam: Add ½ teaspoon of cinnamon and ¼ teaspoon of nutmeg along with the sugar. The warm spices complement the peach flavor beautifully. I made this version for fall and it tasted incredible on pumpkin bread.
Peach-Berry Jam: Replace ½ cup of the chopped peaches with an equal amount of raspberries or blueberries. The berries add color and a little tartness that balances the sweetness. This is my go-to when I have a handful of berries left in the fridge.
Low-Sugar Version: Use 1 cup of sugar instead of 1 ½ cups, and add an extra tablespoon of lemon juice. The texture will be a little softer, but the flavor will be more intensely peachy. You might need to cook it a few minutes longer to get it to set.
Honey-Sweetened Version: Replace the sugar with ¾ cup of honey. The flavor will be different—more floral and complex—but it works beautifully. Reduce the lemon juice to 1 tablespoon since honey is more acidic than sugar. Cook time may be slightly shorter, so start testing earlier.
Peach-Lavender Jam: Add 1 teaspoon of dried culinary lavender along with the sugar. The floral notes pair surprisingly well with the peach. I made this for a brunch party and people couldn’t stop talking about it.
Dietary Adaptation: This recipe is naturally gluten-free, dairy-free, and vegan. Just make sure your vanilla extract is certified gluten-free if that’s a concern for you.
Serving & Storage Suggestions
This jam is incredibly versatile. Here’s how I use it and how to keep it fresh.
Serving Ideas: Obviously, it’s amazing on toast or biscuits. But don’t stop there. Swirl it into yogurt or oatmeal for an instant flavor upgrade. Use it as a filling for thumbprint cookies or between layers of a simple cake. Spoon it over vanilla ice cream for a quick dessert. Mix it into salad dressings for a fruity vinaigrette. Spread it on grilled cheese sandwiches with brie—trust me on this one.
Storage Instructions: This is a freezer jam, so it needs to be stored in the freezer for long-term keeping. It will last for up to 6 months in the freezer. Once you open a jar, keep it in the refrigerator and use it within 3 weeks. The jam will soften slightly after thawing, but the flavor remains bright and delicious.
Thawing Tips: To thaw a jar, transfer it from the freezer to the refrigerator overnight. If you’re in a hurry, you can place the sealed jar in a bowl of cool water for about an hour. Don’t microwave it—that can create hot spots and ruin the texture.
Flavor Development: Here’s something interesting—the flavor of this jam actually improves after a week or two in the freezer. The flavors meld together and the sweetness becomes more balanced. So if you can resist opening it right away, you’ll be rewarded with an even better jam. I always try to make a batch and forget about it for at least two weeks before digging in.
Nutritional Information & Benefits
While this is a sweet treat, it does have some redeeming qualities. Here’s the breakdown per 1-tablespoon serving (based on the standard recipe):
| Nutrient | Amount |
|---|---|
| Calories | 45 |
| Total Carbohydrates | 12g |
| Sugars | 11g |
| Vitamin C | 2% DV |
| Vitamin A | 1% DV |
Health Benefits: Peaches are a good source of vitamins A and C, which support immune function and skin health. They also contain antioxidants like chlorogenic acid, which may help reduce inflammation. The lemon juice adds a boost of vitamin C and aids in iron absorption. While this jam does contain sugar, using it in moderation as part of a balanced diet is perfectly fine. I think of it as a way to enjoy the goodness of summer fruit year-round, with a little sweetness to make it special.
Dietary Considerations: This recipe is naturally gluten-free, dairy-free, egg-free, nut-free, and vegan. It contains no common allergens beyond fruit. For a lower-sugar option, try the variation I mentioned above.
Frequently Asked Questions
Can I use frozen peaches instead of fresh?
Yes, absolutely. Thaw the peaches completely and drain off any excess liquid before using. You may need to cook the jam a few minutes longer to evaporate the extra moisture. The flavor won’t be quite as bright as with fresh summer peaches, but it’s still delicious.
Why didn’t my jam set?
This usually happens for one of three reasons: the peaches weren’t ripe enough (they need natural pectin to set), you didn’t cook it long enough, or you reduced the sugar too much. Try cooking it for 5-10 more minutes and testing again. If it still doesn’t set, you can stir in 1 tablespoon of chia seeds—they’ll absorb liquid and give it a jam-like texture.
Can I double this recipe?
You can, but I don’t recommend it. Larger batches take longer to cook and are more likely to scorch or cook unevenly. If you want to make more, I suggest making two separate batches. It only takes an extra 15 minutes and the results are much more reliable.
How do I know when the jam is done without a thermometer?
Use the wrinkle test I described in the preparation method. Put a small plate in the freezer before you start cooking. When you think the jam might be done, drop a spoonful onto the cold plate and wait 30 seconds. Push it with your finger—if it wrinkles and holds its shape, it’s ready. If it’s still runny, keep cooking.
Can I use this recipe for other fruits?
Yes, with some adjustments. This technique works best with fruits that have some natural pectin, like plums, nectarines, apricots, and strawberries. For low-pectin fruits like blueberries or cherries, you may need to add an extra tablespoon of lemon juice or cook it a bit longer. Peaches are the sweet spot (pun intended) for this no-pectin method.
Conclusion
This easy small-batch peach freezer jam has become a late-summer tradition in my kitchen, and I hope it becomes one in yours too. It’s proof that you don’t need fancy equipment or complicated techniques to make something genuinely delicious. Just good fruit, a little sugar, and a willingness to stir for 20 minutes.
What I love most about this recipe is how it captures a moment. When I open a jar in the middle of January, I’m right back in that hot August kitchen, with peach juice dripping down my arms and the windows fogged up from the steam. It’s summer in a jar, preserved at its peak.
I’d love to hear how your jam turns out. Did you add any fun variations? Did your family fight over the last spoonful? Drop a comment below and let me know. And if you’re looking for more ways to use up summer fruit, check out my recipe for easy peach crumble—it uses the same ripe peaches and comes together in about 30 minutes. Happy jam-making, friends!
Pin This Recipe!
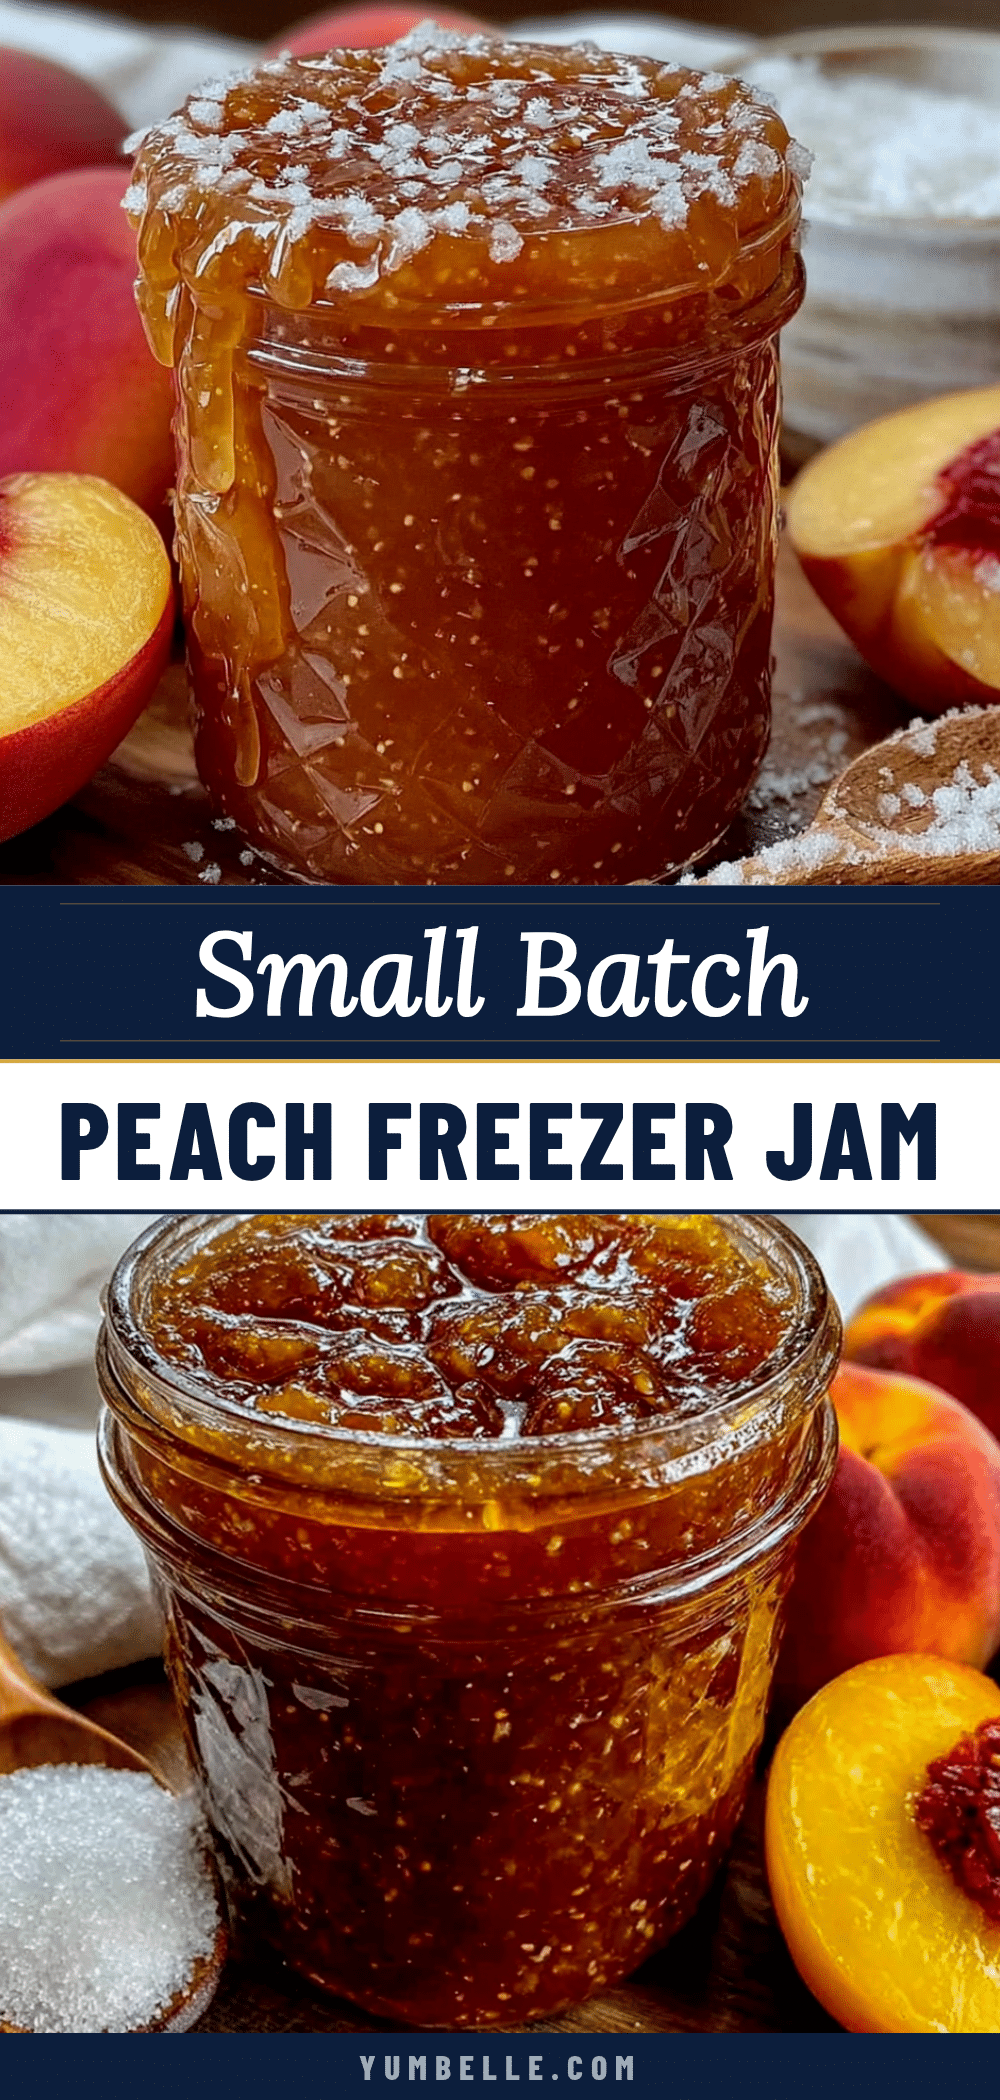
Best Small-Batch Peach Freezer Jam (No Pectin)
This easy small-batch peach freezer jam requires no pectin, no water bath canning, and is ready in under an hour. It’s a forgiving, fast recipe that uses simple ingredients to create a bright, peachy jam with a perfect soft-set texture.
- Prep Time: 15 minutes
- Cook Time: 25 minutes
- Total Time: 45 minutes
- Yield: 2 cups (about 16 servings) 1x
- Category: Condiment
- Cuisine: American
Ingredients
- 2 pounds ripe peaches (about 5–6 medium peaches)
- 1 ½ cups granulated sugar
- 2 tablespoons fresh lemon juice (about 1 lemon)
- 1 teaspoon vanilla extract (optional but recommended)
- Pinch of salt
Instructions
- Prepare your peaches (10 minutes): Bring a small pot of water to a boil. Score a small ‘X’ on the bottom of each peach. Drop the peaches into the boiling water for 30-45 seconds, then transfer to a bowl of ice water. Peel, halve, remove pit, and chop into ½-inch chunks.
- Mash and mix (5 minutes): Place chopped peaches in a medium saucepan. Mash to desired consistency (half mashed, half small pieces). Add sugar, lemon juice, vanilla extract (if using), and a pinch of salt. Stir until sugar starts to dissolve. Let sit for 5 minutes.
- Cook the jam (20-25 minutes): Bring mixture to a full rolling boil over medium-high heat, stirring frequently. Reduce heat to medium and simmer, stirring every couple of minutes. Skim off foam if desired.
- Test for doneness (2 minutes): After about 15 minutes of simmering, place a small spoonful on a frozen plate. Let sit for 30 seconds. Run your finger through it. If it wrinkles and holds its shape, it’s done. If still runny, cook 3-5 more minutes and test again.
- Cool slightly (5 minutes): Remove from heat. Let jam sit for 5 minutes. Stir once more.
- Fill the jars (5 minutes): Using a funnel or ladle, pour jam into clean jars, leaving ½ inch headspace. Wipe rims clean, screw on lids snugly but not overtight.
- Cool completely (1-2 hours): Let jars sit at room temperature until cool. Once cool, tighten lids and transfer to freezer.
Notes
The wrinkle test is key: jam will look looser in the pan than when cooled. Don’t walk away from the stove; set a timer every 5 minutes to stir. Skim foam for clearer jam. Use a heavy-bottomed pan to prevent scorching. Flavor improves after a week or two in the freezer.
Nutrition
- Serving Size: 1 tablespoon
- Calories: 45
- Sugar: 11
- Carbohydrates: 12
Keywords: peach jam, freezer jam, no pectin, small batch, homemade jam, summer fruit, easy jam recipe


