Love this? Save it for later!
Share the inspiration with your friends
My neighbor, a woman named Carol who keeps a garden that could make a farmer weep with envy, swore she hated pickles. For years. Every time I’d mention making a batch, she’d scrunch up her nose like I’d offered her a spoonful of dirt. “Too sour,” she’d say. “And they’re always limp.” I just nodded and kept my mouth shut. Then last August, I brought over a jar of these crunchy dill refrigerator pickles as a thank-you for the bushel of cucumbers she’d dropped on my porch. I didn’t say a word about what they were. I just set the jar on her counter and went home.
Two days later, I found her on my back steps, the empty jar in her hands, looking almost annoyed. “I need the recipe,” she said. Not a thank you, not a compliment—just a demand. She’d eaten the entire jar standing at her kitchen sink, one pickle after another, telling herself she’d stop after “just one more.” I mean, honestly, that’s the highest compliment a recipe can get, isn’t it? Someone getting caught in the act of proving themselves wrong.
These aren’t your average pickles. They’re crisp, they’re tangy, and they’re dangerously easy to make. No canning equipment, no complicated water baths, no sterilizing jars for hours. Just fresh cucumbers, a handful of pantry spices, and a little patience while the fridge does the work. Maybe you’ve been there—buying those sad, floppy pickles from the store, wondering why homemade never tastes as good as you remember. This recipe changed that for me, and apparently for Carol too. I keep making them because they’re the kind of thing that makes you feel like you actually know what you’re doing in the kitchen, even on a Tuesday afternoon with a baby crying in the background.
Why You’ll Love This Recipe
Let’s be honest—there are a million pickle recipes out there. Some require a science degree to understand the brine ratios, and others leave you with a jar of sad, rubbery spears that taste more like vinegar than anything else. These crunchy dill refrigerator pickles are different. They’re the result of years of trial and error, of too many batches that turned out too salty or too soft, and finally landing on something that works every single time.
- Quick & Easy: From cutting board to fridge in under 15 minutes. No boiling water baths, no sealing lids, no waiting months to taste them.
- Simple Ingredients: Cucumbers, dill, garlic, vinegar, salt, and a few spices. You probably have most of this in your kitchen right now.
- Perfect for Summer: When your garden or farmer’s market is overflowing with cucumbers, this is the best way to use them up without turning on the oven.
- Crowd-Pleaser: Even people who “don’t like pickles” (like Carol) end up finishing the jar. They’re that good.
- Unbelievably Crunchy: The secret is in the salt and the timing. No mushy pickles here—just that satisfying snap when you bite into one.
What makes this recipe stand out is the balance. The brine isn’t too sharp or too salty. The garlic mellows out overnight, and the dill infuses everything with that fresh, garden taste. I’ve tried versions with added sugar, with different vinegars, with fancy peppercorns—and I always come back to this one. It’s the kind of recipe that makes you wonder why you ever bought pickles at the store. Plus, it’s practically foolproof. You don’t need to be a seasoned cook to pull this off. If you can slice a cucumber and pour water into a jar, you’ve got this.
What Ingredients You Will Need
This recipe uses simple, wholesome ingredients to deliver that classic pickle flavor with an extra-crunchy texture. Most of these are pantry staples, and the fresh ingredients are easy to find at any grocery store or farmer’s market.
- 2 pounds (about 900g) pickling cucumbers (Kirby or Persian cucumbers work best—they’re firmer and have fewer seeds. Regular English cucumbers can get a bit soft, so look for the small, bumpy ones if you can.)
- 4 cups (960ml) water (Filtered or distilled water gives the cleanest flavor, but tap water works fine if yours doesn’t taste strongly of chlorine.)
- 1 cup (240ml) white distilled vinegar (This gives the classic pickle tang. Apple cider vinegar works too, but it changes the flavor slightly and can darken the brine.)
- 2 tablespoons (30g) kosher salt (I use Diamond Crystal—it dissolves cleanly and doesn’t have the bitter aftertaste of some table salts. If you use Morton’s, reduce to 1 ½ tablespoons since it’s denser.)
- 4 cloves garlic, smashed (Whole cloves that have been lightly crushed release more flavor without making the brine cloudy. Don’t slice them—you want big pieces that are easy to fish out later.)
- 2 tablespoons fresh dill (or 1 tablespoon dried dill weed. Fresh is noticeably better here—it has a brightness that dried just can’t match. I grow my own in a pot on the porch.)
- 1 teaspoon black peppercorns (Whole, not ground. They add a subtle warmth without making the pickles spicy.)
- ½ teaspoon red pepper flakes (Optional, but I love the tiny kick. Leave them out if you prefer mild pickles.)
- 1 teaspoon mustard seeds (These add a pop of texture and a mild, earthy flavor. You can skip them, but they’re worth tracking down.)
- 2 bay leaves (Fresh or dried—either works. They add a subtle herbal note that rounds out the brine.)
A quick note on cucumbers: I’ve tried this with regular grocery store cucumbers, and honestly? They’re okay, but not great. The texture just isn’t the same. If you can find pickling cucumbers at a farmer’s market or grow your own, that’s the gold standard. Also, don’t skip the salt—it’s not just for flavor. The salt helps draw out excess water from the cucumbers, which keeps them crunchy instead of turning into soggy messes.
Equipment Needed
One of the best things about this recipe is how little equipment it requires. No canning pots, no jar lifters, no fancy gadgets. Here’s what you’ll actually need:
- Two 16-ounce (500ml) mason jars (or one 32-ounce jar. Wide-mouth jars are easier to pack cucumbers into, but regular mouths work fine. I’ve reused pasta sauce jars in a pinch—just make sure they’re clean.)
- A sharp knife (A good chef’s knife makes slicing cucumbers a breeze. Dull knives crush the edges and make for uneven slices.)
- A cutting board (Preferably one with a groove to catch juices, but any board works.)
- A small saucepan (For heating the brine. Any small pot will do—you just need to dissolve the salt and warm the vinegar.)
- A measuring cup (For liquids. A 4-cup glass measuring cup is perfect for this.)
- Measuring spoons (For the salt, spices, and dill.)
- A wooden spoon or whisk (For stirring the brine. Wood won’t react with the vinegar.)
- A funnel (Optional, but helpful for pouring brine into jars without spilling. I use a wide-mouth canning funnel.)
That’s it. No pressure canner, no candy thermometer, no specialty tools. If you’ve got a kitchen, you’ve got everything you need. I’ve made these pickles in a tiny apartment kitchen with a dull knife and a pot that was too small, and they still turned out great. The equipment matters less than the technique.
Preparation Method
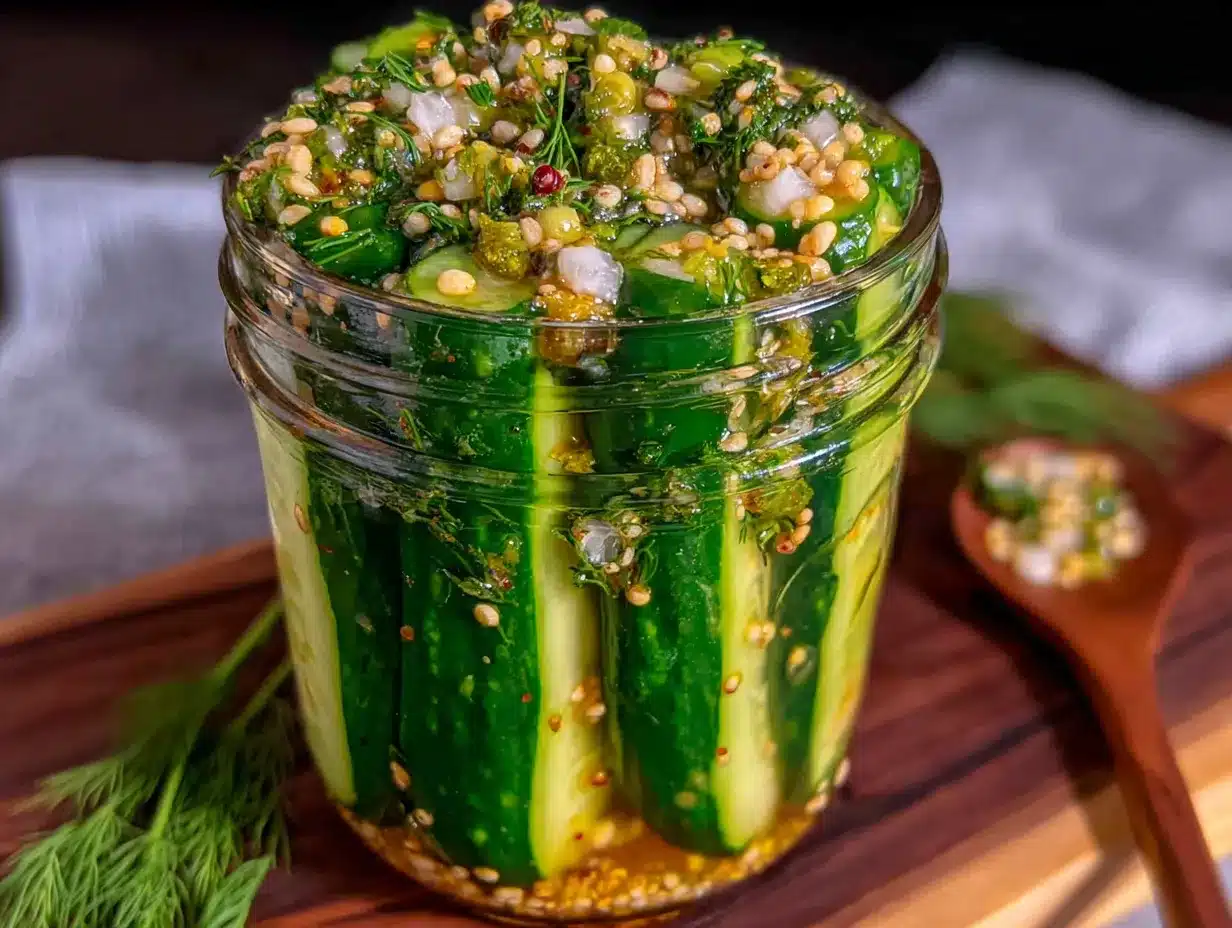
This is where the magic happens. Follow these steps carefully, and you’ll have a jar of pickles that will make you never want to buy store-bought again.
- Wash and dry your cucumbers (5 minutes). Give them a good scrub under cool water to remove any dirt or garden residue. Pat them dry with a clean towel. Don’t skip this—dirty cucumbers can introduce bacteria that might affect the flavor over time.
- Slice the cucumbers (5 minutes). Cut off the blossom end (the end opposite the stem)—it contains enzymes that can soften pickles. Then slice your cucumbers into spears, chips, or halves, depending on your preference. For spears, cut each cucumber lengthwise into quarters. For chips, slice into ¼-inch rounds. I prefer spears because they’re perfect for snacking straight from the jar.
- Prepare the brine (5 minutes). In a small saucepan, combine the water, white vinegar, and kosher salt. Heat over medium-high heat, stirring occasionally, until the salt is fully dissolved. You want the brine hot but not boiling—bubbles around the edges are fine, but don’t let it come to a rolling boil. This usually takes about 3-4 minutes. Remove from heat and let it cool for 5 minutes.
- Pack the jars (5 minutes). Divide the smashed garlic cloves, fresh dill, black peppercorns, red pepper flakes (if using), mustard seeds, and bay leaves evenly between your two jars. Then pack the cucumber slices tightly into the jars. Leave about ½ inch of headspace at the top. Don’t cram them in so tight that they’re crushed, but they should be snug enough that they won’t float around when you add the brine.
- Pour the brine (2 minutes). Carefully pour the warm brine over the cucumbers, covering them completely. Use a funnel to avoid spills. Make sure all the cucumbers are submerged—any pieces sticking out above the brine will get soft and discolored. If you need more brine, mix equal parts water and vinegar with a pinch of salt and add it.
- Tap out the air bubbles (1 minute). Gently tap the jars on the counter a few times to release any trapped air bubbles. You can also run a butter knife around the inside edge of the jar to dislodge stubborn bubbles. This step is important—air pockets can lead to uneven pickling and potentially spoilage.
- Seal and refrigerate (1 minute). Screw the lids on tightly. Let the jars cool to room temperature on the counter (about 30 minutes), then transfer them to the refrigerator. The pickles need at least 24 hours to develop flavor, but 48 hours is even better. I know it’s hard to wait, but trust me—it’s worth it.
A few notes from personal experience: If you’re short on time, you can skip the cooling step and put the jars straight in the fridge, but the pickles might be slightly less crunchy. Also, don’t be tempted to open the jars early and “check” them—every time you open the lid, you let in air and bacteria. Wait the full 24 hours. Your patience will be rewarded with the most satisfying crunch you’ve ever heard.
Cooking Tips & Techniques
I’ve made this recipe dozens of times, and I’ve learned a few things the hard way. Here are my best tips for perfect pickles every time.
The salt matters more than you think. I learned this after a batch that turned out so salty I could only eat one spear at a time. Different salts have different densities. Kosher salt is less dense than table salt, so if you use table salt, reduce the amount by half. And if you’re using fine sea salt, start with 1 ½ tablespoons and adjust from there. The salt isn’t just for flavor—it’s what draws moisture out of the cucumbers and keeps them crunchy. Too little salt, and you’ll get soggy pickles. Too much, and you’ll be reaching for a glass of water after every bite.
Don’t skip the ice bath trick. Here’s a pro tip I picked up from an old cookbook: after slicing your cucumbers, soak them in a bowl of ice water for 30 minutes before packing them into jars. This firms up the cell walls and gives you an even crunchier pickle. I do this every time now, and the difference is noticeable. Just make sure to drain and pat them dry before adding them to the jars.
Timing is everything. The pickles are at their peak between 24 hours and 2 weeks after you make them. After that, they start to lose their crunch as the vinegar continues to break down the cucumber fibers. They’re still perfectly safe to eat for up to a month, but they won’t have that same satisfying snap. I usually make a new batch every week during cucumber season so I always have fresh ones on hand.
A common mistake I made early on was using too much vinegar. I thought more vinegar would mean more pickle flavor, but it actually made the pickles taste harsh and acidic. The ratio of 4 parts water to 1 part vinegar is the sweet spot. It gives you that tangy pickle taste without burning your mouth.
Variations & Adaptations
Once you’ve mastered the basic recipe, feel free to experiment. Here are some of my favorite variations:
Spicy Pickles: Double the red pepper flakes and add a sliced jalapeño or habanero to each jar. These are incredible on sandwiches or as a spicy snack with cheese and crackers. I made a batch last summer with ghost peppers, and honestly? They were almost too hot to eat. Stick with jalapeños for a manageable kick.
Sweet and Tangy Pickles: Add ¼ cup of sugar to the brine along with the salt. This gives you a bread-and-butter style pickle that’s perfect for burgers and picnics. My kids love these—they’re sweet enough to eat straight from the jar but still have that pickle tang.
Garlic Lovers Pickles: Double the garlic and add a few whole cloves to each jar. Let them sit for at least 48 hours before eating. The garlic mellows out and becomes almost sweet, and the pickles take on a deep, savory flavor. I’ve had friends request these specifically for Bloody Marys.
Herb Garden Pickles: Swap the dill for fresh basil, tarragon, or thyme. Each herb gives the pickles a completely different personality. Basil pickles are amazing on Italian sandwiches, and tarragon pickles are lovely with seafood. I once made a batch with mint and used them in a summer salad—unexpected and delicious.
Quick Kimchi-Style Pickles: Add a tablespoon of gochugaru (Korean chili flakes) and a teaspoon of grated ginger to the brine. These are fantastic on rice bowls or as a side for grilled meats. They’re not traditional kimchi, but they scratch that same itch.
Serving & Storage Suggestions
These pickles are incredibly versatile. Here’s how to serve and store them for the best results.
Serving: These are best served cold, straight from the fridge. I love them on burgers, sandwiches, and hot dogs, but they’re also fantastic on their own as a snack. Try them on a charcuterie board with sharp cheddar, salami, and crusty bread. Or chop them up and add them to potato salad or tuna salad for extra crunch. They’re also amazing in Bloody Marys—just spear one with a toothpick and drop it in.
Storage: Keep the jars sealed in the refrigerator at all times. These are not shelf-stable—they need to stay cold. Properly stored, they’ll last for up to 4 weeks. After that, the texture starts to decline, though they’ll still be safe to eat for another week or two. I always write the date on the lid with a marker so I know when I made them.
Reheating: Don’t. These are cold pickles. If you want warm pickles (which I don’t recommend), you can add them to a pan of hot dogs or sausages at the last minute, but they’ll lose their crunch almost immediately.
Flavor Development: The pickles are good after 24 hours, but they’re at their absolute best after 48 hours. The flavors meld together, the garlic mellows, and the dill really shines. I’ve found that they actually get better over the first week, then slowly start to decline. Plan accordingly.
Nutritional Information & Benefits
These pickles are a guilt-free snack. Here’s a rough breakdown per serving (about 3 spears):
- Calories: 10
- Carbohydrates: 2g
- Fiber: 0.5g
- Sugar: 1g
- Sodium: 350mg (varies based on salt used)
- Fat: 0g
- Protein: 0.5g
Pickles are naturally low in calories and fat-free, making them a great snack for anyone watching their weight. The vinegar in the brine may help with blood sugar regulation, and cucumbers are hydrating and rich in vitamin K and potassium. The dill adds a small amount of antioxidants, and the garlic is known for its immune-boosting properties. Of course, these pickles are relatively high in sodium, so if you’re watching your salt intake, you might want to use a reduced-salt version (though the texture won’t be quite as good).
From a wellness perspective, I love that these pickles are a way to enjoy vegetables in a form that’s actually exciting to eat. My kids would never grab a plain cucumber from the fridge, but they’ll devour a jar of these in two days. Sometimes the best way to eat healthy is to make it taste amazing.
Conclusion
These crunchy dill refrigerator pickles are the kind of recipe that makes you feel like a kitchen genius with almost no effort. They’re crisp, tangy, and packed with flavor—everything you want from a pickle and nothing you don’t. No complicated equipment, no hours of boiling, no waiting months to taste the results. Just fresh ingredients, a little patience, and a jar of pickles that will change the way you think about homemade food.
I love this recipe because it’s forgiving. You can tweak the spices, adjust the salt, swap the vinegar—and it almost always works. It’s the kind of recipe that invites experimentation, that makes you feel like a real cook instead of just someone following instructions. And honestly? That’s rare. Most recipes either work perfectly or fail spectacularly. This one gives you room to play.
So go ahead—grab some cucumbers, raid your spice cabinet, and make a batch. Try them on a burger, eat them straight from the jar, or give them to a neighbor who claims to hate pickles. I promise you won’t regret it. And when you make your own version, come back and tell me about it. I’d love to hear what variations you come up with. Happy pickling!
Frequently Asked Questions
Can I use regular cucumbers instead of pickling cucumbers?
Yes, but the texture won’t be as crunchy. Regular English cucumbers have a higher water content and thinner skins, which means they can get soft more quickly. If you can only find regular cucumbers, try the ice bath trick I mentioned in the tips section—it helps firm them up.
How long do these pickles last in the fridge?
They’ll stay fresh and crunchy for about 4 weeks when stored properly in a sealed jar in the refrigerator. After that, they start to lose their texture, though they’ll still be safe to eat for another week or two. I always make a new batch before the old one runs out.
Can I reuse the brine for another batch?
Technically yes, but I don’t recommend it. The brine absorbs flavor from the cucumbers and spices during the first batch, so the second batch won’t have the same clean taste. Plus, the salt concentration changes as the cucumbers release water. It’s better to start fresh each time.
Why are my pickles soft or mushy?
This usually happens for one of three reasons: you used the wrong type of cucumber, you didn’t use enough salt, or you let them sit too long before eating. Pickling cucumbers, enough salt, and eating them within 2-3 weeks are the keys to crunchy pickles. Also, make sure you cut off the blossom end of the cucumber—it contains enzymes that soften pickles.
Can I make these pickles without vinegar?
Vinegar is essential for both the flavor and the preservation of these refrigerator pickles. Without it, you’d essentially just have salted cucumbers, which won’t have the same tangy pickle taste and won’t last as long in the fridge. If you want a fermented pickle (like traditional dill pickles), that’s a completely different process that requires time and careful monitoring.
Pin This Recipe!
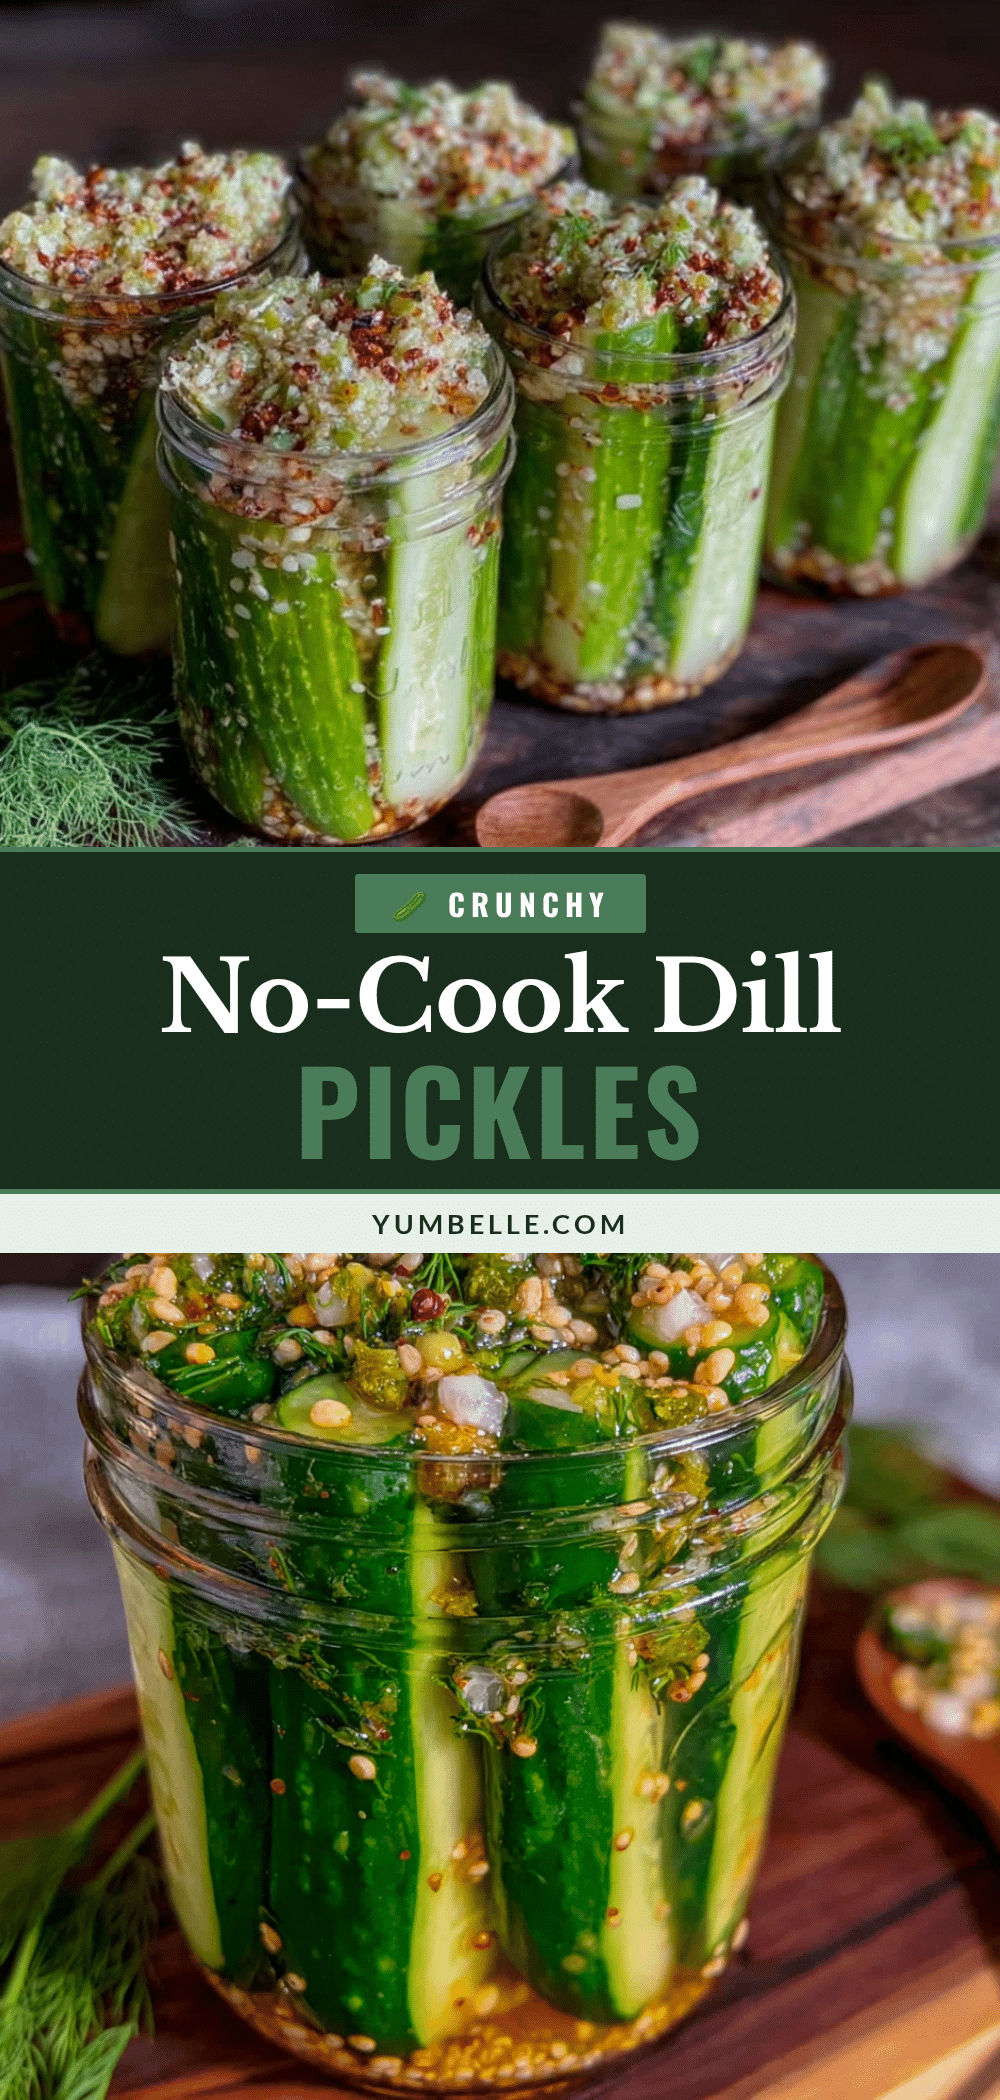
Easy Crunchy Dill Refrigerator Pickles (Best Homemade Recipe)
These crunchy dill refrigerator pickles are crisp, tangy, and dangerously easy to make. No canning equipment required—just fresh cucumbers, pantry spices, and a little patience while the fridge does the work.
- Prep Time: 15 minutes
- Cook Time: 5 minutes
- Total Time: 20 minutes (plus 24-48 hours refrigeration)
- Yield: 4 servings 1x
- Category: Appetizer
- Cuisine: American
Ingredients
- 2 pounds (about 900g) pickling cucumbers (Kirby or Persian cucumbers work best)
- 4 cups (960ml) water (filtered or distilled preferred)
- 1 cup (240ml) white distilled vinegar
- 2 tablespoons (30g) kosher salt (Diamond Crystal recommended; if using Morton’s, reduce to 1 ½ tablespoons)
- 4 cloves garlic, smashed
- 2 tablespoons fresh dill (or 1 tablespoon dried dill weed)
- 1 teaspoon black peppercorns
- ½ teaspoon red pepper flakes (optional)
- 1 teaspoon mustard seeds
- 2 bay leaves
Instructions
- Wash and dry your cucumbers (5 minutes). Give them a good scrub under cool water to remove any dirt or garden residue. Pat them dry with a clean towel.
- Slice the cucumbers (5 minutes). Cut off the blossom end (the end opposite the stem). Then slice your cucumbers into spears, chips, or halves, depending on your preference. For spears, cut each cucumber lengthwise into quarters. For chips, slice into ¼-inch rounds.
- Prepare the brine (5 minutes). In a small saucepan, combine the water, white vinegar, and kosher salt. Heat over medium-high heat, stirring occasionally, until the salt is fully dissolved. You want the brine hot but not boiling—bubbles around the edges are fine, but don’t let it come to a rolling boil. This usually takes about 3-4 minutes. Remove from heat and let it cool for 5 minutes.
- Pack the jars (5 minutes). Divide the smashed garlic cloves, fresh dill, black peppercorns, red pepper flakes (if using), mustard seeds, and bay leaves evenly between your two jars. Then pack the cucumber slices tightly into the jars. Leave about ½ inch of headspace at the top.
- Pour the brine (2 minutes). Carefully pour the warm brine over the cucumbers, covering them completely. Use a funnel to avoid spills. Make sure all the cucumbers are submerged.
- Tap out the air bubbles (1 minute). Gently tap the jars on the counter a few times to release any trapped air bubbles. You can also run a butter knife around the inside edge of the jar to dislodge stubborn bubbles.
- Seal and refrigerate (1 minute). Screw the lids on tightly. Let the jars cool to room temperature on the counter (about 30 minutes), then transfer them to the refrigerator. The pickles need at least 24 hours to develop flavor, but 48 hours is even better.
Notes
For extra crunch, soak sliced cucumbers in ice water for 30 minutes before packing. The pickles are at their peak between 24 hours and 2 weeks. After that, they start to lose crunch but are safe to eat for up to 4 weeks. Always cut off the blossom end of the cucumber to prevent softening.
Nutrition
- Serving Size: 3 spears
- Calories: 10
- Sugar: 1
- Sodium: 350
- Carbohydrates: 2
- Fiber: 0.5
- Protein: 0.5
Keywords: refrigerator pickles, crunchy dill pickles, easy pickles, homemade pickles, no canning pickles


