Love this? Save it for later!
Share the inspiration with your friends
There used to be this tiny bakery tucked between a laundromat and a used bookstore in Portland called Grist & Grain. They made a pumpkin sourdough bread that I still dream about—dark, crusty, speckled with pepitas, and somehow both tangy and sweet. When they closed their doors three years ago, I literally stood outside staring at the “For Lease” sign like I’d lost a friend. After twelve tries—including one that came out so dense I could have used it as a doorstop—I finally got it. This pumpkin sourdough bread recipe is the one.
Honestly, I didn’t think I’d ever crack it. The baker there, a quiet woman named June who always had flour in her hair, never shared her secrets. So I did what any reasonable person would do: I started dissecting every pumpkin sourdough bread I could find, took notes on texture and tang, and drove my family crazy with endless loaves. Let me tell you, my kitchen looked like a flour bomb went off for about two months straight.
What makes this version special is how the natural sourdough tang plays off the earthy sweetness of pumpkin. It’s not a sweet bread, exactly—more like a savory-sweet hybrid that works for breakfast with butter or alongside a bowl of soup. The pepitas add this lovely crunch that contrasts with the soft, tender crumb. Maybe you’ve been there, chasing a recipe that feels just out of reach. That’s why I keep making this loaf. It reminds me that some things are worth the mess.
Why You’ll Love This Recipe
This isn’t just another pumpkin bread recipe. After testing this pumpkin sourdough bread more times than I care to count, I can tell you exactly why it works and why you’ll keep coming back to it.
- Perfectly Tangy: The sourdough starter gives this bread a subtle tang that balances the pumpkin’s natural sweetness. No other quick bread can compete with that complexity.
- Simple Ingredients: You probably already have most of these in your pantry. No weird additives or hard-to-find flours—just real, honest ingredients.
- Great for Fall Baking: This is the bread that makes your whole house smell like autumn. It’s perfect for Thanksgiving morning or cozy Sunday afternoons.
- Crowd-Pleaser: I’ve brought this to brunches and dinner parties, and it always disappears first. Even people who “don’t like sourdough” end up going back for seconds.
- Unbelievably Tender: The pumpkin keeps this loaf incredibly moist without making it gummy. The texture is honestly next-level—soft inside, crusty outside.
What sets this pumpkin sourdough bread apart is the overnight fermentation. That long, slow rise develops flavors you just can’t rush. It’s the difference between good bread and memorable bread. And let’s face it—after the year I spent chasing that bakery’s recipe, I wasn’t going to settle for anything less than memorable.
This recipe is comfort food reimagined. It’s healthier than traditional pumpkin bread (no oil or butter in the dough itself), faster than a full sourdough boule (thanks to the pumpkin helping things along), and it has the same soul-soothing satisfaction as a slice of warm bread on a chilly day. Perfect for impressing guests without stress, or turning a simple breakfast into something special.
What Ingredients You Will Need
This pumpkin sourdough bread uses simple, wholesome ingredients to deliver that signature tangy-sweet flavor and tender crumb. Most of these are pantry staples, which makes this recipe perfect for spontaneous baking.
For the Dough
- Active sourdough starter, 100g (about ½ cup)—make sure it’s bubbly and fed within the last 4-6 hours for best rise
- Pumpkin purée, 200g (about ¾ cup)—use canned pumpkin, not pumpkin pie filling (I prefer Libby’s for consistent texture)
- Bread flour, 400g (about 3 cups)—King Arthur is my go-to for consistent protein content
- Whole wheat flour, 100g (about ¾ cup)—adds depth and helps with structure
- Water, 100ml (about ⅓ cup plus 1 tablespoon)—lukewarm, not hot
- Salt, 10g (about 1½ teaspoons)—fine sea salt works best
- Honey or maple syrup, 30g (about 2 tablespoons)—feeds the yeast and complements the pumpkin
- Pumpkin pie spice, 2 teaspoons—or make your own with cinnamon, nutmeg, ginger, and cloves
For the Topping
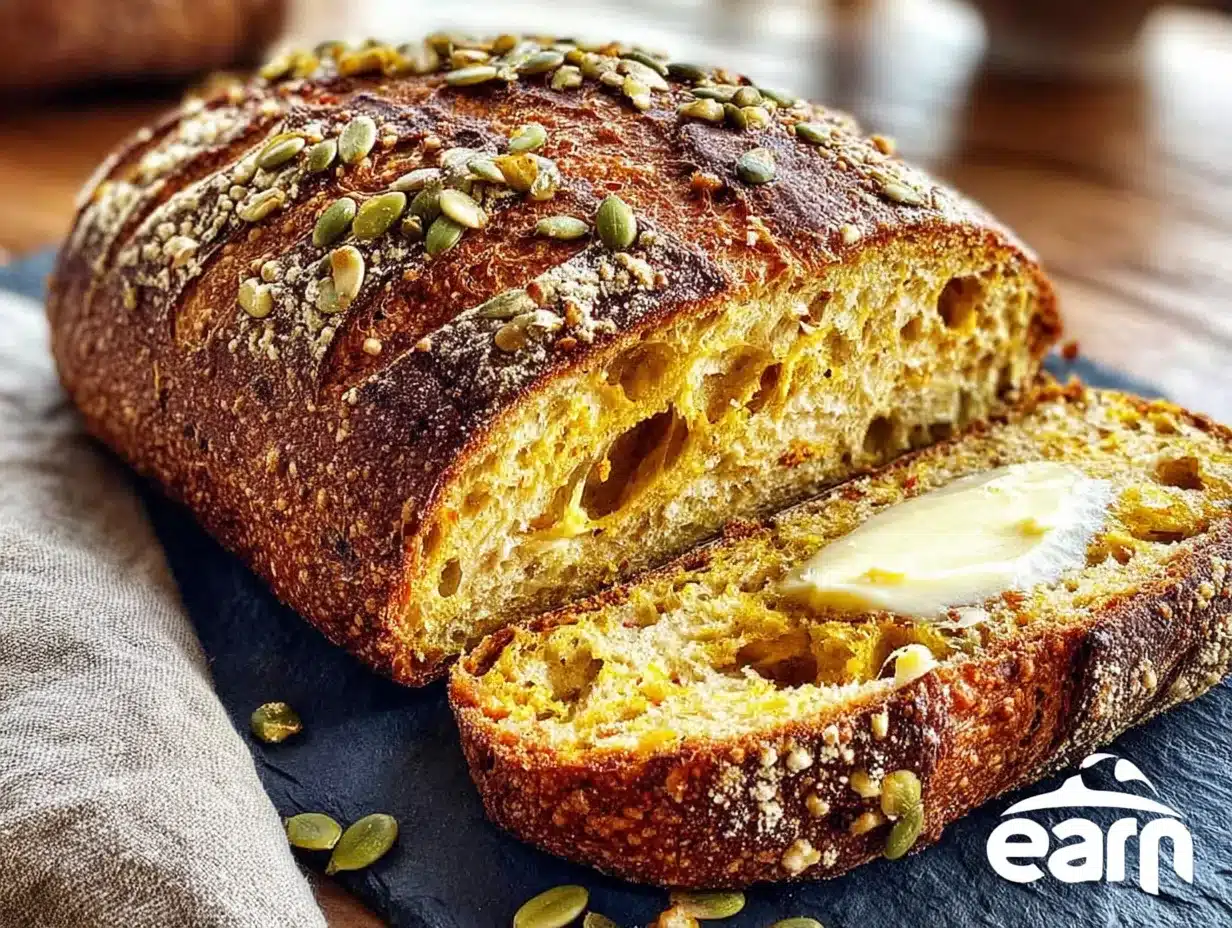
- Pepitas (raw pumpkin seeds), 50g (about ⅓ cup)—I like Trader Joe’s for their consistent roasting quality
- Flaky sea salt, optional—a sprinkle right before baking makes the crust sing
Ingredient Selection Tips: Look for pumpkin purée that lists only pumpkin as the ingredient—no added spices or sugar. If you’re using homemade pumpkin purée, drain it slightly in a cheesecloth to remove excess water. Wet pumpkin can make your dough sticky and hard to handle.
Substitution Guidance: You can swap the bread flour for all-purpose flour, but the crumb will be slightly less chewy. For a dairy-free version, this recipe is already dairy-free! If you want a gluten-free option, use a high-quality 1:1 gluten-free flour blend, though the texture will be denser. Replace honey with maple syrup for a vegan version.
Equipment Needed
You don’t need a professional bakery setup to make this pumpkin sourdough bread. Here’s what I use and what you can substitute if needed.
- Digital kitchen scale—honestly, this is non-negotiable for consistent sourdough. I’ve used my OXO scale for years and it’s never let me down
- Large mixing bowl—glass or ceramic works best; avoid metal if your starter is young and sensitive
- Dutch oven—this creates the steam that gives sourdough its crispy crust. If you don’t have one, use a heavy baking dish with an inverted metal bowl on top
- Banneton or proofing basket—a floured bowl lined with a kitchen towel works perfectly as a budget-friendly alternative
- Bench scraper—helps with folding and shaping the dough. A plastic dough scraper costs about $5 and is worth every penny
- Parchment paper—makes transferring the dough a breeze
- Lame or sharp knife—for scoring the top. A clean razor blade works just fine
Maintenance Tip: After using your Dutch oven, let it cool completely before washing. Sudden temperature changes can crack enamel. And please, don’t put your banneton in the dishwasher—just brush off the flour and let it air dry.
Preparation Method
Making this pumpkin sourdough bread takes two days, but don’t let that scare you. The active work is only about 30 minutes spread across both days. The rest is just waiting—and trust me, it’s worth it.
Day 1: Make the Dough
- Feed your starter (morning, 8:00 AM): About 4-6 hours before you plan to mix your dough, feed your sourdough starter. You need 100g of active, bubbly starter. If your starter usually doubles in 4 hours at room temperature, you’re in good shape.
- Mix the dough (12:00 PM): In a large bowl, combine 100g active starter, 200g pumpkin purée, 100ml lukewarm water, and 30g honey. Whisk until smooth. The mixture should look like a thick, orange milkshake. Add 400g bread flour, 100g whole wheat flour, 10g salt, and 2 teaspoons pumpkin pie spice. Mix with your hands until no dry flour remains. The dough will be shaggy and slightly sticky—that’s normal.
- Rest and fold (12:15 PM): Cover the bowl with a damp towel and let it rest for 30 minutes. This is called the autolyse, and it helps the flour absorb the liquid. After the rest, perform your first set of stretch and folds. Grab one side of the dough, stretch it up, and fold it over itself. Rotate the bowl and repeat on all four sides. This strengthens the gluten without aggressive kneading.
- Continue folding (12:45 PM to 4:00 PM): Perform 3 more sets of stretch and folds at 30-minute intervals. By the fourth fold, the dough should feel smoother and more elastic. If it tears easily, give it one more fold after 30 minutes.
- Bulk fermentation (4:00 PM to 10:00 PM): Cover the bowl and let the dough rise at room temperature for 6-8 hours, or until it has increased by about 50% and looks bubbly. The pumpkin can slow down fermentation slightly, so be patient. If your kitchen is cold (under 70°F), it might take longer.
- Shape and cold ferment (10:00 PM): Turn the dough onto a lightly floured surface. Gently shape it into a round boule by pulling the edges toward the center. Flip it seam-side down and cup your hands around it, rotating to create tension on the surface. Place it seam-side up in a floured banneton or lined bowl. Cover tightly with plastic wrap and refrigerate overnight (12-18 hours).
Day 2: Bake the Bread
- Preheat the oven (morning, 8:00 AM): Place your Dutch oven in the cold oven, then preheat to 475°F (245°C). Let it heat for at least 30 minutes after reaching temperature. The Dutch oven needs to be screaming hot.
- Prepare the loaf (8:30 AM): Remove the dough from the refrigerator. Place a piece of parchment paper over the banneton, then invert it gently. The dough should release easily. If it sticks, gently coax it with your fingers. Brush off excess flour.
- Score and top (8:35 AM): Using a lame or sharp knife, score the top of the dough with a deep slash (about ½ inch deep). A simple cross or a single long slash works beautifully. Sprinkle the pepitas generously over the top, pressing them in gently so they stick. Add a pinch of flaky sea salt if desired.
- Bake (8:40 AM): Carefully transfer the dough (on the parchment) into the hot Dutch oven. Cover with the lid and bake for 25 minutes. Remove the lid and bake for another 20-25 minutes, until the crust is deep golden brown and the internal temperature reaches 205°F (96°C). The pepitas should look toasted and fragrant.
- Cool completely (9:30 AM): Transfer the bread to a wire rack. Here’s the hard part—let it cool for at least 2 hours before slicing. I know it smells incredible, but cutting into hot bread ruins the texture. The crumb needs time to set.
Sensory Cues: During bulk fermentation, the dough should smell slightly sweet and tangy—like pumpkin pie meets sourdough starter. When you score the dough before baking, the blade should glide smoothly. If it drags or sticks, your blade is dull or the dough surface is too sticky. The finished loaf should sound hollow when tapped on the bottom.
Cooking Tips & Techniques
After twelve attempts at this pumpkin sourdough bread, I’ve collected more than a few battle scars. Here’s what I learned the hard way so you don’t have to.
Watch your hydration. Pumpkin purée varies in water content depending on the brand. If your dough feels excessively sticky (like, glue-sticky, not normal-sourdough-sticky), add a tablespoon of flour during the first fold. Conversely, if it feels dry and stiff, add a teaspoon of water. The dough should be tacky but not wet.
Don’t rush the bulk fermentation. This was my biggest mistake early on. Pumpkin can slow down yeast activity because of its natural sugars and fiber. I once tried to rush it after 5 hours and got a dense, flat loaf. Look for visual cues—the dough should be domed slightly, with small bubbles visible on the surface and sides. If you gently poke it, the indentation should spring back slowly.
Cold dough is easier to score. After overnight refrigeration, the dough firms up beautifully. This makes scoring much cleaner. If you’re struggling with dragging or ragged cuts, your dough might not be cold enough, or your blade needs sharpening. I keep a pack of single-edge razor blades specifically for scoring.
Toast your pepitas (optional but recommended). For extra flavor, toast the pepitas in a dry pan over medium heat for 2-3 minutes until they start popping. Let them cool completely before adding to the dough. Raw pepitas work fine too, but toasting brings out a nutty depth that pairs beautifully with the pumpkin.
Multitasking strategy: Start your dough in the morning, then go about your day. The stretch and folds only take 30 seconds each. I usually do them between work tasks or while waiting for my coffee to brew. The overnight cold ferment does all the heavy lifting while you sleep.
One mistake I’ll never make again: I once forgot to add the salt until after the first fold. I tried to incorporate it by kneading, but the dough was already too developed and it never distributed evenly. That loaf had bland patches and salty pockets. Not my finest moment. Always mix the salt into the flour before adding wet ingredients.
Variations & Adaptations
This pumpkin sourdough bread is wonderfully adaptable. Here are some variations I’ve tried and loved.
Savory Herb Version: Omit the pumpkin pie spice and add 1 tablespoon of fresh rosemary (finely chopped), 1 teaspoon of black pepper, and ½ cup of grated Parmesan cheese. Fold the cheese in during the last stretch and fold. This version is incredible with roasted chicken or butternut squash soup.
Spiced Cranberry Pepita: Add ½ cup of dried cranberries (roughly chopped) along with the pepitas. The tart cranberries balance the sweet pumpkin and create beautiful red flecks throughout the crumb. I made this for Thanksgiving last year and it was gone before the turkey was carved.
Gluten-Free Adaptation: Substitute the bread flour and whole wheat flour with 500g of a high-quality gluten-free bread flour blend (I like Cup4Cup). Add 1 teaspoon of xanthan gum if your blend doesn’t include it. The dough will be wetter and more like a batter. Bake in a loaf pan instead of free-form, and expect a denser, more cake-like texture. It’s not the same as the original, but it’s genuinely good in its own right.
Vegan Version: This recipe is already vegan as written if you use maple syrup instead of honey. The sourdough starter provides all the leavening you need, so no eggs required. The pumpkin adds enough moisture that you don’t miss any butter or oil.
Whole Grain Boost: Swap 100g of the bread flour for spelt or rye flour. Spelt adds a nutty, almost buttery flavor, while rye gives a deeper sourdough tang. If using rye, reduce the water by 20ml since rye absorbs less liquid.
My personal favorite variation? The spiced cranberry version with a handful of dark chocolate chips thrown in. Don’t judge until you try it. The combination of tangy sourdough, sweet pumpkin, tart cranberries, and bitter chocolate is unexpectedly perfect.
Serving & Storage Suggestions
This pumpkin sourdough bread is versatile enough for breakfast, lunch, or a snack. Here’s how I recommend serving and storing it.
Serving Temperature and Presentation: Serve this bread at room temperature or lightly toasted. Toasting brings out the nutty flavor of the pepitas and crisps the crust beautifully. Slice it thick—about ¾ inch—and arrange on a wooden board for a rustic look. A pat of salted butter melting into the warm crumb is pure magic.
Complementary Dishes and Beverages: This bread pairs wonderfully with:
- Butternut squash soup or tomato bisque
- Roasted chicken or turkey sandwiches
- Soft cheese like brie or goat cheese
- Apple butter or pumpkin butter for a double-pumpkin experience
- A hot cup of chai tea or dark roast coffee
Storage Instructions: Store the bread cut-side down on a cutting board at room temperature for up to 3 days. Do not refrigerate—it will dry out the crumb. For longer storage, wrap the whole loaf tightly in plastic wrap, then aluminum foil, and freeze for up to 3 months. Thaw at room temperature overnight before serving.
Reheating Methods: To revive day-old bread, preheat your oven to 350°F (175°C). Lightly mist the crust with water, then bake for 5-7 minutes until warm and crusty. For individual slices, a toaster or toaster oven works perfectly. Avoid microwaving—it makes the crust rubbery.
Flavor Development: Here’s a secret—this bread actually tastes better on day two. The flavors meld and deepen overnight. The tanginess becomes more pronounced, and the pumpkin spice notes settle into something more complex. So don’t feel bad if you can’t finish it all in one sitting. Day-two toast with butter might be the best version.
Nutritional Information & Benefits
This pumpkin sourdough bread isn’t just delicious—it also offers some solid nutritional benefits. Here’s what you’re getting in each slice (based on 12 slices per loaf).
| Nutrient | Amount Per Slice |
|---|---|
| Calories | 185 |
| Total Fat | 3g |
| Saturated Fat | 0.5g |
| Carbohydrates | 34g |
| Fiber | 3g |
| Sugar | 4g |
| Protein | 6g |
| Sodium | 320mg |
Health Benefits: Pumpkin is packed with vitamin A (beta-carotene), which supports eye health and immune function. The pepitas add magnesium, zinc, and healthy fats. Sourdough fermentation breaks down phytic acid in the flour, making the minerals more bioavailable. Plus, the long fermentation creates beneficial probiotics that support gut health.
Dietary Considerations: This recipe is naturally dairy-free and vegan-friendly (with maple syrup). It’s lower in sugar than traditional pumpkin bread, making it a better choice for blood sugar management. If you’re watching your sodium, reduce the salt to 8g or use a potassium-based salt substitute.
Allergen Note: Contains wheat and gluten. Pepitas are seeds and generally safe for nut allergies, but check labels if cross-contamination is a concern.
From my perspective, this bread is one of those rare treats that feels indulgent but actually supports your body. I love that I can enjoy a slice with my morning coffee and feel satisfied without the sugar crash that comes with most baked goods.
Conclusion
This pumpkin sourdough bread is more than just a recipe—it’s the result of twelve attempts, countless flour-covered countertops, and a deep desire to recreate something I loved. And honestly? I think I’ve finally done it. The tangy-sweet crumb, the crunchy pepitas, the way it makes your kitchen smell like autumn in a bakery—it’s all there.
I hope you’ll try this recipe and make it your own. Add more spice, swap the pepitas for walnuts, or experiment with different flours. That’s the beauty of sourdough—it’s forgiving and endlessly adaptable. The first time you pull a perfect golden loaf out of the oven, you’ll understand why I kept trying.
I’d love to hear how yours turns out! Drop a comment below with your favorite variation or any questions you have. And if you share a photo on social media, tag me—I’m always excited to see your baking adventures. Happy baking, friends. You’ve got this.
Frequently Asked Questions
Can I use canned pumpkin pie filling instead of pumpkin purée?
No, I wouldn’t recommend it. Pumpkin pie filling has added sugar and spices that will throw off the fermentation and make the bread too sweet. Stick with 100% pumpkin purée for the best results.
Why didn’t my bread rise much in the oven?
This usually happens for one of three reasons: your starter wasn’t active enough, your bulk fermentation was too short, or your oven wasn’t hot enough. Make sure your starter doubles in 4-6 hours before using, and let the dough ferment until it’s visibly puffy and bubbly.
Can I make this without a Dutch oven?
Absolutely. Place a metal baking dish filled with water on the bottom rack of your oven to create steam. Bake the bread on a preheated baking stone or inverted sheet pan. The crust won’t be quite as crispy, but it will still be delicious.
How do I know when the bread is fully baked?
Use a digital thermometer—the internal temperature should reach 200-205°F (93-96°C). If you don’t have a thermometer, tap the bottom of the loaf. It should sound hollow. Also, the crust should be deep golden brown and feel firm when squeezed gently.
Can I skip the overnight cold ferment?
You can, but you’ll lose a lot of flavor and structure. The cold ferment develops the sourdough tang and makes the dough easier to handle. If you’re in a rush, let it bulk ferment at room temperature for 8-10 hours, shape it, and bake after a 2-hour final proof. The bread will be good, but not as complex.
Pin This Recipe!
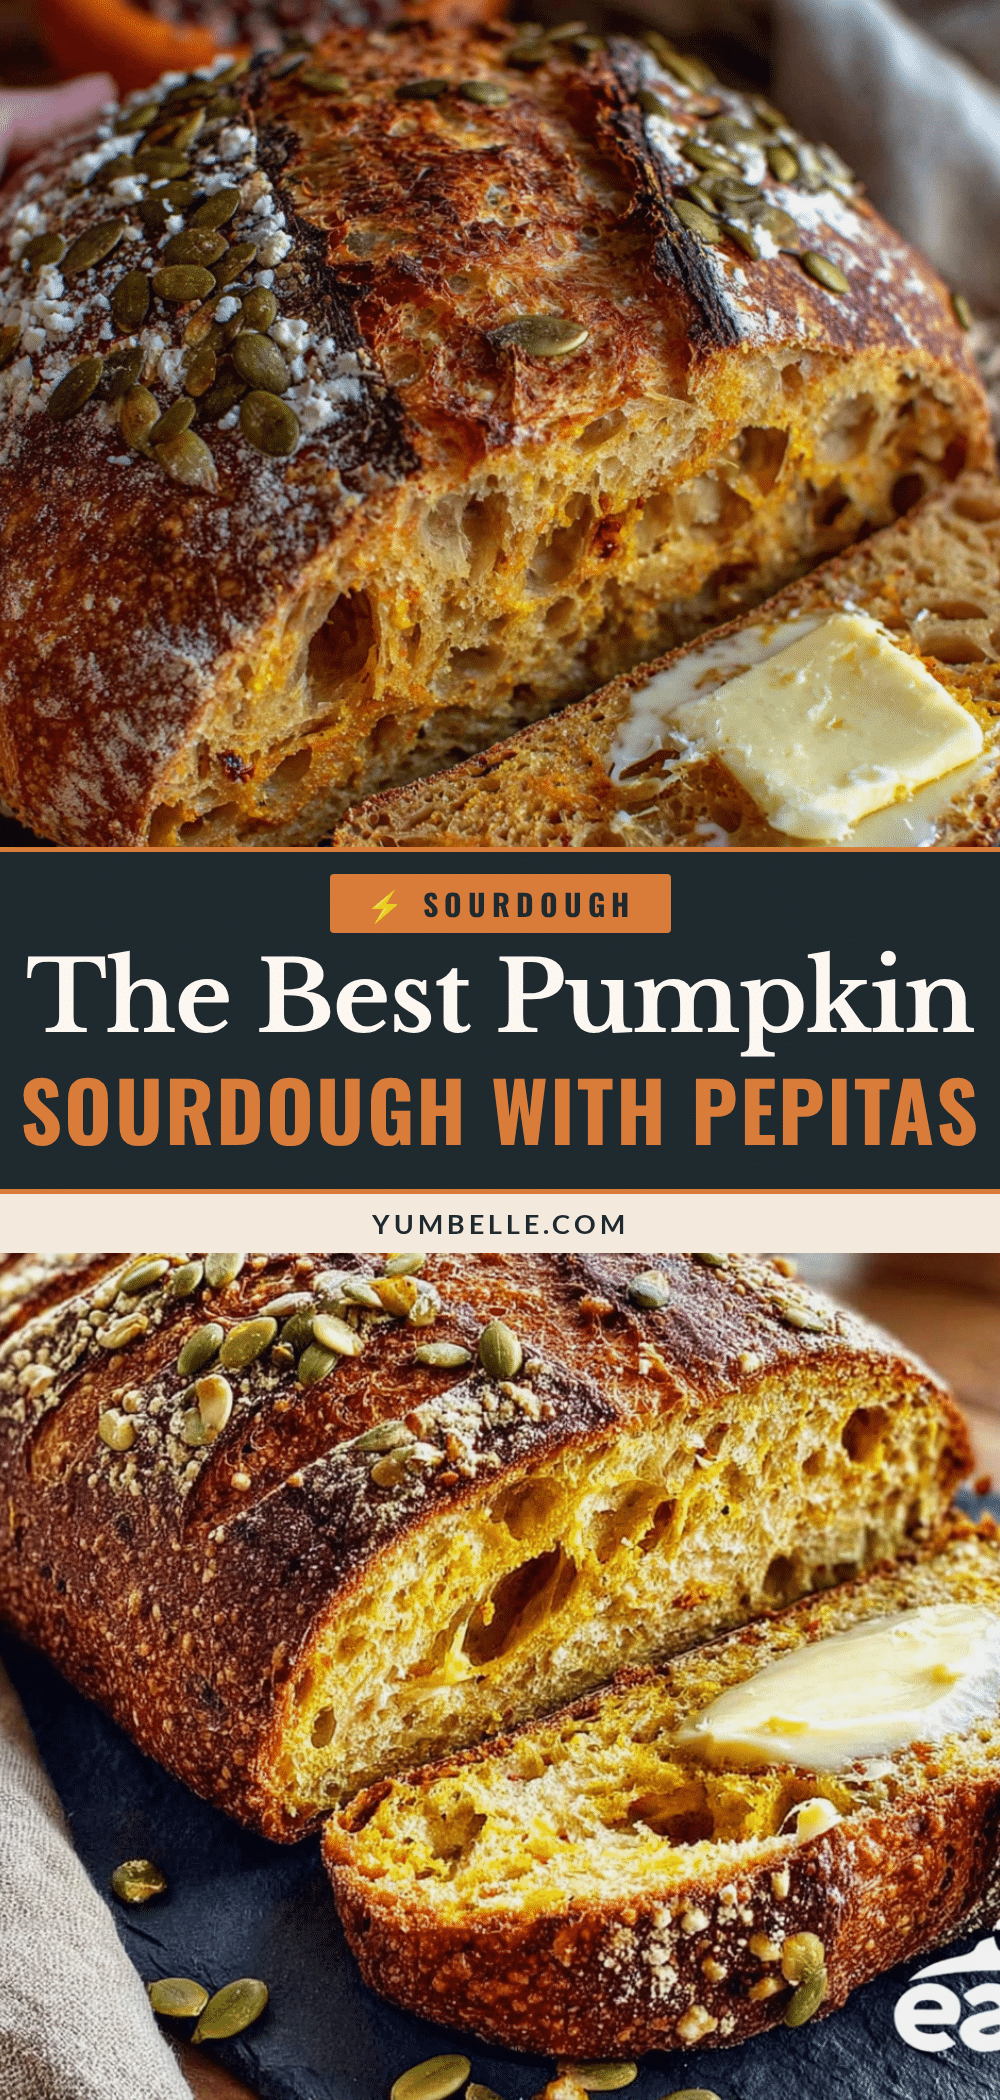
Easy Pumpkin Sourdough Bread with Pepitas
This pumpkin sourdough bread is tangy, tender, and topped with crunchy pepitas. It’s the perfect savory-sweet hybrid for fall baking, with a deep, complex flavor developed through overnight fermentation.
- Prep Time: 30 minutes
- Cook Time: 45 minutes
- Total Time: 2 days (includes overnight fermentation)
- Yield: 12 servings 1x
- Category: Bread
- Cuisine: American
Ingredients
- 100g active sourdough starter (about ½ cup)
- 200g pumpkin purée (about ¾ cup)
- 400g bread flour (about 3 cups)
- 100g whole wheat flour (about ¾ cup)
- 100ml lukewarm water (about ⅓ cup plus 1 tablespoon)
- 10g fine sea salt (about 1½ teaspoons)
- 30g honey or maple syrup (about 2 tablespoons)
- 2 teaspoons pumpkin pie spice
- 50g raw pepitas (about ⅓ cup)
- Flaky sea salt (optional, for topping)
Instructions
- Feed your starter (morning, 8:00 AM): About 4-6 hours before mixing, feed your sourdough starter so you have 100g of active, bubbly starter.
- Mix the dough (12:00 PM): In a large bowl, combine 100g active starter, 200g pumpkin purée, 100ml lukewarm water, and 30g honey. Whisk until smooth. Add 400g bread flour, 100g whole wheat flour, 10g salt, and 2 teaspoons pumpkin pie spice. Mix with your hands until no dry flour remains. The dough will be shaggy and slightly sticky.
- Rest and fold (12:15 PM): Cover the bowl with a damp towel and let it rest for 30 minutes (autolyse). After the rest, perform your first set of stretch and folds: grab one side of the dough, stretch it up, and fold it over itself. Rotate the bowl and repeat on all four sides.
- Continue folding (12:45 PM to 4:00 PM): Perform 3 more sets of stretch and folds at 30-minute intervals. By the fourth fold, the dough should feel smoother and more elastic.
- Bulk fermentation (4:00 PM to 10:00 PM): Cover the bowl and let the dough rise at room temperature for 6-8 hours, or until it has increased by about 50% and looks bubbly.
- Shape and cold ferment (10:00 PM): Turn the dough onto a lightly floured surface. Gently shape it into a round boule by pulling the edges toward the center. Flip it seam-side down and cup your hands around it, rotating to create tension. Place it seam-side up in a floured banneton or lined bowl. Cover tightly with plastic wrap and refrigerate overnight (12-18 hours).
- Preheat the oven (morning, 8:00 AM): Place your Dutch oven in the cold oven, then preheat to 475°F (245°C). Let it heat for at least 30 minutes after reaching temperature.
- Prepare the loaf (8:30 AM): Remove the dough from the refrigerator. Place a piece of parchment paper over the banneton, then invert it gently. Brush off excess flour.
- Score and top (8:35 AM): Using a lame or sharp knife, score the top of the dough with a deep slash (about ½ inch deep). Sprinkle the pepitas generously over the top, pressing them in gently. Add a pinch of flaky sea salt if desired.
- Bake (8:40 AM): Carefully transfer the dough (on the parchment) into the hot Dutch oven. Cover with the lid and bake for 25 minutes. Remove the lid and bake for another 20-25 minutes, until the crust is deep golden brown and the internal temperature reaches 205°F (96°C).
- Cool completely (9:30 AM): Transfer the bread to a wire rack and let it cool for at least 2 hours before slicing.
Notes
The dough should be tacky but not wet. If too sticky, add a tablespoon of flour during the first fold. Cold dough is easier to score. For extra flavor, toast the pepitas in a dry pan for 2-3 minutes before adding. The bread tastes even better on day two.
Nutrition
- Serving Size: 1 slice
- Calories: 185
- Sugar: 4
- Sodium: 320
- Fat: 3
- Saturated Fat: 0.5
- Carbohydrates: 34
- Fiber: 3
- Protein: 6
Keywords: pumpkin sourdough bread, sourdough bread, pumpkin bread, fall baking, pepitas, sourdough recipe


