Love this? Save it for later!
Share the inspiration with your friends
There used to be a tiny farm stand on Route 7, just past the old covered bridge, that made the most incredible pear butter every fall. When they closed three seasons ago—the owner finally retired after forty years—I honestly felt a little lost. That jar of golden, spiced spread had become my autumn ritual, and no store-bought version ever came close. After twelve tries—some burnt, some too runny, one that my husband politely called “aggressively spiced”—I finally cracked the code.
Let me tell you, the first batch I got right happened on a rainy Tuesday when I was out of vanilla extract and had to improvise. I grabbed the last pear from the bowl, noticed it was just past perfect, and decided to lean into that softness. That’s when everything clicked. This small-batch cinnamon pear butter captures that same deep, concentrated flavor I’d been chasing—all without spending hours over a hot stove.
The thing about homemade pear butter is that it rewards patience in the smallest ways. You don’t need a bushel of fruit or fancy equipment. Just ripe pears, a few pantry spices, and maybe an afternoon when you’re already hanging around the house anyway. Maybe you’ve had that moment where you bought too many pears at the farmers market and now they’re staring at you from the fruit bowl, getting softer by the hour. That’s exactly when this recipe saves the day.
I keep making this because it turns something ordinary into something worth lingering over. There’s nothing quite like opening a jar in the middle of winter and catching that first whiff of cinnamon and pear—it’s like grabbing a handful of autumn and holding on tight.
Why You’ll Love This Recipe
This isn’t just another fruit butter recipe. After testing this dozens of times, I can tell you exactly why this version works so well:
- Small-Batch Perfection : Uses just 2 pounds of pears—perfect for when you have a few too many from the orchard or market without committing to a massive canning project.
- Simple Ingredients : No pectin, no weird additives, no trips to specialty stores. You likely have everything in your pantry right now.
- Ready in Under 2 Hours : Most pear butter recipes simmer for 4-6 hours. This one uses a clever stovetop method that cuts the time in half.
- Unbelievably Versatile : Spread it on toast, swirl it into yogurt, glaze a pork roast, or gift it in tiny jars with a ribbon—it does it all.
- Naturally Sweetened : The fruit does most of the work. You only add a touch of maple syrup or honey to enhance what’s already there.
- Forgiving Recipe : I’ve made this with slightly underripe pears, overripe pears, and a mix of both. It works every single time.
What makes this different from other recipes is the technique. Instead of cooking the fruit down forever, you start by roasting the pears with cinnamon sticks. This concentrates the flavor before it ever hits the stovetop, giving you that deep, caramelized taste in a fraction of the time. It’s the kind of trick you learn after burning one too many batches.
This recipe is the kind that makes you close your eyes after the first bite. It’s comfort food reimagined—simpler, faster, but with the same soul-soothing satisfaction. Perfect for impressing brunch guests without stress, or turning a simple slice of toast into something memorable.
What Ingredients You Will Need
This recipe uses simple, wholesome ingredients to deliver bold flavor and satisfying texture without the fuss. Most of these are pantry staples, which makes this perfect for spontaneous cooking.
- Ripe Bartlett or Bosc pears (2 pounds, about 4-5 medium pears) : Look for pears that yield slightly to gentle pressure near the stem. Bartletts give a smoother texture; Boscs hold more structure. I prefer a mix of both for the best consistency.
- Granulated sugar (¼ cup, 50 grams) : Just enough to help the fruit break down and balance acidity. You can reduce this if your pears are very sweet.
- Light brown sugar (2 tablespoons, packed, 25 grams) : Adds depth and a hint of molasses that pairs beautifully with the cinnamon.
- Maple syrup (2 tablespoons, 30 ml) : Use real maple syrup, not pancake syrup. Grade A dark amber works best for a richer flavor.
- Fresh lemon juice (1 tablespoon, 15 ml) : From about half a lemon. This prevents browning and brightens the final flavor.
- Ground cinnamon (1½ teaspoons) : I recommend Saigon cinnamon for a bolder, warmer spice profile. Regular Ceylon works too but use 2 teaspoons.
- Whole cinnamon stick (1) : This infuses while the pears roast and simmer, adding a layer of complexity you can’t get from ground cinnamon alone.
- Ground nutmeg (¼ teaspoon) : Freshly grated if you have it—it makes a noticeable difference.
- Ground ginger (¼ teaspoon) : Adds warmth without overpowering the pear flavor.
- Vanilla extract (1 teaspoon, 5 ml) : Pure vanilla, not imitation. This rounds out all the spices beautifully.
- Pinch of salt : Just a small pinch—about ⅛ teaspoon. It balances sweetness and enhances every other flavor.
Ingredient Tips: I’ve had the best luck with pears from local orchards in early fall when they’re at peak ripeness. If you’re using supermarket pears, let them sit on the counter for a day or two until they soften. For a deeper flavor, try adding a split vanilla bean instead of extract—scrape the seeds into the pot and toss the pod in while it simmers.
Substitution Options: Use honey instead of maple syrup for a different floral note. Replace brown sugar with coconut sugar for a less refined option. For a completely sugar-free version, use ¼ cup of unsweetened applesauce and skip the added sugars—though the texture will be slightly less thick.
Equipment Needed
- Large baking sheet with rimmed edges : For roasting the pears. A half-sheet pan works perfectly.
- Parchment paper : Makes cleanup infinitely easier and prevents sticking.
- Medium heavy-bottomed saucepan or Dutch oven : A 3-4 quart pot is ideal. Avoid thin pans that scorch easily.
- Immersion blender or regular blender : An immersion blender lets you puree right in the pot, which means less mess. If using a regular blender, let the mixture cool slightly first and blend in batches.
- Fine-mesh sieve or food mill : Optional but recommended if you want silky-smooth butter without any pear skin bits.
- Wooden spoon or silicone spatula : For stirring. A flat-edged wooden spoon helps scrape the bottom as it thickens.
- Glass jars with tight-fitting lids : Two 8-ounce jars or one pint jar works perfectly. Sterilize them by boiling for 10 minutes or running through the dishwasher.
- Small funnel : For filling jars without dripping everywhere. Trust me on this one.
- Measuring cups and spoons : Standard set for accurate measurements.
Budget-Friendly Tips: You don’t need a fancy Dutch oven—my favorite pot for this recipe is a $20 stainless steel saucepan from the discount store. Skip the food mill entirely and just blend longer. And those mason jars you’ve been saving from pasta sauce? They work great as long as the lids seal properly.
Preparation Method
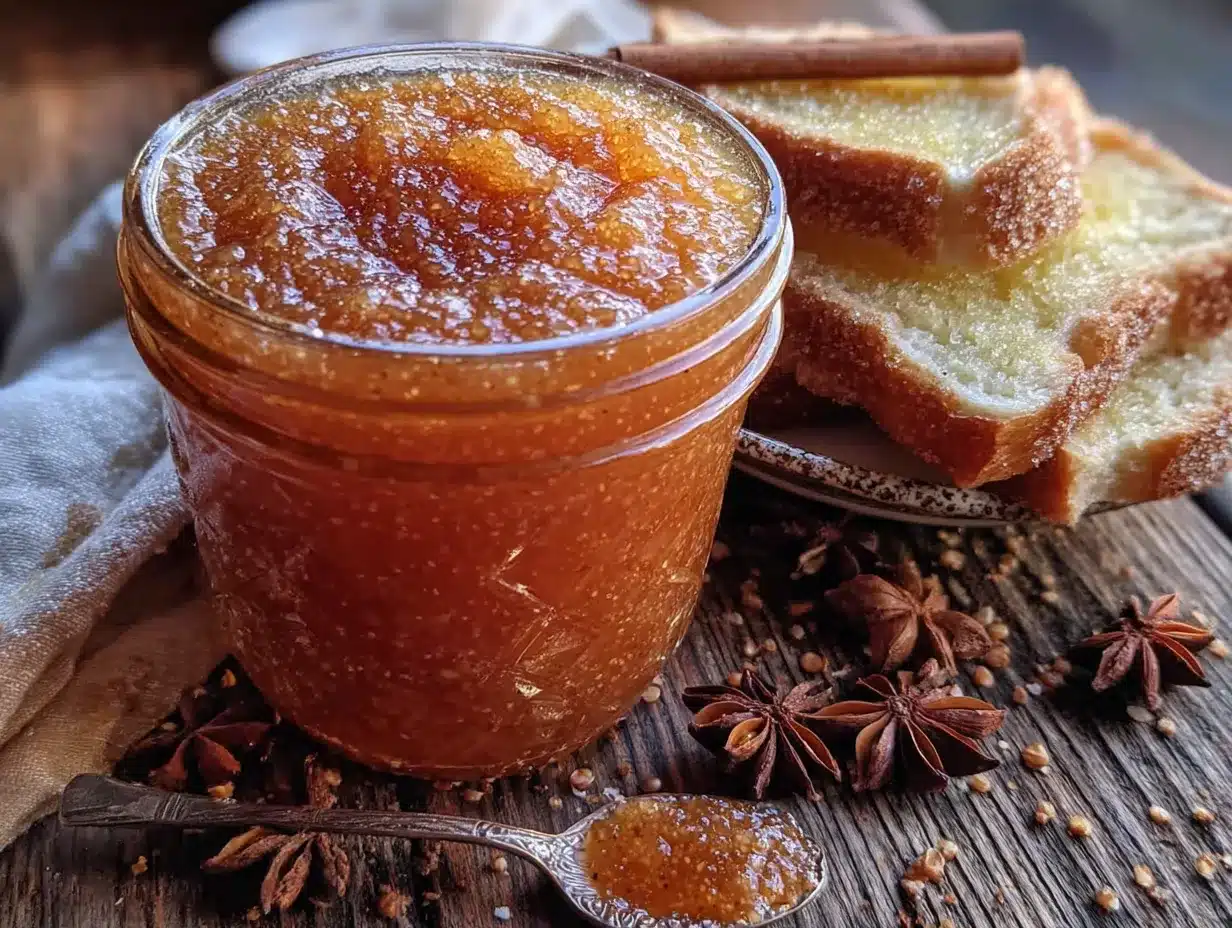
Step 1: Preheat and Prep (5 minutes)
Preheat your oven to 400°F (200°C). Line a large baking sheet with parchment paper. Wash the pears well—you’ll be leaving the skins on for roasting, which adds flavor and natural pectin.
Step 2: Prepare the Pears (10 minutes)
Cut each pear in half lengthwise. Leave the stem and core intact for now—they’ll be easy to remove after roasting. Place the pear halves cut-side down on the prepared baking sheet. Tuck the cinnamon stick somewhere among the pears. Roast for 25-30 minutes, until the pears are very soft and the skins are slightly wrinkled and caramelized on the bottom. The kitchen will smell incredible at this point.
Step 3: Cool and Process (10 minutes)
Let the pears cool on the baking sheet for about 10 minutes—just until you can handle them comfortably. Once cool enough, peel off the skins (they should slip off easily now). Remove the stems and cores. Discard the cinnamon stick or save it for the next step.
Step 4: Blend the Base (5 minutes)
Transfer the peeled, cored pears to your saucepan. Add the granulated sugar, brown sugar, maple syrup, lemon juice, ground cinnamon, nutmeg, ginger, vanilla extract, and salt. If you want to use that roasted cinnamon stick again, toss it back in now—it still has plenty of flavor left. Use your immersion blender to puree everything until completely smooth. If using a regular blender, work in batches and hold the lid firmly with a towel while blending hot ingredients.
Step 5: Simmer and Reduce (30-40 minutes)
Place the saucepan over medium heat and bring the mixture to a gentle simmer. You’ll see small bubbles breaking the surface—not a rolling boil. Reduce the heat to medium-low and cook, stirring frequently, for 30-40 minutes. The mixture will darken and thicken considerably. Stir every 3-4 minutes, scraping the bottom and sides to prevent scorching. Toward the end, you’ll need to stir more often as it gets thicker.
Step 6: Test for Doneness (2 minutes)
Spoon a small amount onto a chilled plate and let it sit for 30 seconds. Tilt the plate—if the butter holds its shape and doesn’t run, it’s done. If it slides around, cook for 5 more minutes and test again. The final texture should be thick enough to mound on a spoon but still spreadable.
Step 7: Jar and Cool (10 minutes)
Remove the cinnamon stick and discard. Ladle the hot pear butter into your sterilized jars, leaving about ½ inch of headspace at the top. Wipe the rims clean with a damp paper towel, then screw on the lids. Let the jars cool completely on the counter—you’ll hear the satisfying pop as they seal. Refrigerate after opening.
Sensory Cues: When the pears are properly roasted, they should smell like a warm autumn candle—sweet, concentrated, with just a hint of caramelization at the edges. During simmering, the mixture will go from pale golden to deep amber, and the bubbles will get bigger and slower as it thickens. You’re looking for that slow, lazy bloop-bloop sound rather than rapid popping.
Personal Tip: I always make a double batch of the roasted pears and freeze half. That way, the next time I want pear butter, I just pull out the pre-roasted fruit and skip straight to the blending step. It cuts the active time to about 20 minutes total.
Cooking Tips & Techniques
Don’t Skip the Roasting Step
I learned this the hard way after making three batches of watery, bland pear butter. Roasting concentrates the natural sugars and evaporates excess moisture before you ever add heat on the stovetop. This single step cuts your simmering time in half and gives you that deep, caramelized flavor that makes homemade butter so much better than store-bought.
Watch for Scorching
Pear butter is sneaky—it can go from perfectly fine to burnt in about 90 seconds. The natural sugars in pears are high, and they love to stick to the bottom of the pot. Stir frequently, especially in the last 15 minutes. Use a flat-edged wooden spoon to scrape the bottom with each stir. If you see dark specks forming, you’re getting too close to scorching—pull it off the heat immediately and stir in a tablespoon of water.
Adjust Sweetness to Your Pears
Not all pears are created equal. Some batches are naturally sweeter than others. Taste your puree before adding all the sugar. If your pears are already very sweet, start with half the sugar and add more to taste. You can always add sweetness, but you can’t take it out.
Use a Splatter Guard
This is one of those tips I wish someone had told me years ago. As the pear butter simmers, it spits hot bubbles that can leave tiny burns on your arms. A simple mesh splatter screen solves this completely. If you don’t have one, leave the pot lid slightly ajar to catch the splatter while still allowing steam to escape.
Timing Strategy
Roast the pears while you’re doing other kitchen tasks—making coffee, unloading the dishwasher, whatever. The active simmering time is when you need to stay nearby. I usually start this recipe after lunch, and by the time the afternoon lull hits, I’ve got warm pear butter cooling on the counter.
Variations & Adaptations
Spiced Chai Pear Butter
Add 2 crushed cardamom pods, 1 star anise, and a 1-inch piece of fresh ginger (sliced) to the roasting pan with the pears. Remove them before blending. This creates a warm, aromatic butter that’s incredible on scones or stirred into oatmeal.
Vanilla Bean & Brandy Version
Split one vanilla bean and scrape the seeds into the puree before simmering. Add 2 tablespoons of brandy or Calvados (apple brandy) during the last 10 minutes of cooking. The alcohol cooks off, leaving a sophisticated depth that makes this perfect for holiday gifts.
Low-Sugar Adaptation
Use 2 tablespoons of maple syrup only—skip the granulated and brown sugar entirely. Add an extra tablespoon of lemon juice to help with preservation. The texture will be slightly looser, so simmer for an extra 10 minutes to compensate. This version is wonderful for those watching their sugar intake.
Slow Cooker Method
After roasting and blending the pears, transfer everything to a slow cooker. Cook on low with the lid slightly ajar for 4-5 hours, stirring occasionally. This method is great if you want to set it and forget it, though the flavor won’t be quite as concentrated as the stovetop version.
Savory Pear Butter
Reduce the sugar to 2 tablespoons total. Add 1 teaspoon of fresh thyme leaves, ½ teaspoon of black pepper, and a pinch of cayenne. This savory version pairs beautifully with aged cheddar, roasted pork, or spread on a turkey sandwich.
Serving & Storage Suggestions
Serving Temperature: Pear butter is best served at room temperature or slightly chilled. If refrigerated, let it sit out for 15 minutes before using—it spreads much more easily when not straight-from-the-fridge cold.
Classic Pairings: Spread generously on warm buttered toast, English muffins, or flaky biscuits. Swirl into plain Greek yogurt or oatmeal for an instant flavor upgrade. Use as a filling for thumbprint cookies or between layers of a simple vanilla cake.
Savory Uses: Spoon over a block of cream cheese and serve with crackers for an effortless appetizer. Glaze a pork loin or roasted chicken during the last 15 minutes of cooking. Stir a tablespoon into vinaigrettes for a subtle sweetness.
Storage Instructions: Refrigerate in airtight jars for up to 3 weeks. For longer storage, freeze in small containers for up to 6 months—thaw overnight in the refrigerator. If you’ve properly sterilized your jars and processed them in a water bath (10 minutes for pint jars), unopened jars can be stored in a cool, dark pantry for up to 1 year.
Reheating: If the butter thickens too much in the fridge, microwave a small portion for 10-15 seconds or stir it into warm foods directly. Frozen butter can be thawed in the refrigerator overnight—the texture returns perfectly.
Flavor Development: Like most fruit butters, this actually improves after a day or two in the fridge. The spices meld together, and the flavors become more rounded. Don’t worry if it tastes slightly different on day one—give it 48 hours, and you’ll be amazed at the transformation.
Nutritional Information & Benefits
Per 2-tablespoon serving (estimated): Calories: 45 | Total Fat: 0g | Sodium: 2mg | Total Carbohydrates: 12g | Dietary Fiber: 2g | Sugars: 9g | Protein: 0g
Health Benefits: Pears are an excellent source of dietary fiber, particularly pectin, which supports digestive health and helps maintain steady blood sugar levels. They’re also rich in vitamin C and copper, both important for immune function and collagen production.
Dietary Considerations: This recipe is naturally vegan, gluten-free, and dairy-free. It contains no nuts, eggs, or soy. The low-sugar variation makes it suitable for those monitoring their sugar intake, though it’s not appropriate for strict keto or very low-carb diets due to the natural fruit sugars.
Potential Allergens: None from the ingredients themselves, but always check your vanilla extract and maple syrup labels for any cross-contamination warnings if cooking for someone with severe allergies.
Personal Wellness Perspective: I love that this recipe lets me enjoy something sweet and satisfying without relying on processed ingredients. It’s whole foods cooking at its simplest—just fruit, spices, and a little patience. That feels good in a way that store-bought spreads never quite manage.
FAQs
Can I use canned pears instead of fresh?
Yes, but drain them well and skip the roasting step. The texture will be softer and the flavor less concentrated. You’ll need about 3 cups of drained canned pears. Reduce the sugar by half since canned pears are packed in syrup.
Why is my pear butter too runny?
Either the pears had too much water content, or you didn’t simmer long enough. Try cooking for another 10-15 minutes, stirring constantly. If it’s still thin, mix 1 teaspoon of cornstarch with 2 teaspoons of cold water and stir it in—though this will change the texture slightly.
Can I make this without a blender?
Absolutely. After roasting, mash the pears thoroughly with a potato masher or fork. The texture will be more rustic and chunky, almost like a pear compote. Some people actually prefer this version for spreading on thick bread.
How do I know if my jars sealed properly?
After cooling, press the center of each lid. If it doesn’t pop up and down, it’s sealed. You should also hear a satisfying pop sound as they cool. If a lid flexes when pressed, store that jar in the refrigerator and use within 3 weeks.
Can I double this recipe?
Yes, but don’t double the simmering time—it will still take about 40-50 minutes. Use a larger pot to allow for evaporation, and stir more frequently since a larger volume is more prone to scorching. The roasting step works fine with a double batch on a larger baking sheet.
Conclusion
This small-batch cinnamon pear butter has become my favorite way to capture autumn in a jar. It’s simple enough for a Tuesday afternoon project but special enough to gift to people you really care about. The roasted pears, the warm spices, that moment when the kitchen smells like everything good about fall—it’s worth making just for that alone.
I hope you give this recipe a try, whether you’re using up a bag of farmers market pears or just looking for something cozy to make this weekend. Feel free to adjust the spices to your taste, experiment with different pear varieties, or try one of the variations I shared above. That’s the beauty of homemade—it bends to what you love.
I’d love to hear how yours turns out. Drop a comment below and let me know what you spread it on first, or tag me in your photos if you share them online. Happy cooking, friends—here’s to finding sweetness in the small batches.
Pin This Recipe!
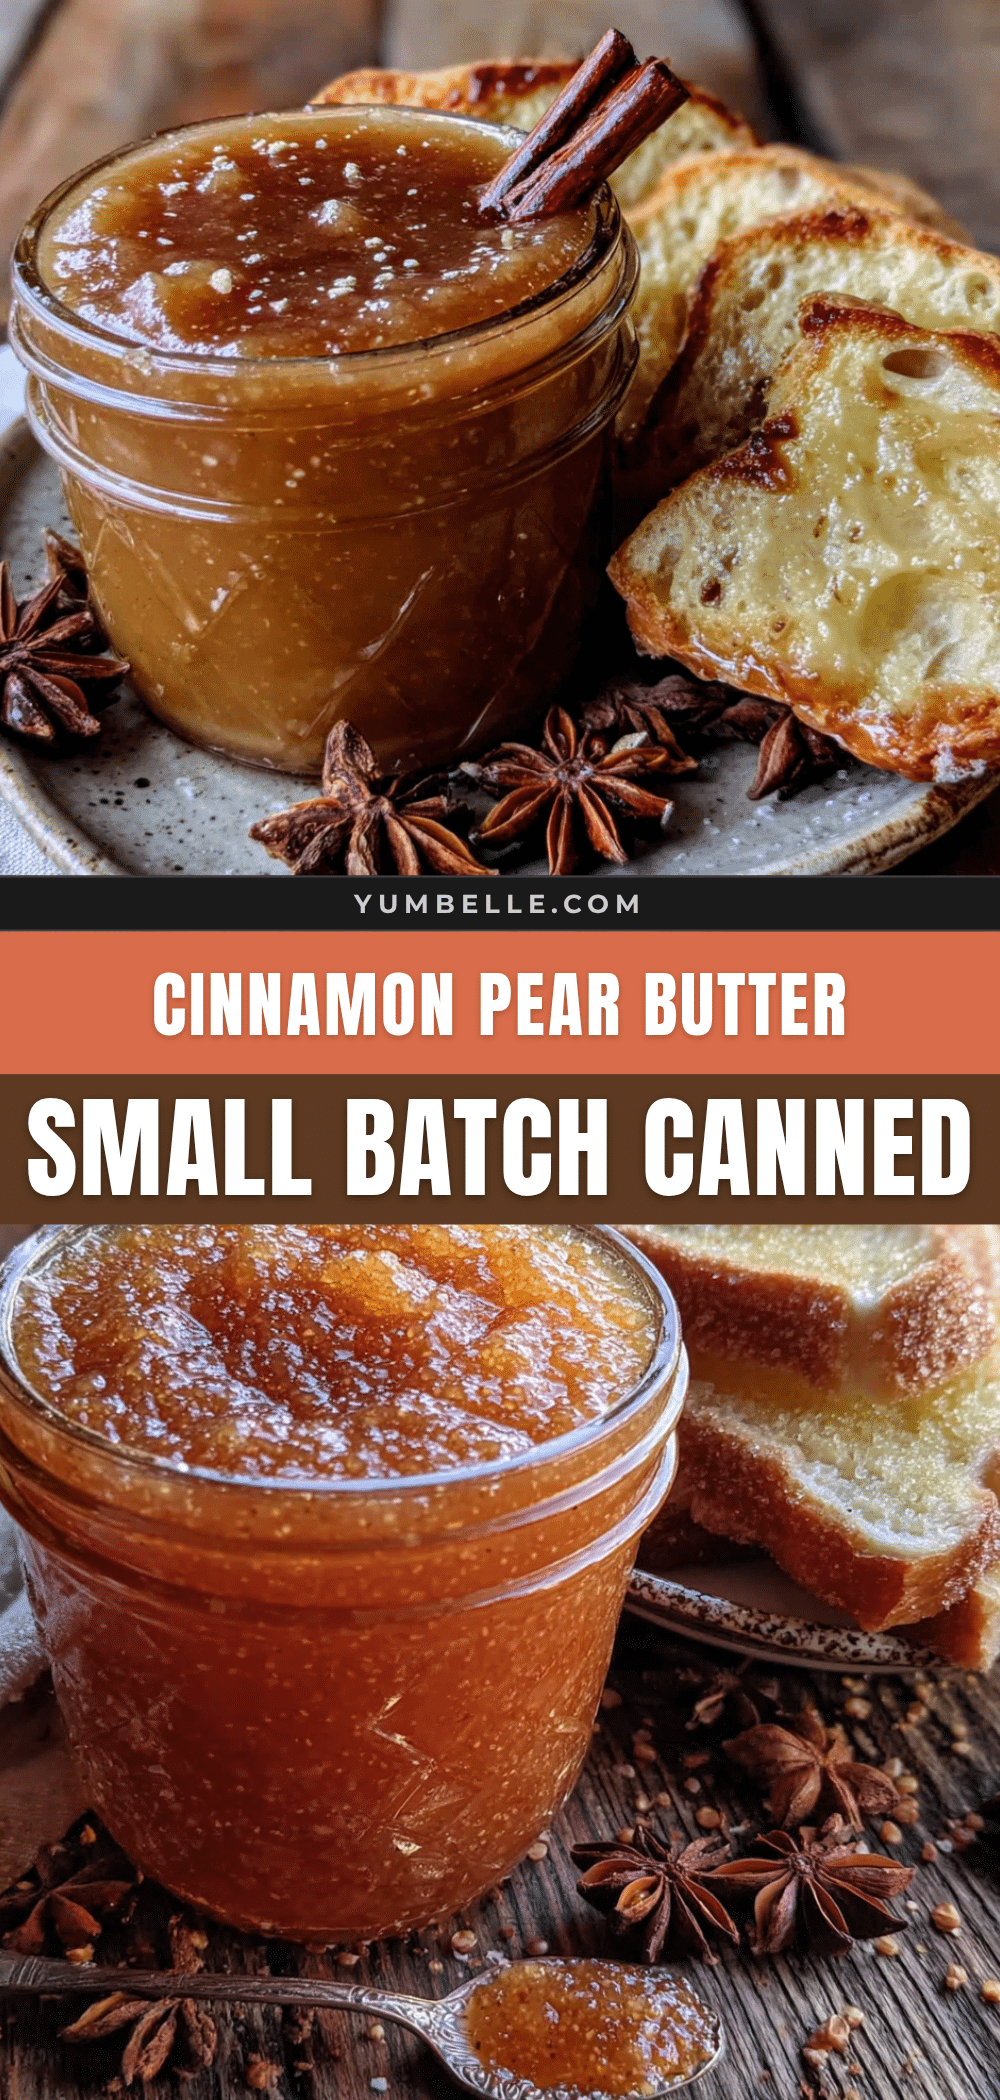
Easy Small-Batch Cinnamon Pear Butter Recipe
This small-batch cinnamon pear butter captures deep, concentrated flavor without spending hours over a hot stove. Made with ripe pears and pantry spices, it’s perfect for spreading on toast, swirling into yogurt, or gifting in tiny jars.
- Prep Time: 15 minutes
- Cook Time: 1 hour 10 minutes
- Total Time: 1 hour 25 minutes
- Yield: 2 cups (16 servings of 2 tablespoons each) 1x
- Category: Condiment
- Cuisine: American
Ingredients
- 2 pounds ripe Bartlett or Bosc pears (about 4–5 medium pears)
- ¼ cup (50 g) granulated sugar
- 2 tablespoons (25 g) packed light brown sugar
- 2 tablespoons (30 ml) maple syrup
- 1 tablespoon (15 ml) fresh lemon juice
- 1½ teaspoons ground cinnamon
- 1 whole cinnamon stick
- ¼ teaspoon ground nutmeg
- ¼ teaspoon ground ginger
- 1 teaspoon (5 ml) vanilla extract
- Pinch of salt (about ⅛ teaspoon)
Instructions
- Preheat oven to 400°F (200°C). Line a large baking sheet with parchment paper. Wash pears well; leave skins on.
- Cut each pear in half lengthwise, leaving stem and core intact. Place cut-side down on prepared baking sheet. Tuck cinnamon stick among pears. Roast for 25-30 minutes until pears are very soft and skins are wrinkled and caramelized.
- Let pears cool on baking sheet for about 10 minutes until comfortable to handle. Peel off skins (they should slip off easily). Remove stems and cores. Discard cinnamon stick or save for later.
- Transfer peeled, cored pears to a medium heavy-bottomed saucepan or Dutch oven. Add granulated sugar, brown sugar, maple syrup, lemon juice, ground cinnamon, nutmeg, ginger, vanilla extract, and salt. If desired, add back the roasted cinnamon stick. Use an immersion blender to puree until completely smooth. (If using a regular blender, work in batches and hold lid firmly with a towel.)
- Place saucepan over medium heat and bring to a gentle simmer. Reduce heat to medium-low and cook, stirring frequently, for 30-40 minutes. The mixture will darken and thicken. Stir every 3-4 minutes, scraping bottom and sides to prevent scorching. Stir more often as it thickens.
- Test for doneness: Spoon a small amount onto a chilled plate and let sit for 30 seconds. Tilt the plate; if the butter holds its shape and doesn’t run, it’s done. If it slides, cook 5 more minutes and test again.
- Remove cinnamon stick and discard. Ladle hot pear butter into sterilized glass jars, leaving ½ inch headspace. Wipe rims clean, screw on lids, and let cool completely on the counter. Refrigerate after opening.
Notes
Roasting the pears first concentrates flavor and cuts simmering time in half. Stir frequently, especially in the last 15 minutes, to prevent scorching. Adjust sweetness based on pear ripeness. For a smoother texture, use a fine-mesh sieve or food mill. The pear butter improves after a day or two in the fridge as flavors meld.
Nutrition
- Serving Size: 2 tablespoons
- Calories: 45
- Sugar: 9
- Sodium: 2
- Carbohydrates: 12
- Fiber: 2
Keywords: pear butter, cinnamon pear butter, small batch, homemade, fall recipe, fruit butter, easy, stovetop, vegan, gluten-free


