Love this? Save it for later!
Share the inspiration with your friends
My sister asked why I couldn’t just toss everything in one bowl and pour it into a muffin tin instead of fussing with a baking dish. I started to explain why that wouldn’t work—then stopped. She had a point, honestly. I was so used to making baked oatmeal the “proper” way, spreading it in a 9×13 pan, that I never questioned the process. I mean, who was I to argue with logic?
That Tuesday afternoon, with apples getting soft on the counter and the house smelling like cinnamon from a candle I’d lit earlier, I gave in. I grabbed a muffin tin, threw the oats in a bowl with some chopped apple, and poured the milk mixture right over top. I didn’t even grease the pan properly—just a quick spray. Twenty-five minutes later, I pulled out these little golden cups that smelled like autumn had landed in my kitchen. The edges were crispy, the centers were tender, and my sister looked at me like she’d just won a cooking competition. She kind of had.
I’ve made them every week since then. Maybe you’ve been there—stuck in a cooking rut, doing things a certain way just because that’s how you always did it. These cozy apple cinnamon baked oatmeal cups changed my thinking entirely. They’re portable, they’re forgiving, and they make your whole kitchen smell like a bakery on a cool morning. Let me tell you, there’s something about biting into one of these while the coffee’s still brewing that just feels right.
Why You’ll Love This Recipe
These baked oatmeal cups are the kind of breakfast that solves problems you didn’t even know you had. I’ve tested this recipe at least a dozen times—burned a batch, undercooked another, accidentally used steel-cut oats once (don’t do that)—and every failure taught me something. Here’s why these little cups are worth your time:
- Quick & Easy: From bowl to table in about 30 minutes. No standing over a stove, no complicated techniques. Just stir, pour, and bake.
- Simple Ingredients: You probably have everything in your pantry right now. Oats, apples, cinnamon, milk, eggs—nothing fancy required.
- Perfect for Meal Prep: Make a batch on Sunday and grab one on your way out the door all week. They reheat beautifully, which is saying something for oatmeal.
- Crowd-Pleaser: I brought these to a brunch once, and someone asked for the recipe before they finished their first cup. Kids love them too—they think they’re eating muffin-shaped dessert.
- Unbelievably Delicious: The texture is what gets me every time. The outside gets slightly firm and golden, while the inside stays soft and almost custard-like. It’s comfort food that actually works for breakfast.
This isn’t just another baked oatmeal recipe. The trick here is grating half the apple instead of chopping it all—that little bit of apple pulp melts into the oats and makes everything extra moist without needing a ton of oil or butter. It’s the kind of detail I stumbled on by accident, and now I can’t go back.
What Ingredients You Will Need
This recipe keeps things straightforward with ingredients that likely live in your kitchen already. The beauty of these baked oatmeal cups is how forgiving they are—you can swap things around without ruining the whole batch.
- Rolled oats – 2 cups (use old-fashioned rolled oats, not quick-cooking or steel-cut). Quick oats will turn mushy, and steel-cut won’t cook through. I prefer Bob’s Red Mill or Quaker Old-Fashioned for consistent texture.
- Apples – 2 medium (one grated, one finely chopped). I like Honeycrisp or Fuji for sweetness, but Granny Smith works if you want a tangier bite. Gala or Braeburn are fine too.
- Milk – 1 cup (any kind works—dairy, almond, oat, or coconut). I’ve used 2% and unsweetened almond milk with equal success.
- Eggs – 2 large, room temperature if you remember. If not, just use them cold—it’ll still work.
- Unsalted butter – 3 tablespoons, melted (or coconut oil for dairy-free). Adds richness and helps the edges get that nice golden crust.
- Maple syrup – 1/3 cup (honey or brown sugar work too). I like grade A dark amber for deeper flavor.
- Cinnamon – 1 1/2 teaspoons (plus extra for sprinkling on top). Fresh cinnamon makes a difference—check if yours is older than a year.
- Baking powder – 1 teaspoon (gives them a little lift so they’re not dense hockey pucks).
- Salt – 1/4 teaspoon (just a pinch—brings out the sweetness).
- Vanilla extract – 1 teaspoon (pure if you have it, imitation is fine in a pinch).
- Optional mix-ins – 1/2 cup chopped walnuts or pecans, 1/4 cup raisins or dried cranberries. I usually add walnuts because the crunch contrasts nicely with the soft oats.
For the topping (optional but recommended): a light sprinkle of turbinado sugar and a pinch more cinnamon before baking. It creates a slightly crunchy top that’s just lovely.
Equipment Needed
You don’t need fancy gadgets for these oatmeal cups, which is part of their charm. Here’s what you’ll want:
- Muffin tin – Standard 12-cup size. I’ve used both non-stick and regular metal—both work, but non-stick makes cleanup easier. If you only have a jumbo tin, adjust baking time by 5-8 minutes.
- Mixing bowls – One large, one medium. Nothing fancy—I use the same scratched-up Pyrex bowls I’ve had for years.
- Box grater or Microplane – For grating one of the apples. A regular cheese grater works perfectly.
- Whisk – For combining the wet ingredients. A fork works in a pinch, but you’ll get lumps.
- Rubber spatula – For scraping every last bit of batter into the tin. Waste not, want not.
- Measuring cups and spoons – Standard set. I’ve learned the hard way that eyeballing baking powder leads to sad results.
- Cooling rack – Helps the cups cool evenly so the bottoms don’t get soggy. If you don’t have one, just tilt them out of the tin onto a cutting board.
A quick note on liners: I’ve tried paper liners, and they stick something awful. Silicone liners work better, but honestly, just greasing the tin well with butter or cooking spray is the way to go.
Preparation Method
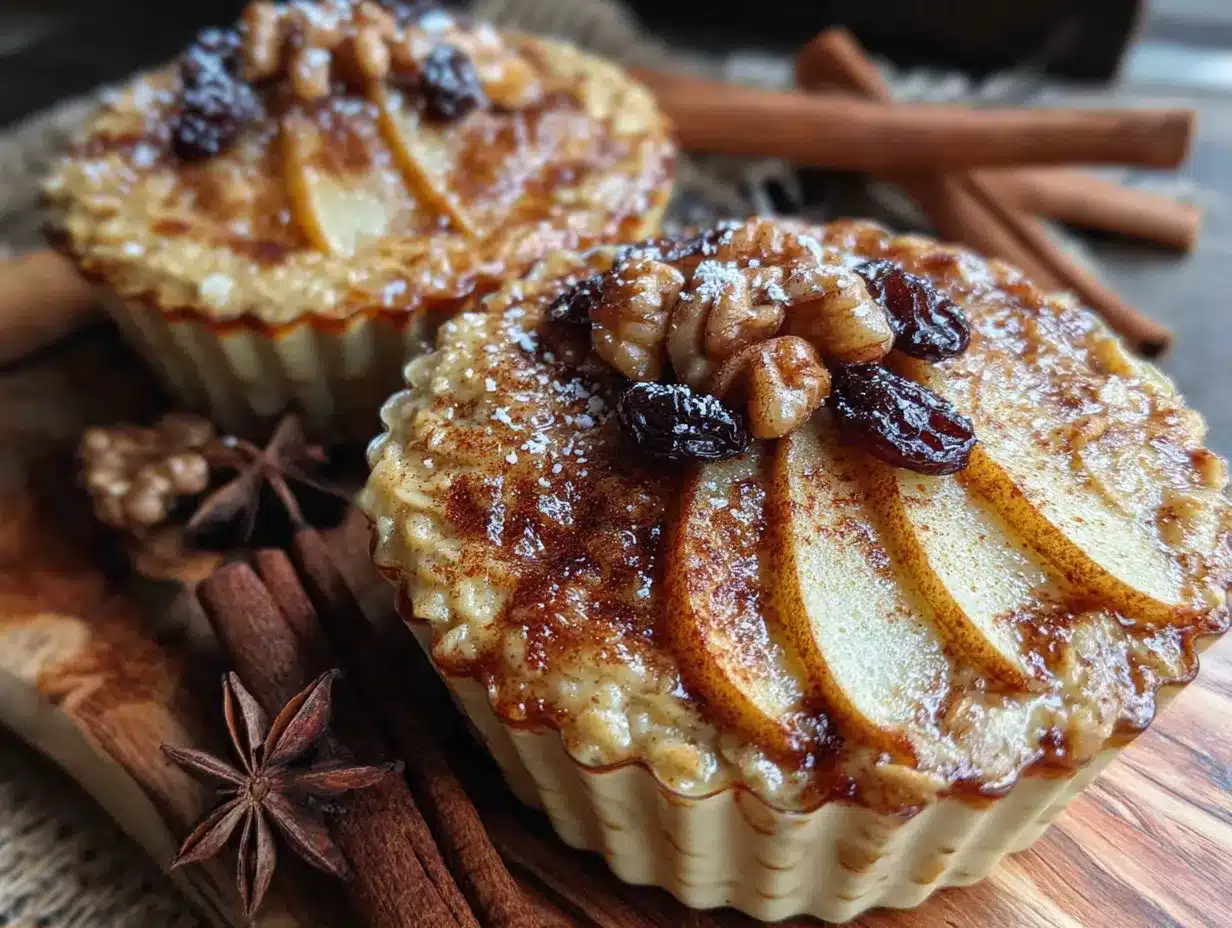
Preheat your oven to 375°F (190°C). Grease a 12-cup muffin tin generously—don’t skip this step, or you’ll be chipping oatmeal off the pan with a knife later.
- Prep the apples – Wash both apples. Grate one using the large holes of a box grater—skin and all (the peel adds fiber and color). Finely chop the second apple into small cubes, about 1/4-inch. Set both aside. The grated apple will almost disappear into the batter, while the chopped pieces give you little pockets of fruit.
- Mix the dry ingredients – In a large bowl, combine 2 cups rolled oats, 1 teaspoon baking powder, 1 1/2 teaspoons cinnamon, and 1/4 teaspoon salt. Stir with a fork to distribute everything evenly. If you’re adding nuts or dried fruit, stir them in now.
- Whisk the wet ingredients – In a medium bowl, crack 2 eggs and whisk until frothy, about 30 seconds. Add 1 cup milk, 1/3 cup maple syrup, 3 tablespoons melted butter, and 1 teaspoon vanilla. Whisk until smooth and slightly thickened. The mixture should look pale and creamy.
- Combine everything – Pour the wet ingredients into the dry ingredients. Add both the grated and chopped apples. Stir with a rubber spatula until just combined—about 15 strokes. Don’t overmix, or the oats will get gummy. The batter will look loose and soupy; that’s normal.
- Fill the muffin tin – Divide the mixture evenly among the 12 cups, filling each about 3/4 full. I use a 1/3-cup scoop for consistency. Sprinkle the tops with a pinch of cinnamon and a teaspoon of turbinado sugar if you’re using it.
- Bake – Place the tin on the middle rack and bake for 20-25 minutes. At 20 minutes, check for doneness: the tops should be golden and firm to the touch, and a toothpick inserted in the center should come out clean or with just a few moist crumbs. If the centers still look wet, give them 3-5 more minutes.
- Cool – Let the cups rest in the tin for 5 minutes. Run a butter knife around the edges to loosen them, then transfer to a cooling rack. They’ll be fragile when hot, so handle gently. Cool for at least 10 minutes before serving—they firm up as they sit.
One thing I learned the hard way: don’t rush the cooling step. I once tried to pop one out after two minutes, and it fell apart in my hands. Still tasted great, but it looked like oatmeal crime scene.
Cooking Tips & Techniques
I’ve made these cups enough times to know where things can go sideways. Here’s what I’ve learned:
The apple situation matters more than you think. Grating one apple and chopping the other isn’t just fussy—it actually changes the texture. The grated apple melts into the oats and keeps everything moist, while the chopped pieces stay intact and give you those little bursts of fruit. I tried using all chopped once, and the cups were dry in some spots. All grated, and they were too uniform and mushy. The balance is key.
Don’t skip the resting time. Those 5 minutes in the tin after baking aren’t just for cooling—they let the oats absorb any remaining liquid. If you try to remove them immediately, they’ll fall apart. Trust me on this one. I lost an entire batch to impatience.
Watch your oven like a hawk. My oven runs hot, so I check at 18 minutes. Your oven might be different. The edges should be golden brown, but the centers should still look slightly soft—they’ll set as they cool. Overbaking turns them into dry, crumbly messes that taste more like cardboard than comfort.
Room temperature ingredients actually help. I know, it’s annoying to remember to take eggs out ahead of time. But cold eggs seize up the melted butter and make the batter lumpy. If you forgot, place the eggs in a bowl of warm water for 5 minutes—works like a charm.
For consistently sized cups, use an ice cream scoop or measuring cup. Uneven portions lead to uneven baking—the small ones dry out while the big ones stay undercooked.
Variations & Adaptations
This recipe is built for tweaking. I’ve experimented quite a bit, and here are some variations that actually worked:
- Dairy-Free Version: Swap the butter for coconut oil (refined if you don’t want coconut flavor) and use almond or oat milk. I tested this with oat milk and coconut oil, and honestly, I couldn’t tell the difference.
- Gluten-Free Option: Use certified gluten-free rolled oats. That’s it—oats are naturally gluten-free, but cross-contamination is common. Bob’s Red Mill makes a reliable GF version.
- Apple-Pear Combo: Replace one apple with a ripe pear, grated. The pear adds extra sweetness and a softer texture. I tried this in October when I had too many pears from a friend’s tree, and it was a happy accident.
- Pumpkin Spice Version: Swap the apples for 1/2 cup pumpkin puree, reduce milk to 3/4 cup, and add 1 teaspoon pumpkin pie spice. Bake for 22-25 minutes. This one’s perfect for fall mornings.
- Lower Sugar Option: Cut the maple syrup to 1/4 cup and add an extra grated apple for natural sweetness. My aunt, who watches her sugar intake, approved this version enthusiastically.
- Savory-Sweet Twist: Add 1/4 teaspoon cardamom and 1/8 teaspoon black pepper to the cinnamon. It sounds weird, but the pepper adds warmth without heat. I stole this idea from a chai tea blend I love.
Serving & Storage Suggestions
These oatmeal cups are versatile when it comes to serving. I eat them warm with a drizzle of maple syrup or a dollop of Greek yogurt on top. My husband prefers his with a pat of butter melting into the center—not the healthiest choice, but he’s happy.
They pair beautifully with a hot cup of coffee or a chai latte. For a more complete breakfast, serve alongside scrambled eggs and fresh fruit. I’ve also crumbled one over a bowl of plain yogurt for a makeshift parfait—worked surprisingly well.
Storage: Keep cooled oatmeal cups in an airtight container in the refrigerator for up to 5 days. Place a paper towel at the bottom of the container to absorb excess moisture, and another on top. Change the paper towel if it gets soggy.
Freezing: These freeze like champions. Arrange cooled cups in a single layer on a baking sheet and freeze for 1 hour, then transfer to a freezer bag. They’ll keep for up to 3 months. To reheat, microwave one for 30-45 seconds, or pop it in a 350°F oven for 8-10 minutes. The texture comes back almost like fresh-baked.
Reheating tip: If you’re reheating from the fridge, add a splash of milk over the top before microwaving—it prevents them from drying out. I learned this after eating one too many sad, dry oatmeal cups at my desk.
One more thing: the flavors actually deepen after a day in the fridge. Day-old cups taste more cinnamon-y and apple-forward. So don’t be disappointed if they’re even better the next morning.
Nutritional Information & Benefits
Here’s the approximate nutritional breakdown for one oatmeal cup (based on the recipe as written, without optional mix-ins):
| Nutrient | Amount per Cup |
|---|---|
| Calories | 185 |
| Total Fat | 7g |
| Saturated Fat | 3.5g |
| Cholesterol | 45mg |
| Sodium | 115mg |
| Total Carbohydrates | 27g |
| Dietary Fiber | 3g |
| Sugars | 12g |
| Protein | 6g |
These cups offer some solid nutritional benefits. Oats provide beta-glucan, a type of soluble fiber that supports heart health and keeps you full longer. Apples add antioxidants and vitamin C, especially if you leave the peel on. The eggs contribute high-quality protein, and the cinnamon may help with blood sugar regulation—though I’m not making medical claims here, just sharing what I’ve read.
If you’re watching your sugar intake, you can reduce the maple syrup to 1/4 cup without sacrificing too much sweetness, especially if you use naturally sweet apples like Fuji or Honeycrisp.
Conclusion
These cozy apple cinnamon baked oatmeal cups have become a staple in my kitchen for good reason. They’re simple enough for a lazy Sunday morning but special enough to serve to guests. The texture hits that perfect spot between muffin and warm oatmeal, and the apple-cinnamon combo never gets old.
I love that this recipe taught me something—that sometimes the best ideas come from questioning your own habits. My sister still brings up that day in the kitchen, and honestly, I’m glad she does. It’s a reminder that cooking isn’t about being right; it’s about finding what works.
Try these cups your way—add nuts, skip the sugar, throw in some chocolate chips if that’s your thing. Come back and tell me how they turned out. I’d love to hear about your own kitchen experiments and happy accidents. Drop a comment below or tag me in your photos—seeing these little cups in other people’s kitchens makes my day every time.
Frequently Asked Questions
Can I use quick oats instead of rolled oats?
I wouldn’t recommend it. Quick oats are cut finer and absorb liquid faster, which makes the cups dense and mushy rather than tender. Rolled oats give you that nice chewy texture that holds up after baking. If rolled oats are all you have on hand, go for it—just expect a different texture.
Can I make these vegan?
Yes, with a few swaps. Replace the eggs with flax eggs (1 tablespoon ground flaxseed mixed with 3 tablespoons water per egg, let sit for 5 minutes). Use plant-based milk and coconut oil instead of butter. The texture will be slightly less fluffy, but they’ll still taste great.
Why did my oatmeal cups turn out dry?
Most likely overbaking or using too many dry ingredients. Check your oven temperature with an oven thermometer—many run hot. Also, make sure you’re measuring your oats correctly: spoon them into the measuring cup and level off, don’t scoop directly from the bag, which packs them down.
Can I make these in a baking dish instead of a muffin tin?
Absolutely. Pour the mixture into a greased 8×8-inch baking dish and bake for 30-35 minutes at 375°F. The texture will be softer and more traditional baked oatmeal. Let it cool for 10 minutes before slicing into squares.
How do I prevent the cups from sticking to the pan?
Grease your muffin tin generously with butter or cooking spray, making sure to get into the corners. Let the cups cool in the tin for exactly 5 minutes—not longer, or they’ll steam and stick. Run a thin knife around the edges before lifting them out. Silicone muffin liners also work well if you prefer liners.
Pin This Recipe!
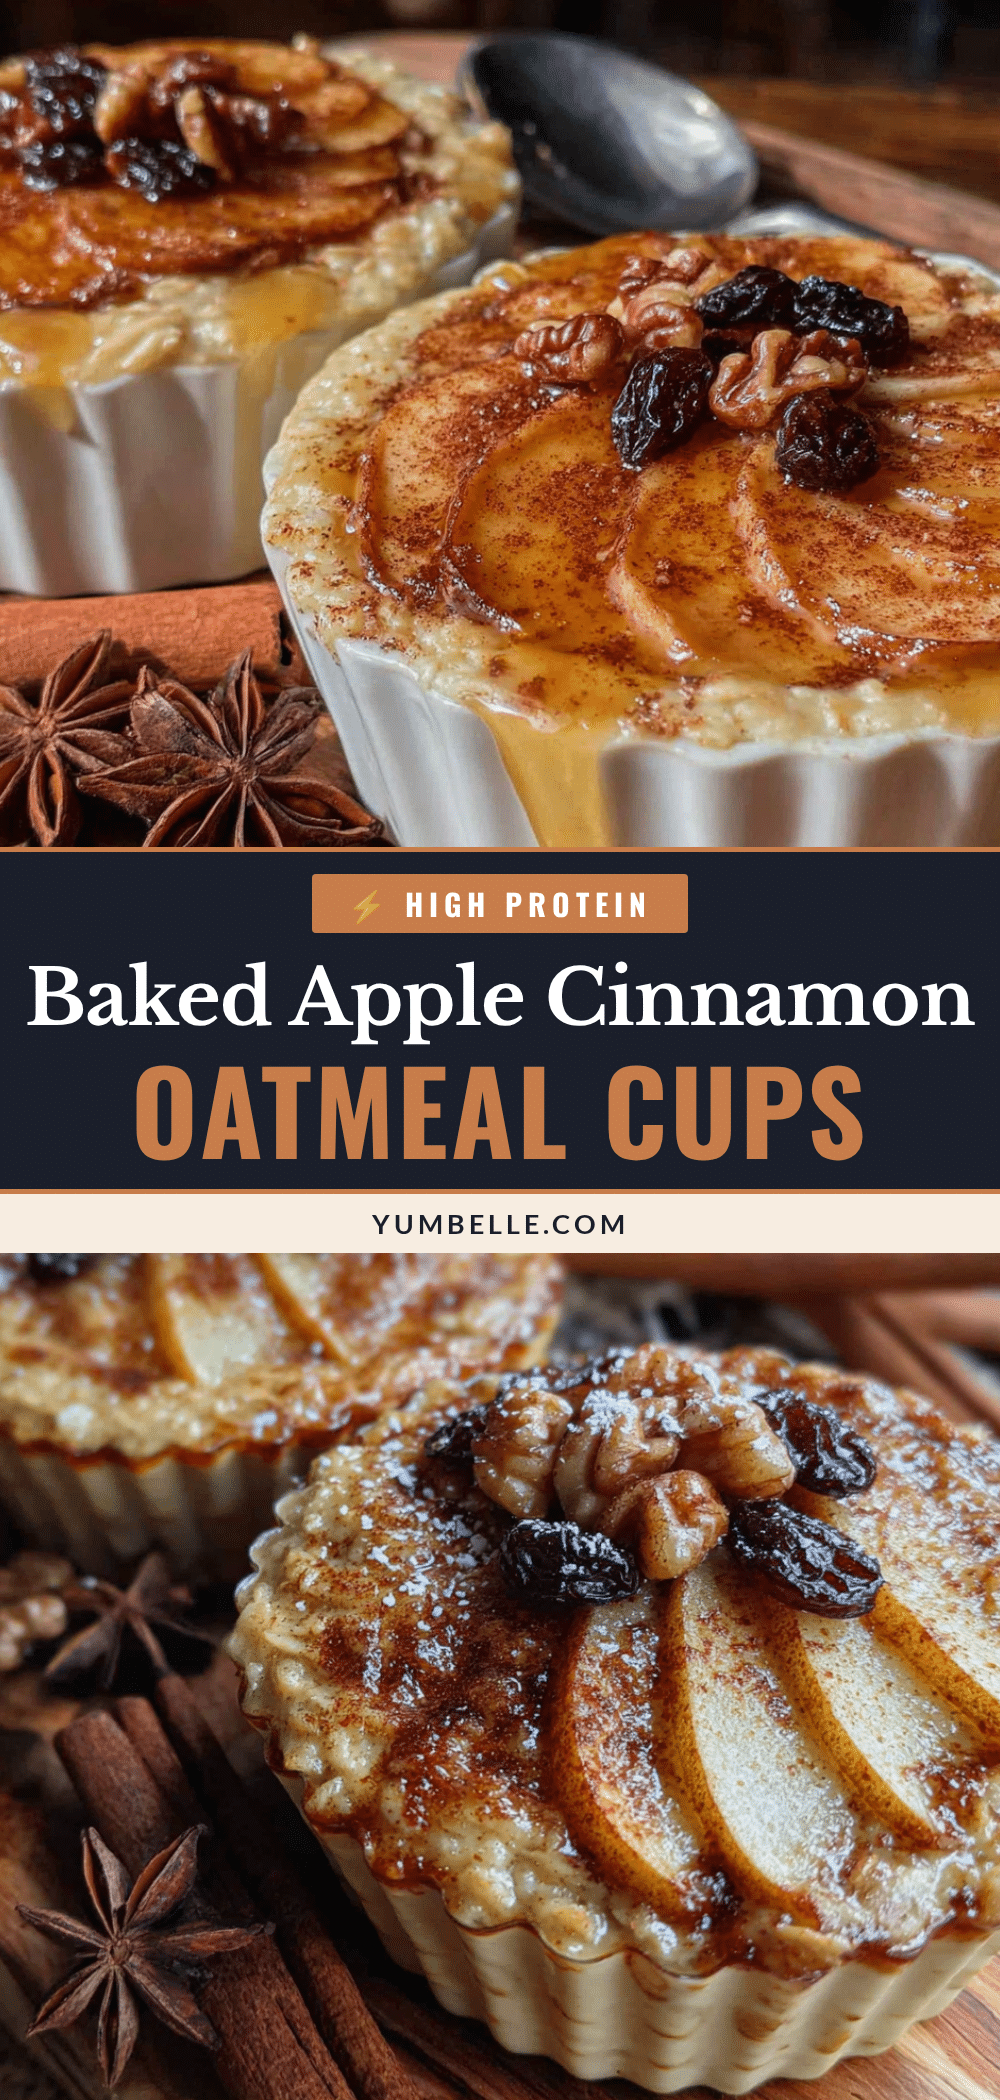
Easy Apple Cinnamon Baked Oatmeal Cups

These portable, forgiving baked oatmeal cups are made with grated and chopped apples for the perfect texture. Ready in about 30 minutes, they’re ideal for meal prep and make your kitchen smell like autumn.
- Prep Time: 10 minutes
- Cook Time: 25 minutes
- Total Time: 35 minutes
- Yield: 12 servings 1x
- Category: Breakfast
- Cuisine: American
Ingredients
- 2 cups rolled oats (old-fashioned)
- 2 medium apples (one grated, one finely chopped; Honeycrisp, Fuji, or Granny Smith)
- 1 cup milk (dairy, almond, oat, or coconut)
- 2 large eggs (room temperature preferred)
- 3 tablespoons unsalted butter, melted (or coconut oil for dairy-free)
- 1/3 cup maple syrup (or honey, brown sugar)
- 1 1/2 teaspoons cinnamon
- 1 teaspoon baking powder
- 1/4 teaspoon salt
- 1 teaspoon vanilla extract
- Optional: 1/2 cup chopped walnuts or pecans, 1/4 cup raisins or dried cranberries
- Optional topping: turbinado sugar and extra cinnamon
Instructions
- Preheat oven to 375°F (190°C). Grease a 12-cup muffin tin generously.
- Wash both apples. Grate one using the large holes of a box grater (skin on). Finely chop the second apple into small cubes, about 1/4-inch. Set aside.
- In a large bowl, combine 2 cups rolled oats, 1 teaspoon baking powder, 1 1/2 teaspoons cinnamon, and 1/4 teaspoon salt. Stir with a fork. If adding nuts or dried fruit, stir them in now.
- In a medium bowl, whisk 2 eggs until frothy, about 30 seconds. Add 1 cup milk, 1/3 cup maple syrup, 3 tablespoons melted butter, and 1 teaspoon vanilla. Whisk until smooth and slightly thickened.
- Pour wet ingredients into dry ingredients. Add both grated and chopped apples. Stir with a rubber spatula until just combined (about 15 strokes). Batter will be loose and soupy.
- Divide mixture evenly among 12 muffin cups, filling each about 3/4 full. Sprinkle tops with a pinch of cinnamon and a teaspoon of turbinado sugar if using.
- Bake on middle rack for 20-25 minutes. Check at 20 minutes: tops should be golden and firm, toothpick inserted in center should come out clean or with a few moist crumbs. If centers look wet, bake 3-5 more minutes.
- Let cups rest in tin for 5 minutes. Run a butter knife around edges to loosen, then transfer to a cooling rack. Cool for at least 10 minutes before serving.
Notes
Don’t skip the 5-minute rest in the tin after baking—it lets the oats absorb remaining liquid. For best texture, grate one apple and chop the other. Room temperature eggs help prevent batter lumps. Store in airtight container in fridge up to 5 days; freeze up to 3 months. Reheat with a splash of milk to prevent drying.
Nutrition
- Serving Size: 1 oatmeal cup
- Calories: 185
- Sugar: 12
- Sodium: 115
- Fat: 7
- Saturated Fat: 3.5
- Carbohydrates: 27
- Fiber: 3
- Protein: 6
Keywords: baked oatmeal cups, apple cinnamon oatmeal, healthy breakfast, meal prep breakfast, easy oatmeal recipe


