Love this? Save it for later!
Share the inspiration with your friends
I was elbow-deep in a pile of Halloween candy last October, sorting the “good stuff” from the sad little Tootsie Rolls, when a stray Reese’s Peanut Butter Cup rolled off the counter and landed right next to a can of pumpkin puree I’d left out for a different recipe. And honestly? I just stared at them for a solid minute. There they were—chocolate, peanut butter, and pumpkin—sitting side by side like they were daring me to make something of it. I mean, I’ve made pumpkin bread more times than I can count, and I’ve certainly made my fair share of peanut butter desserts. But combining them? That felt like breaking some unspoken baking rule.
So I did what any reasonable person would do on a rainy Tuesday afternoon. I grabbed that can of pumpkin, unwrapped a handful of those peanut butter cups, and started experimenting. My kitchen looked like a small explosion of flour and cocoa powder by the time I was done, and my dog sat patiently waiting for something to drop (spoiler: nothing did). But when I pulled that cake out of the oven and the smell hit me—warm pumpkin, rich chocolate, that unmistakable peanut butter aroma—I knew I’d stumbled onto something special. It wasn’t just good. It was the kind of cake that makes you close your eyes after the first bite and forget what you were doing before.
Maybe you’ve been there—staring at two ingredients that seem like they shouldn’t work together but something in your gut tells you they will. That’s exactly how this Best Reese’s Peanut Butter Pumpkin Cake was born. And now, I can’t imagine fall baking season without it.
Why You’ll Love This Recipe
Let me tell you why this cake has become my most-requested fall dessert, and I’m not exaggerating when I say people actually text me in September asking when I’m making it again.
- Quick & Easy: This comes together in under an hour, which is perfect for those last-minute dinner invites or when the craving hits hard on a Wednesday night.
- Simple Ingredients: No fancy grocery trips needed here. You likely already have most of these in your pantry, minus maybe the pumpkin puree and the Reese’s cups (but let’s be real, those are probably already in your Halloween stash).
- Perfect for Fall Gatherings: Whether it’s a Thanksgiving potluck, a cozy Friendsgiving, or just a random Sunday dessert, this cake fits right in. It’s festive without being fussy.
- Crowd-Pleaser: I’ve served this to kids, grandparents, and that one friend who claims they “don’t really like sweets.” Every single one of them asked for seconds. Every. Single. One.
- Unbelievably Delicious: The texture is what gets me every time. It’s moist without being heavy, with pockets of melted peanut butter cup that create these little surprises in every bite.
What makes this different from every other pumpkin cake out there? It’s the way the pumpkin keeps the cake incredibly moist while the peanut butter cups add that salty-sweet contrast that makes you keep reaching for just one more slice. I’ve tested this recipe four times to get the ratios perfect—too much pumpkin and it gets soggy, too little and it’s dry. This version? It’s just right.
This isn’t just another pumpkin cake. It’s the kind of dessert that makes people close their eyes and go quiet for a second. It’s comfort food reimagined—familiar enough to feel like home, but surprising enough to feel special.
What Ingredients You Will Need
This recipe uses simple, wholesome ingredients that work together to create something truly special. Most of these are pantry staples, which makes this cake perfect for spontaneous baking sessions.
For the Cake Batter
- 1 ¾ cups all-purpose flour (spooned and leveled—don’t scoop straight from the bag or you’ll end up with too much)
- 1 teaspoon baking soda
- 2 teaspoons pumpkin pie spice (I prefer the McCormick brand for its balanced flavor)
- ½ teaspoon salt (this enhances the peanut butter and pumpkin flavors)
- 1 cup granulated sugar
- ½ cup packed light brown sugar (adds moisture and a subtle caramel note)
- ½ cup vegetable oil (or melted coconut oil for a subtle tropical hint)
- 2 large eggs, room temperature (cold eggs can make the batter seize up)
- 1 teaspoon vanilla extract
- 1 cup pumpkin puree (not pumpkin pie filling—make sure it’s 100% pure pumpkin)
- ½ cup buttermilk (or make your own by adding 1 tablespoon lemon juice to ½ cup milk and letting it sit for 5 minutes)
For the Peanut Butter Swirl & Topping
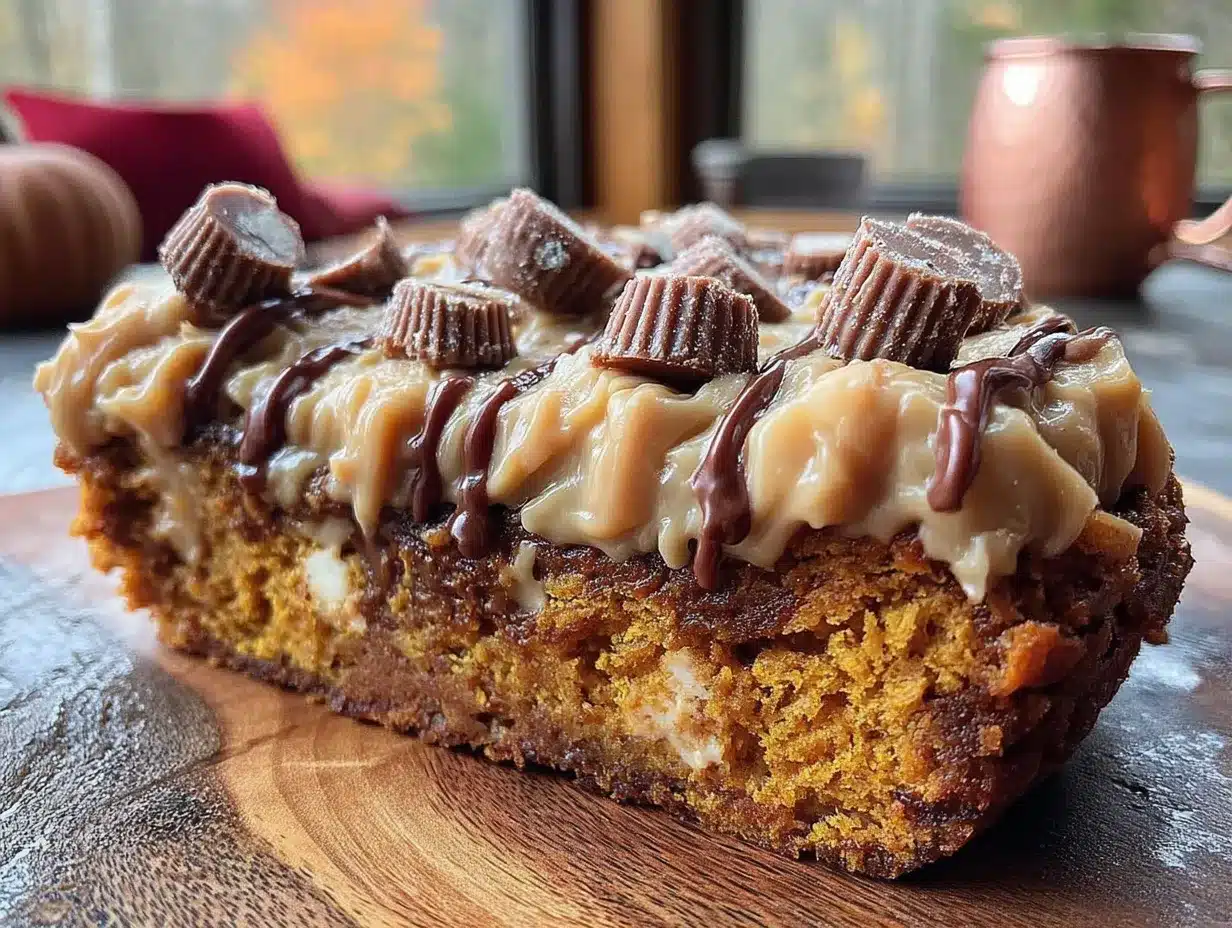
- ½ cup creamy peanut butter (I use Jif for consistent results, but any brand works)
- 2 tablespoons powdered sugar (helps the swirl hold its shape)
- 1 tablespoon melted butter
- 1 ½ cups chopped Reese’s Peanut Butter Cups (about 12-15 mini cups or 6 regular-sized cups)
For the Chocolate Glaze (Optional but Highly Recommended)
- ½ cup semi-sweet chocolate chips
- 3 tablespoons heavy cream
- 1 tablespoon butter
If you’re looking for substitution options, you can swap the all-purpose flour with a 1:1 gluten-free baking flour blend for a gluten-free version. The pumpkin puree adds enough moisture that gluten-free flours work surprisingly well here. For a dairy-free option, use almond milk with a splash of vinegar in place of buttermilk, and coconut oil instead of butter in the glaze.
Equipment Needed
You don’t need a professional kitchen to make this cake, which is part of its charm. Here’s what you’ll need:
- 9×13 inch baking pan (a metal pan gives you cleaner edges, but glass works fine too)
- Mixing bowls (one large, one medium, one small)
- Whisk and rubber spatula
- Measuring cups and spoons
- Parchment paper (optional but makes cleanup a breeze)
- Cooling rack
- Sharp knife for chopping the Reese’s cups (a serrated knife works best to avoid smashing them)
If you don’t have a 9×13 pan, you can use two 8-inch round pans and adjust the baking time to about 25-30 minutes. Just keep an eye on them. I once forgot I only had round pans and ended up with a very thick, slightly underbaked cake. Lesson learned the hard way!
Preparation Method
Alright, let’s get baking. I promise this is easier than it looks, and the smell alone will make it worth every step.
- Preheat your oven to 350°F (175°C). Grease your 9×13 pan with butter or non-stick spray, then line it with parchment paper if you’re feeling fancy. The parchment isn’t strictly necessary, but it makes lifting the cake out so much easier.
- In a medium bowl, whisk together the flour, baking soda, pumpkin pie spice, and salt. Set this aside. I like to give it a few extra whisks to make sure the spices are evenly distributed—nobody wants a bite with all the salt in one spot.
- In a large bowl, whisk together the granulated sugar, brown sugar, and vegetable oil. Whisk until it looks like wet sand—about 30 seconds. Add the eggs one at a time, whisking well after each addition. Then add the vanilla and pumpkin puree. The mixture will look a little thick and glossy at this point.
- Alternate adding the dry ingredients and the buttermilk to the wet mixture. Start with half the flour mixture, then half the buttermilk, then the rest of the flour, then the rest of the buttermilk. Stir until just combined—overmixing will make your cake tough. A few lumps are totally fine. Trust me, they’ll bake out.
- In a small bowl, make the peanut butter swirl. Mix the creamy peanut butter, powdered sugar, and melted butter until smooth. It should be thick but spreadable. If it’s too stiff, microwave it for 10 seconds.
- Pour the cake batter into your prepared pan and spread it evenly with a spatula. Drop spoonfuls of the peanut butter mixture on top of the batter, then use a knife to swirl it gently. Don’t over-swirl—you want pockets of peanut butter, not a fully blended batter.
- Sprinkle the chopped Reese’s cups evenly over the top. Press them down slightly so they sink into the batter just a little. This ensures they stay embedded in the cake rather than all falling off when you flip it out.
- Bake for 30-35 minutes, or until a toothpick inserted in the center comes out clean or with just a few moist crumbs. The top should be golden brown and the edges should pull away from the pan slightly. Mine usually takes exactly 33 minutes, but ovens vary.
- Let the cake cool in the pan for 15 minutes, then transfer it to a wire rack to cool completely. If you’re adding the glaze, wait until the cake is completely cool—otherwise the glaze will just slide right off.
- For the chocolate glaze: Combine the chocolate chips, heavy cream, and butter in a small microwave-safe bowl. Microwave in 20-second intervals, stirring between each, until smooth and glossy. Drizzle over the cooled cake and let it set for about 10 minutes before slicing.
A quick note: If you’re making this ahead of time, don’t add the glaze until you’re ready to serve. The cake stays moist for days, but the glaze can get a little messy after sitting overnight.
Cooking Tips & Techniques
After making this cake more times than I care to count, I’ve picked up a few tricks that make a real difference. Here’s what I wish someone had told me the first time around.
Don’t overmix the batter. I know I said this already, but I’ll say it again because I’ve ruined plenty of cakes by getting too enthusiastic with the whisk. Overmixing develops the gluten too much, and you end up with a dense, rubbery cake instead of a tender, fluffy one. Mix until you don’t see any more dry flour, then stop. Seriously. Stop right there.
Chop your Reese’s cups while they’re cold. If you chop them at room temperature, they’ll smoosh and melt all over your cutting board. Pop them in the fridge for 15 minutes first, and you’ll get clean, satisfying chunks that hold their shape during baking. I learned this after my first attempt resulted in what looked like chocolate mud all over my board.
Room temperature eggs matter. Cold eggs can make the batter seize up and create an uneven texture. If you forgot to take them out of the fridge, place them in a bowl of warm water for 5 minutes before using. It’s a small step, but it makes a noticeable difference in how the cake rises.
Check for doneness with your senses, not just the timer. Every oven runs differently. My friend’s oven runs hot, and her cake is done at 28 minutes. Mine takes 33. Start checking at 28 minutes, and look for that golden color, the edges pulling away, and that irresistible smell filling your kitchen. When you can smell the pumpkin and chocolate together, you’re close.
Let it cool completely before glazing. I know it’s tempting to pour that chocolate glaze over a warm cake, but trust me—it’ll turn into a runny mess that pools at the bottom of the plate. Patience pays off here. If you’re in a hurry, pop the cake in the fridge for 20 minutes to speed up the cooling process.
Variations & Adaptations
One of the things I love most about this recipe is how flexible it is. Here are some variations I’ve tried and loved, plus a few I’m still planning to experiment with.
Gluten-Free Version: Swap the all-purpose flour with a 1:1 gluten-free baking flour blend. I’ve tested this with Bob’s Red Mill and King Arthur’s blends, and both work beautifully. The pumpkin keeps the cake moist, so you won’t get that dry, crumbly texture that sometimes happens with gluten-free baking.
Dairy-Free Adaptation: Use almond milk mixed with a teaspoon of apple cider vinegar in place of buttermilk. For the glaze, swap the heavy cream with coconut cream and use dairy-free butter or coconut oil. The flavor changes slightly—you’ll get a hint of coconut—but it’s still absolutely delicious.
Extra Chocolate Version: If you’re a chocolate lover (and really, who isn’t?), fold ½ cup of mini chocolate chips into the batter before pouring it into the pan. This adds little pockets of melted chocolate throughout the cake, which pairs beautifully with the peanut butter swirl.
Spiced-Up Version: Add ¼ teaspoon of ground ginger and a pinch of cloves to the pumpkin pie spice mixture. This gives the cake a warmer, more complex flavor that’s perfect for holiday gatherings. I tried this last Thanksgiving and my aunt actually asked for the recipe—which is saying something because she never asks for recipes.
Mini Cupcake Version: Line a muffin tin with paper liners and fill each cup about ⅔ full with batter. Add a small dollop of the peanut butter mixture and a few chopped Reese’s pieces on top. Bake for 15-18 minutes. These are perfect for parties or for portion control (though I can’t promise you’ll stop at one).
Serving & Storage Suggestions
This cake is incredibly versatile when it comes to serving. Here’s how I like to enjoy it, plus some tips for keeping it fresh.
Serving Temperature: I prefer this cake at room temperature, but it’s also fantastic slightly warm. If you’re reheating individual slices, pop them in the microwave for 10-15 seconds. The peanut butter gets soft and the chocolate glaze gets slightly melty—it’s pure heaven.
Presentation Ideas: For a casual dessert, just cut it into squares and serve on a plate. For something fancier, dust the top with a little powdered sugar or add a scoop of vanilla ice cream on the side. The cold ice cream against the warm cake is a combination I can’t recommend enough.
Complementary Drinks: A cup of hot coffee or a glass of cold milk is perfect with this cake. For an adult twist, try it with a spiced chai latte or even a bourbon-spiked hot chocolate.
Storage Instructions: Store the cake in an airtight container at room temperature for up to 3 days. If you’ve added the glaze, place a piece of parchment paper between layers to prevent sticking. For longer storage, wrap individual slices in plastic wrap and freeze for up to 3 months. Thaw at room temperature for about 30 minutes before serving.
Flavor Development: Honestly, this cake tastes even better the next day. The flavors meld together overnight, and the pumpkin and peanut butter become more pronounced. If you can resist eating it all on day one, you’re in for a treat on day two.
Nutritional Information & Benefits
Let’s be real—this is a dessert, and it’s meant to be enjoyed. But it does have some surprising nutritional highlights thanks to the pumpkin and peanut butter.
Estimated Per Serving (1 slice, based on 12 servings):
Calories: 385 | Fat: 18g | Carbohydrates: 48g | Protein: 7g | Fiber: 2g | Sugar: 32g
Pumpkin is packed with vitamin A and fiber, which support eye health and digestion. It also adds moisture to the cake without needing extra butter or oil, which is a nice little bonus.
Peanut butter provides protein and healthy fats, making this cake slightly more satisfying than your average dessert. Plus, it adds that salty-sweet balance that keeps you coming back for more.
Dietary Considerations: This recipe can be made gluten-free and dairy-free with simple substitutions (see the variations section). It contains nuts (peanuts) and gluten, so keep that in mind if you’re serving guests with allergies.
I’m not here to pretend this is a health food—it’s a celebration cake, through and through. But knowing that it has a little bit of pumpkin’s goodness tucked in there makes me feel slightly less guilty about that second slice.
Frequently Asked Questions
Can I use pumpkin pie filling instead of pumpkin puree?
No, please don’t. Pumpkin pie filling has added sugar and spices that will throw off the balance of this recipe. Stick with 100% pure pumpkin puree for the best results.
Can I make this cake ahead of time?
Absolutely. You can bake the cake a day in advance and store it in an airtight container at room temperature. Add the glaze just before serving for the prettiest presentation.
Can I use natural peanut butter for the swirl?
You can, but natural peanut butter tends to separate and can make the swirl oily. If you’re using natural peanut butter, stir it really well and add an extra tablespoon of powdered sugar to help stabilize it.
How do I know when the cake is done baking?
Insert a toothpick into the center of the cake. If it comes out clean or with just a few moist crumbs, it’s done. If it comes out with wet batter, give it another 2-3 minutes and check again.
Can I freeze this cake?
Yes! Wrap individual slices tightly in plastic wrap, then place them in a freezer-safe bag. They’ll keep for up to 3 months. Thaw at room temperature for about 30 minutes before enjoying.
Conclusion
This Best Reese’s Peanut Butter Pumpkin Cake has become my go-to fall dessert for a reason. It’s the kind of recipe that feels special enough for holidays but simple enough for a random Tuesday. The combination of pumpkin, peanut butter, and chocolate is unexpected in the best way, and every single time I make it, someone asks for the recipe.
What I love most about this cake is how forgiving it is. It doesn’t require any fancy techniques or hard-to-find ingredients. It’s just good, honest baking that tastes like fall in every single bite. And honestly? That’s exactly what I want from a dessert this time of year.
I’d love to hear how yours turns out. Did you add the glaze? Try a variation? Leave a comment below and let me know—I read every single one, and your feedback helps me create better recipes for you. And if you’re looking for more fall baking inspiration, don’t miss my pumpkin bread recipe or these soft peanut butter cookies that pair perfectly with a cup of hot cider.
Happy baking, friend. Your kitchen is about to smell amazing.
Pin This Recipe!
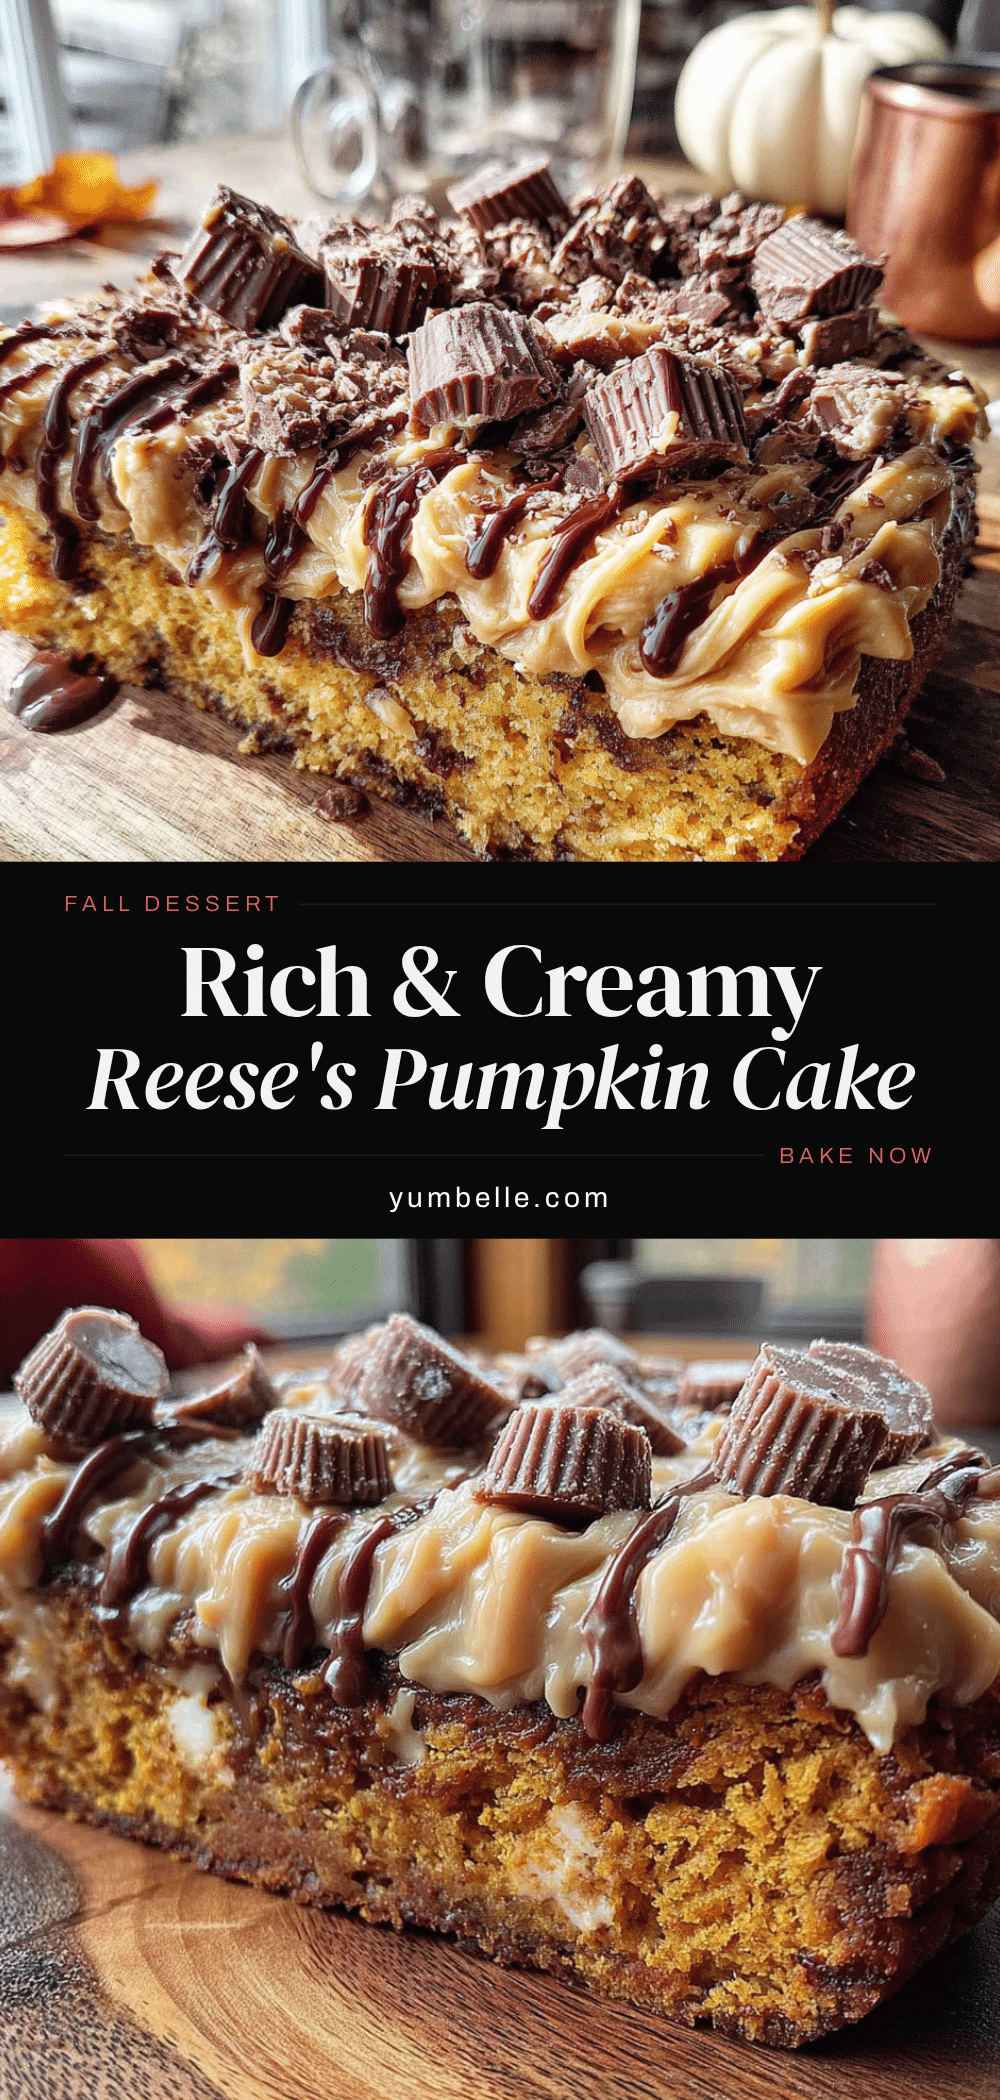
Best Reese’s Peanut Butter Pumpkin Cake Recipe
A moist and flavorful pumpkin cake swirled with creamy peanut butter and studded with chopped Reese’s Peanut Butter Cups, topped with a rich chocolate glaze. This easy fall dessert is a crowd-pleaser that combines the best flavors of the season.
- Prep Time: 15 minutes
- Cook Time: 33 minutes
- Total Time: 48 minutes
- Yield: 12 servings 1x
- Category: Dessert
- Cuisine: American
Ingredients
- 1 ¾ cups all-purpose flour (spooned and leveled)
- 1 teaspoon baking soda
- 2 teaspoons pumpkin pie spice
- ½ teaspoon salt
- 1 cup granulated sugar
- ½ cup packed light brown sugar
- ½ cup vegetable oil (or melted coconut oil)
- 2 large eggs, room temperature
- 1 teaspoon vanilla extract
- 1 cup pumpkin puree (100% pure pumpkin)
- ½ cup buttermilk (or ½ cup milk + 1 tablespoon lemon juice)
- ½ cup creamy peanut butter
- 2 tablespoons powdered sugar
- 1 tablespoon melted butter
- 1 ½ cups chopped Reese’s Peanut Butter Cups (about 12–15 mini cups or 6 regular-sized)
- ½ cup semi-sweet chocolate chips
- 3 tablespoons heavy cream
- 1 tablespoon butter
Instructions
- Preheat your oven to 350°F (175°C). Grease a 9×13 inch baking pan with butter or non-stick spray; optionally line with parchment paper.
- In a medium bowl, whisk together the flour, baking soda, pumpkin pie spice, and salt. Set aside.
- In a large bowl, whisk together the granulated sugar, brown sugar, and vegetable oil until it looks like wet sand (about 30 seconds). Add the eggs one at a time, whisking well after each addition. Then add the vanilla and pumpkin puree; mix until thick and glossy.
- Alternate adding the dry ingredients and the buttermilk to the wet mixture: start with half the flour mixture, then half the buttermilk, then the rest of the flour, then the rest of the buttermilk. Stir until just combined (a few lumps are fine). Do not overmix.
- In a small bowl, mix the creamy peanut butter, powdered sugar, and melted butter until smooth. If too stiff, microwave for 10 seconds.
- Pour the cake batter into the prepared pan and spread evenly. Drop spoonfuls of the peanut butter mixture on top, then gently swirl with a knife (do not over-swirl).
- Sprinkle the chopped Reese’s cups evenly over the top and press them down slightly so they sink into the batter.
- Bake for 30-35 minutes, or until a toothpick inserted in the center comes out clean or with a few moist crumbs. The top should be golden and edges pulling away from the pan.
- Let the cake cool in the pan for 15 minutes, then transfer to a wire rack to cool completely.
- For the chocolate glaze: Combine chocolate chips, heavy cream, and butter in a small microwave-safe bowl. Microwave in 20-second intervals, stirring between each, until smooth and glossy. Drizzle over the cooled cake and let set for about 10 minutes before slicing.
Notes
For best results, chop Reese’s cups while cold to avoid smashing. Room temperature eggs help the batter rise evenly. Do not overmix the batter to keep the cake tender. Let cake cool completely before glazing to prevent the glaze from running off. The cake tastes even better the next day as flavors meld. Store in an airtight container at room temperature for up to 3 days, or freeze individual slices for up to 3 months.
Nutrition
- Serving Size: 1 slice
- Calories: 385
- Sugar: 32
- Sodium: 280
- Fat: 18
- Saturated Fat: 7
- Carbohydrates: 48
- Fiber: 2
- Protein: 7
Keywords: pumpkin cake, Reese's peanut butter cake, fall dessert, peanut butter pumpkin cake, chocolate glaze, easy cake recipe


