Love this? Save it for later!
Share the inspiration with your friends
“I wasn’t expecting to find the perfect Easter cookie recipe tucked inside an old church cookbook, but there I was, flipping through worn pages and scribbles, discovering this Easy Easter Sugar Cookies with Shiny Pastel Royal Icing recipe.” That spring afternoon at the community bake sale felt like a small treasure hunt, honestly.
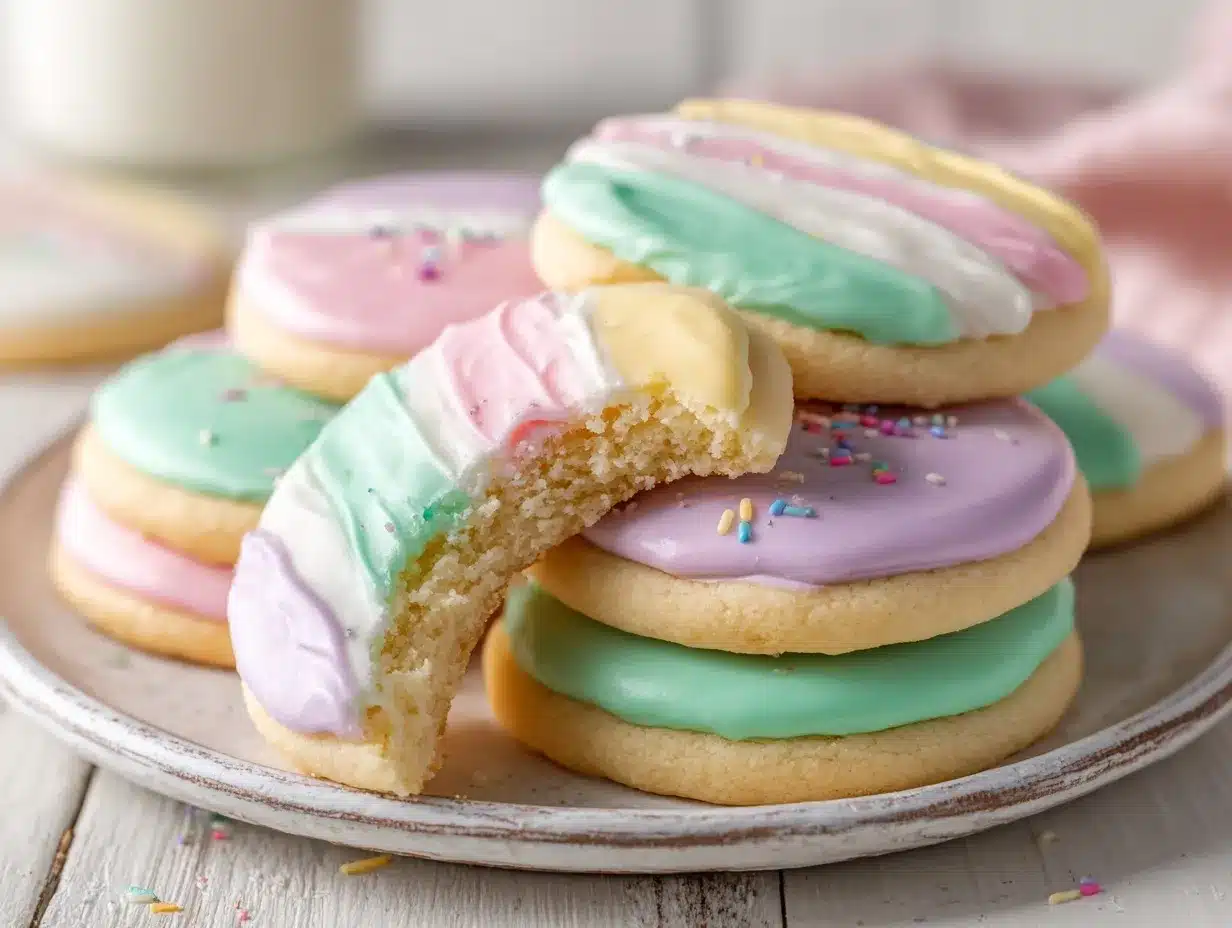
The moment I took a bite of these cookies, with their soft, buttery crumb and that glossy, pastel icing that catches the light just right, I knew I had to share this gem. You know that feeling when a simple treat transports you back to childhood? That’s exactly what happened—except this time, I had the recipe in hand.
Let me tell you, the magic here isn’t just the taste; it’s how approachable this recipe is. No fuss, no complicated techniques, just classic sugar cookies that hold their shape perfectly, topped with royal icing that sets with a gleam, making them look like little art pieces. Maybe you’ve been there, staring at your cookie dough wondering why your decorations never quite pop—this recipe helps you nail that flawless finish every time.
I remember the kitchen was a bit of a mess (flour everywhere, naturally), and my cat decided this was the perfect moment to join the party, knocking over the powdered sugar. But honestly, those imperfect moments made the whole baking experience even sweeter. These cookies quickly became my go-to for Easter gatherings—simple, stunning, and ridiculously tasty. Let’s jump into why you’re going to love making and sharing these Easy Easter Sugar Cookies with Shiny Pastel Royal Icing.
Why You’ll Love This Recipe
Having tested this recipe over dozens of Easter celebrations (and a few unplanned midweek cravings), I can vouch for how reliable and delightful it is. Here’s why it stands out:
- Quick & Easy: Comes together in under 45 minutes, perfect for busy spring weekends or last-minute holiday baking.
- Simple Ingredients: You likely have everything in your pantry already—no specialty stores needed.
- Perfect for Easter Celebrations: The shiny pastel royal icing adds a festive touch that’s great for kids’ parties, church events, or cozy family brunches.
- Crowd-Pleaser: These cookies always get rave reviews—from toddlers decorating with me to the adults sneaking extra bites when no one is looking.
- Unbelievably Delicious: The soft yet sturdy cookie base pairs perfectly with that smooth, glossy icing, creating a texture and flavor combo that’s pure comfort food.
This recipe isn’t just another sugar cookie—it’s the version that holds its shape while staying tender, thanks to a balanced mix of butter and sugar. The royal icing dries with a shine that looks professional but is super easy to make, even if you’re new to cookie decorating. Honestly, it’s like getting the best of both worlds: simple to bake, stunning to serve.
Whether you’re baking with kids, hosting a holiday get-together, or just treating yourself to a sweet moment, these cookies bring that cozy, festive feeling without the stress.
What Ingredients You Will Need
This recipe uses simple, wholesome ingredients to deliver bold flavor and a satisfying texture without the fuss. Most are pantry staples, making it easy to whip up a batch anytime. Here’s what you’ll gather:
For the Sugar Cookies:
- All-purpose flour (2 ¾ cups / 345g) – For a tender yet sturdy cookie, Bob’s Red Mill is a solid choice.
- Baking powder (1 teaspoon) – Helps just a bit with rise.
- Salt (½ teaspoon) – Balances sweetness.
- Unsalted butter, softened (1 cup / 227g) – Use good quality butter like Land O’Lakes for richness.
- Granulated sugar (1 ¼ cups / 250g) – The classic sweetener for that perfect cookie flavor.
- Large egg, room temperature (1) – Adds moisture and structure.
- Pure vanilla extract (1 teaspoon) – For warmth and depth.
For the Shiny Pastel Royal Icing:
- Powdered sugar (3 cups / 375g) – Sifted for smoothness.
- Egg whites (2 large) or 4 tablespoons meringue powder + 5 tablespoons water – For that glossy finish and firm set.
- Lemon juice (1 teaspoon) – For brightness and balance.
- Gel food coloring in pastel shades – Use brands like AmeriColor for vibrant, consistent color.
- Optional vanilla or almond extract (½ teaspoon) – For flavor variation.
If you want a dairy-free option, swap butter for a plant-based alternative and use aquafaba (chickpea water) instead of egg whites for the icing. In spring, I sometimes add a touch of lemon zest to the cookie dough for a fresh twist.
Equipment Needed
- Mixing bowls: At least two, one for the dough and one for the royal icing.
- Electric mixer: A handheld or stand mixer makes creaming butter and whipping icing a breeze.
- Rolling pin: For rolling out the dough evenly. A textured rolling pin can add fun patterns, but plain works fine.
- Cookie cutters: Easter-themed shapes like bunnies, eggs, and chicks.
- Baking sheets: Non-stick or lined with parchment paper for easy cleanup.
- Piping bags and tips: For decorating the royal icing. Zip-top bags with a small corner snipped work if you don’t have piping tools.
- Sifter: To ensure the powdered sugar is lump-free.
I’ve found that investing in a good stand mixer really saves time, but honestly, a sturdy hand mixer will do the job just fine. For budget-friendly alternatives, wooden dowels or even clean paintbrushes work for delicate icing touches. Keeping your tools clean and dry is key, especially for royal icing, which can seize up with moisture.
Preparation Method
- Preheat your oven to 350°F (175°C). Line baking sheets with parchment paper. This prevents sticking and keeps your cookies looking pristine.
- In a medium bowl, whisk together 2 ¾ cups (345g) all-purpose flour, 1 teaspoon baking powder, and ½ teaspoon salt. Set aside. I like to sift these together to avoid lumps.
- In a large bowl, cream 1 cup (227g) softened unsalted butter with 1 ¼ cups (250g) granulated sugar until light and fluffy—about 3-4 minutes using an electric mixer. This step is crucial for the cookie’s tender texture. Don’t rush it!
- Add 1 large egg and 1 teaspoon pure vanilla extract to the butter mixture, mixing until combined. The dough might look a bit soft—that’s perfect.
- Gradually add the dry ingredients to the wet, mixing on low speed until just combined. Avoid overmixing or your cookies might turn out tough.
- Divide the dough in half, wrap each in plastic wrap, and chill for at least 1 hour. This step makes rolling easier and keeps cookies from spreading too much.
- Roll out one dough portion on a lightly floured surface to about ¼ inch (6mm) thickness. Use your favorite Easter cookie cutters to cut shapes and transfer them gently to the prepared baking sheets.
- Bake for 8-10 minutes until edges just start to turn golden. The cookies will look a little soft but will firm up as they cool. Let them cool completely on wire racks before decorating.
- While cookies cool, prepare your royal icing: In a clean bowl, beat 3 cups (375g) sifted powdered sugar with 2 large egg whites (or meringue powder mix) and 1 teaspoon lemon juice until stiff peaks form. This usually takes about 7-10 minutes on medium-high speed.
- Divide icing into small bowls and tint with gel food coloring to your desired pastel shades. Add a few drops of water if needed to adjust consistency for flooding (thin) or piping (thick).
- Transfer icing to piping bags and decorate cooled cookies. Start with outlines, then flood the center. Let each layer dry for about 15-20 minutes before adding details.
- Allow decorated cookies to dry completely at room temperature for several hours or overnight before stacking or storing. This avoids smudging and keeps that beautiful shine.
Pro tip: If your icing feels too thick at any point, add a drop of water, but be careful not to make it runny. And when rolling dough, chill it again if it gets sticky—patience pays off here!
Cooking Tips & Techniques
One thing I’ve learned from baking these cookies year after year is that temperature control is everything. Butter that’s too soft will make the dough sticky, while cold dough can crack. I usually take the dough out of the fridge 10 minutes before rolling to soften slightly.
When it comes to royal icing, clean bowls and beaters are a must—any grease can ruin the texture. Using fresh egg whites or quality meringue powder keeps the icing glossy and stable. Also, don’t skip the lemon juice; it brightens the flavor and helps the icing set with a nice sheen.
If you’re new to cookie decorating, start with outlining the shapes, then use a toothpick or a small offset spatula to spread the flooding icing evenly. Let the base layer dry before adding details or patterns.
And honestly, don’t stress if your first batch isn’t picture-perfect. Baking is as much about the process as the result. I once spilled powdered sugar all over the counter mid-decorating (classic me), but those slightly imperfect cookies still disappeared fast at the party.
Multitasking tip: While cookies bake, prep your icing and clean up your workspace. This keeps the flow going and cuts down on kitchen chaos.
Variations & Adaptations
You can easily tweak this recipe to suit different dietary needs or flavor preferences. Here are a few ideas I’ve tried or recommend:
- Gluten-Free Version: Swap all-purpose flour for a 1:1 gluten-free baking blend. The texture is slightly different but still delicious.
- Flavored Icing: Add a drop of almond or peppermint extract to the royal icing for a festive twist.
- Vegan Adaptation: Use dairy-free margarine, and replace egg in dough with a flax egg (1 tbsp ground flaxseed + 3 tbsp water). For icing, aquafaba whipped to stiff peaks works well.
- Seasonal Themes: Change the icing colors and cookie cutters for other holidays, like pastel pinks and greens for spring or vibrant shades for a birthday party.
- Textured Toppings: Before icing sets, sprinkle edible glitter or colored sugar for extra sparkle.
Personally, I once made a batch with lemon zest in the dough and lemon-flavored royal icing—it was a refreshing change that guests adored. Feel free to experiment, but keep the base recipe handy; it’s a keeper!
Serving & Storage Suggestions
Serve these sugar cookies at room temperature to enjoy their tender crumb and glossy icing at their best. They look adorable arranged on a pastel-colored plate or in a decorative basket lined with Easter grass.
They pair wonderfully with a cup of tea or a glass of cold milk—perfect for a spring afternoon snack or after-dinner treat.
For storage, keep cookies in an airtight container at room temperature for up to 5 days. If you want to save them longer, freeze undecorated cookies wrapped tightly in plastic wrap and foil for up to 3 months. Decorated cookies freeze best once the icing has fully set; just place parchment paper between layers.
Reheat frozen cookies slightly in a warm oven (about 200°F / 93°C) for 5 minutes to bring back softness, but avoid microwaving, as it can melt the icing.
Over time, the flavors meld beautifully, making the cookies taste even better the next day—if they last that long!
Nutritional Information & Benefits
Each cookie (based on approximately 24 cookies) contains roughly 150-170 calories, with about 7 grams of fat and 20 grams of carbohydrates. While these are definitely a treat, the recipe uses real butter and fresh ingredients, avoiding artificial preservatives.
The egg whites in the royal icing add protein, and using natural lemon juice gives a boost of vitamin C. The recipe is naturally gluten-free adaptable and can be made dairy-free or vegan with easy swaps.
From a wellness perspective, baking at home means you control the ingredients, avoiding excess additives often found in store-bought cookies. Plus, the joy and calm of decorating together is a little mental health boost, right?
Conclusion
These Easy Easter Sugar Cookies with Shiny Pastel Royal Icing are a straightforward, delightful way to bring some festive cheer to your holiday table. Whether you’re an experienced baker or just starting out, this recipe delivers consistent, beautiful results that taste as good as they look.
Feel free to customize the colors and flavors to match your style—after all, that’s part of the fun. I love how these cookies bring people together, from the mess in the kitchen to the smiles around the table.
If you try this recipe, I’d love to hear how it turned out for you—drop a comment or share your decorating tips. Happy baking, and may your Easter be filled with sweet moments and even sweeter cookies!
Frequently Asked Questions
Can I make the cookie dough ahead of time?
Yes! You can prepare and chill the dough up to 3 days in advance or freeze it for up to 3 months. Just thaw in the fridge before rolling.
Is royal icing safe to eat raw?
This recipe uses fresh egg whites or pasteurized meringue powder, which are safe if you handle and store them properly. If concerned, use pasteurized egg products or meringue powder.
How do I get the royal icing to have a shiny finish?
Beating the egg whites or meringue powder until stiff peaks form and adding lemon juice helps create that glossy look. Don’t add too much water when thinning the icing for flooding.
Can I use food coloring other than gel?
Gel food coloring is best because it won’t thin the icing. Liquid colors can make the icing too runny, so if using liquid, add very sparingly.
What’s the best way to store decorated cookies?
Keep them in an airtight container at room temperature for up to 5 days. Place parchment paper between layers to prevent sticking and smudging.
Pin This Recipe!
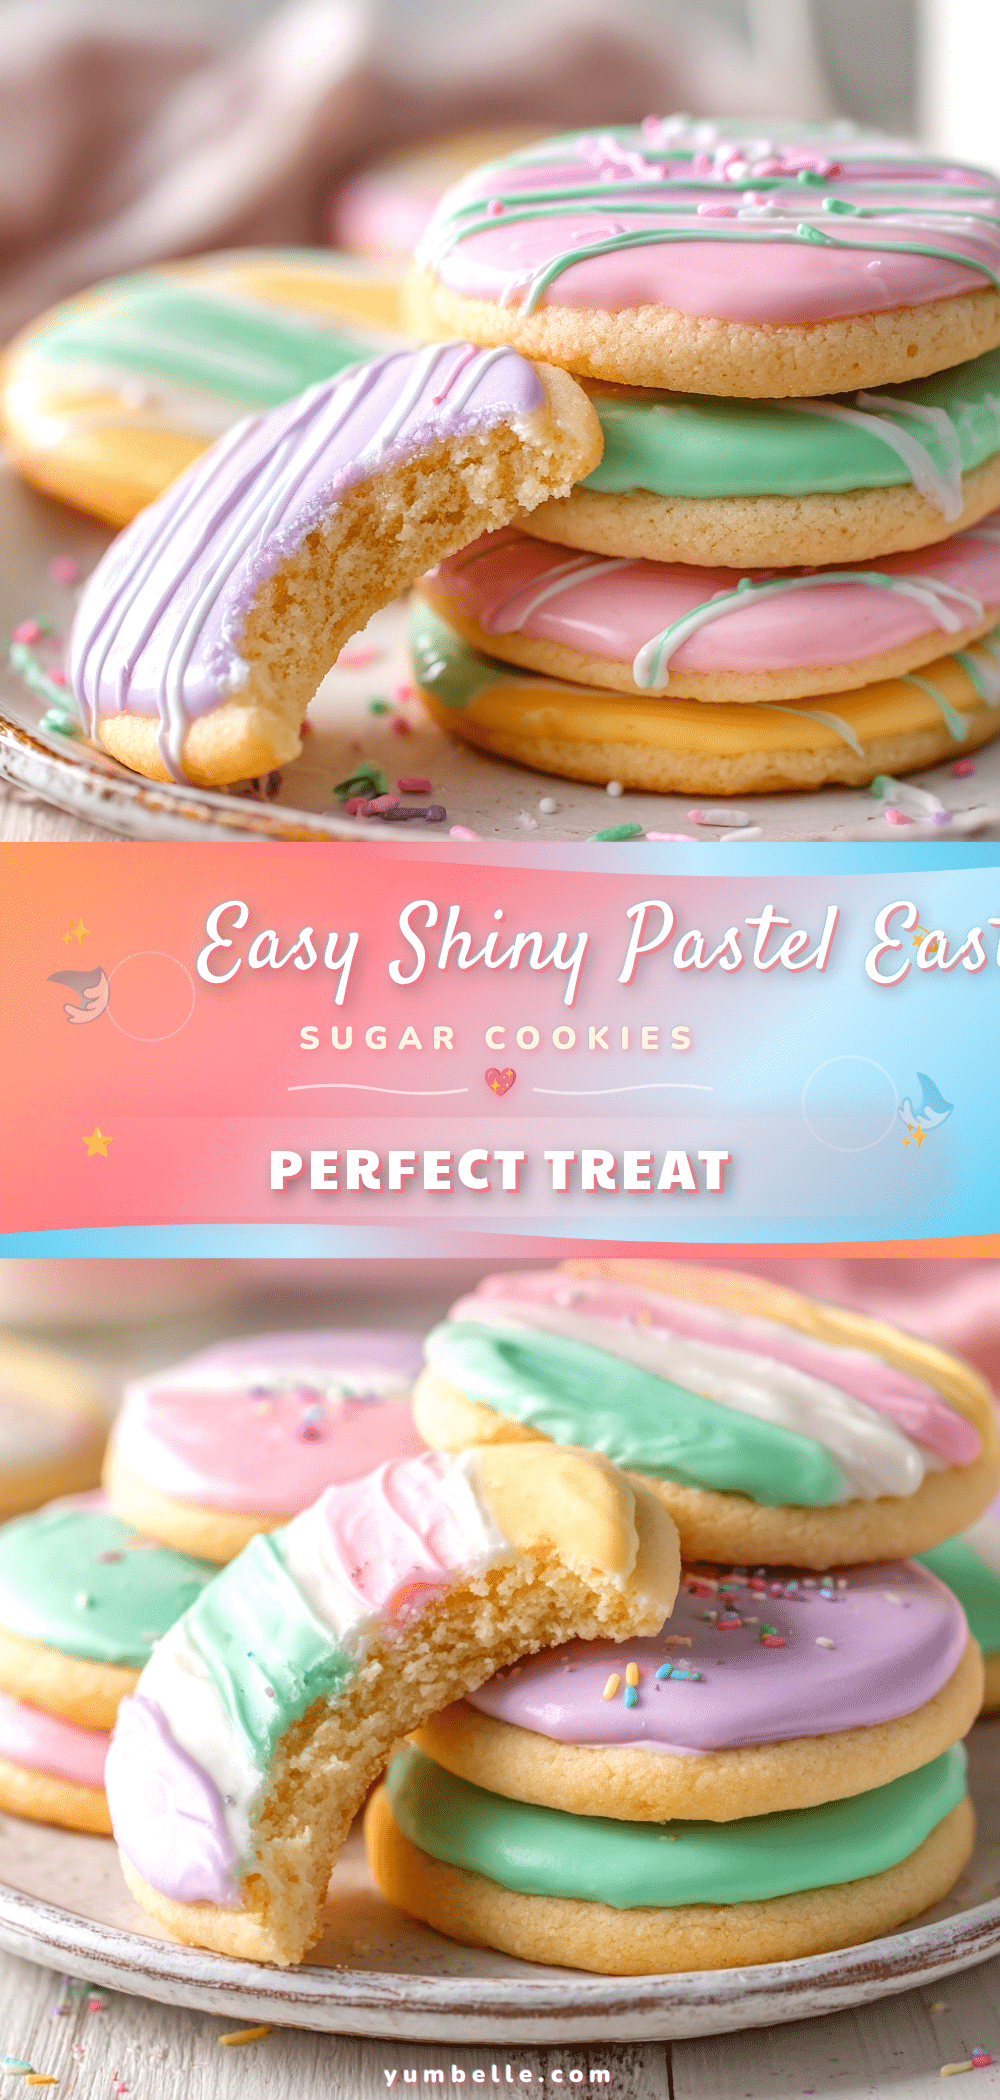
Easy Easter Sugar Cookies Recipe with Shiny Pastel Royal Icing for Perfect Holiday Treats

Soft, buttery sugar cookies topped with glossy pastel royal icing, perfect for Easter celebrations and festive gatherings. This easy recipe yields tender cookies that hold their shape and decorate beautifully.
- Prep Time: 15 minutes
- Cook Time: 10 minutes
- Total Time: 1 hour 25 minutes
- Yield: 24 cookies 1x
- Category: Dessert
- Cuisine: American
Ingredients
- 2 ¾ cups (345g) all-purpose flour
- 1 teaspoon baking powder
- ½ teaspoon salt
- 1 cup (227g) unsalted butter, softened
- 1 ¼ cups (250g) granulated sugar
- 1 large egg, room temperature
- 1 teaspoon pure vanilla extract
- 3 cups (375g) powdered sugar, sifted
- 2 large egg whites or 4 tablespoons meringue powder + 5 tablespoons water
- 1 teaspoon lemon juice
- Gel food coloring in pastel shades
- Optional: ½ teaspoon vanilla or almond extract
Instructions
- Preheat your oven to 350°F (175°C). Line baking sheets with parchment paper.
- In a medium bowl, whisk together 2 ¾ cups (345g) all-purpose flour, 1 teaspoon baking powder, and ½ teaspoon salt. Set aside.
- In a large bowl, cream 1 cup (227g) softened unsalted butter with 1 ¼ cups (250g) granulated sugar until light and fluffy, about 3-4 minutes using an electric mixer.
- Add 1 large egg and 1 teaspoon pure vanilla extract to the butter mixture, mixing until combined.
- Gradually add the dry ingredients to the wet, mixing on low speed until just combined. Avoid overmixing.
- Divide the dough in half, wrap each in plastic wrap, and chill for at least 1 hour.
- Roll out one dough portion on a lightly floured surface to about ¼ inch (6mm) thickness. Use Easter-themed cookie cutters to cut shapes and transfer to prepared baking sheets.
- Bake for 8-10 minutes until edges just start to turn golden. Let cool completely on wire racks before decorating.
- While cookies cool, prepare royal icing: beat 3 cups (375g) sifted powdered sugar with 2 large egg whites (or meringue powder mix) and 1 teaspoon lemon juice until stiff peaks form, about 7-10 minutes on medium-high speed.
- Divide icing into small bowls and tint with gel food coloring to desired pastel shades. Adjust consistency with a few drops of water if needed.
- Transfer icing to piping bags and decorate cooled cookies. Start with outlines, then flood the center. Let each layer dry 15-20 minutes before adding details.
- Allow decorated cookies to dry completely at room temperature for several hours or overnight before stacking or storing.
Notes
Use fresh egg whites or pasteurized meringue powder for safe royal icing. Chill dough for easier rolling and better shape retention. Add lemon zest to dough for a fresh twist. Keep tools clean and dry to prevent icing from seizing. Store cookies in airtight container up to 5 days or freeze undecorated cookies up to 3 months.
Nutrition
- Serving Size: 1 cookie
- Calories: 160
- Sugar: 12
- Sodium: 80
- Fat: 7
- Saturated Fat: 4
- Carbohydrates: 20
- Protein: 2
Keywords: Easter sugar cookies, royal icing, pastel cookies, holiday treats, easy sugar cookies, cookie decorating, festive cookies