Love this? Save it for later!
Share the inspiration with your friends
I swore I wasn’t a themed-dessert person. For years. Every October, while friends would post photos of mummy hot dogs and pumpkin-shaped everything, I’d roll my eyes and stick to my regular chocolate chip cookie routine. Then last Halloween, my sister showed up at my door with a plate of something that made me actually gasp. It was a cookie cake—but not just any cookie cake. A giant, chewy, chocolate-studded monster of a dessert with a spider web piped across the top in white chocolate. I stood there, fork in hand, caught in the act of proving myself completely wrong.
That first bite was something else. The cookie base was perfectly crisp around the edges and soft in the center—exactly the way I’d spent years trying to perfect my regular cookies. But the spider web? That was pure magic. It added this subtle sweetness and a satisfying snap that made every forkful feel like a tiny celebration. I mean, honestly, I ate three slices before I even thought to ask for the recipe.
Maybe you’ve been there—skeptical of anything that looks too “themed” or worried that it’s all style and no substance. This spooky spider web Halloween cookie cake is the exception. It’s the dessert that converted me, and now it’s the one I look forward to making every single October. The best part? It tastes even better than it looks, and trust me, it looks incredible.
Why You’ll Love This Recipe
This isn’t just another Halloween dessert that looks cute but falls flat on flavor. I’ve tested this recipe six times to get the texture exactly right—crispy edges, gooey center, and a spider web that actually stays put without cracking.
- Quick & Easy : From start to finish, this comes together in under 45 minutes. No complicated decorating tools needed—just a piping bag or even a zip-top bag with the corner snipped off.
- Simple Ingredients : You likely have everything in your pantry right now. Butter, sugar, flour, eggs, vanilla, chocolate chips, and white chocolate for the web. That’s it.
- Perfect for Halloween Parties : This cookie cake is the centerpiece of any spooky spread. It feeds a crowd, travels well, and gets more “oohs” and “ahhs” than anything store-bought.
- Crowd-Pleaser : Kids go wild for the spider web design, and adults appreciate that it’s actually delicious—not just decorative.
- Unbelievably Delicious : The combination of brown butter, dark chocolate chips, and that delicate white chocolate web is next-level comfort food. You’ll find yourself making it in November too.
What makes this recipe different from all the other Halloween cookie cakes out there? It’s the technique. I spent a whole afternoon figuring out how to get the web to pipe smoothly without melting into the cookie. The secret is letting the cookie cool completely—and I mean completely—before adding the web. Patience pays off here, and I’ll walk you through every step.
This recipe is the kind that makes you close your eyes after the first bite. It’s comfort food reimagined—faster than a from-scratch layer cake, but with the same soul-soothing satisfaction. Perfect for impressing guests without stress, or turning a simple Tuesday night into something memorable.
What Ingredients You Will Need
This recipe uses simple, wholesome ingredients to deliver bold flavor and satisfying texture without the fuss. Most of these are pantry staples, which means you can whip this up on a whim.
- Unsalted butter, 1 cup (2 sticks), softened to room temperature (I prefer Land O’Lakes for consistent results)
- Granulated sugar, 1 cup (adds sweetness and helps create those crispy edges)
- Light brown sugar, 1 cup, packed (adds moisture and a subtle molasses flavor)
- Large eggs, 2, room temperature (room-temperature eggs incorporate more air for a lighter texture)
- Vanilla extract, 2 teaspoons (pure vanilla makes a noticeable difference—avoid imitation if you can)
- All-purpose flour, 3 cups (spooned and leveled—don’t scoop directly from the bag or you’ll get too much)
- Baking soda, 1 teaspoon
- Salt, 1 teaspoon (I use fine sea salt for even distribution)
- Semi-sweet chocolate chips, 2 cups (I recommend Ghirardelli or Guittard for the best melt and flavor)
- White chocolate melting wafers, 1 cup (for the spider web—use wafers, not white chocolate chips, which don’t melt as smoothly)
- Black gel food coloring, optional (for coloring a small portion of the white chocolate to make spiders)
- Pretzel sticks, 8 (for spider legs—a fun, crunchy detail that kids love)
For the spider web, you can substitute the white chocolate wafers with a simple powdered sugar glaze if you prefer. Just mix 1 cup powdered sugar with 2 tablespoons milk and a splash of vanilla. The texture will be slightly different—more matte than glossy—but it works in a pinch.
Equipment Needed
You don’t need fancy baking equipment for this recipe, which is part of its charm. Here’s what you’ll need:
- 12-inch round pizza pan or tart pan (a 10-inch cast iron skillet also works beautifully—just adjust baking time by 2-3 minutes)
- Electric hand mixer or stand mixer (you can cream the butter and sugar by hand, but your arm will thank you for using a mixer)
- Large mixing bowl and medium mixing bowl
- Piping bag or zip-top bag (for the spider web design)
- Parchment paper (for easy removal—trust me on this one)
- Offset spatula (helps spread the cookie dough evenly, but a regular spatula works too)
- Cooling rack (absolutely essential—the cookie needs to cool completely before decorating)
I’ve made this in a regular round cake pan before, and it worked fine—just greased it well and lined the bottom with parchment. The key is to have a pan with at least 1-inch sides so the cookie doesn’t overflow as it spreads.
Preparation Method
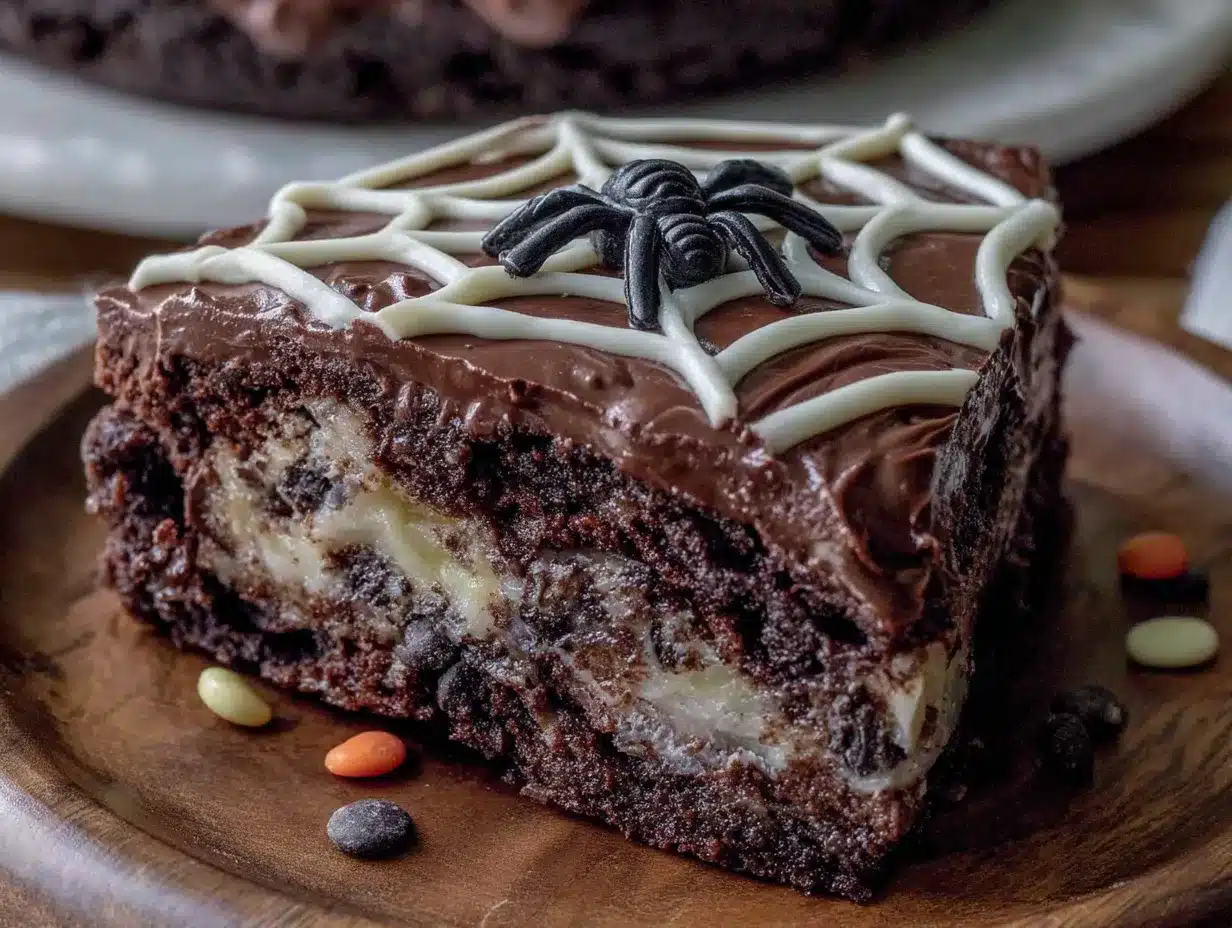
Let’s get to the fun part. This recipe comes together in three main stages: making the dough, baking the cookie cake, and decorating the spider web. Take your time with each step, and you’ll have a showstopper.
- Preheat your oven to 350°F (175°C). Line your 12-inch round pan with parchment paper and lightly grease the sides. Set aside.
- In a large mixing bowl, cream together the softened butter, granulated sugar, and brown sugar. Beat on medium speed for 3-4 minutes until light and fluffy. You’ll know it’s ready when the mixture looks pale and slightly increased in volume. Scrape down the sides of the bowl halfway through.
- Add the eggs one at a time, beating well after each addition. Then add the vanilla extract and mix until combined. The mixture might look slightly curdled at this point—that’s totally normal, especially if your eggs were cold. Don’t panic.
- In a separate medium bowl, whisk together the flour, baking soda, and salt. This ensures the leavening agents are evenly distributed. Slowly add the dry ingredients to the wet mixture, mixing on low speed until just combined. Overmixing at this stage will make the cookie cake tough, so stop as soon as you don’t see any more flour streaks.
- Fold in the chocolate chips using a rubber spatula. Make sure they’re evenly distributed throughout the dough. The dough will be thick and slightly sticky—that’s exactly what you want.
- Transfer the dough to your prepared pan. Use an offset spatula or the back of a spoon to spread it into an even layer. Don’t worry about making it perfectly smooth—the dough will spread as it bakes. I like to leave a slight indent in the center to help it bake evenly.
- Bake for 20-25 minutes, or until the edges are golden brown and the center is set but still soft. A toothpick inserted into the center should come out with a few moist crumbs—not wet batter. The cookie will continue to cook as it cools in the pan.
- Let the cookie cake cool in the pan for 10 minutes, then transfer it to a wire rack to cool completely. This is the most important step for the spider web. The cookie needs to be completely cool—at least 45 minutes to an hour. I learned this the hard way when my first web melted into a sad puddle.
- While the cookie cools, prepare the spider web decoration. Melt the white chocolate wafers according to package directions—usually 30-second intervals in the microwave, stirring between each. Transfer the melted white chocolate to a piping bag or zip-top bag with a tiny corner snipped off.
- To create the spider web, start by piping a small circle in the center of the cookie. Then pipe concentric circles radiating outward, about 1 inch apart. Working from the center out, use a toothpick or the tip of a knife to drag lines from the center circle through each ring, creating the web effect. Wipe the toothpick clean between each drag for the cleanest lines.
- For the spiders, melt a small amount of white chocolate and tint it black with gel food coloring. Pipe small dots onto the web (or on a separate piece of parchment to transfer later). Attach pretzel sticks for legs—four on each side. Let the spiders set completely before placing them on the web.
- Let the decorated cookie cake set for at least 20 minutes before slicing and serving. The white chocolate web should be firm to the touch.
Cooking Tips & Techniques
After making this recipe half a dozen times, I’ve collected a few hard-won lessons. Let me save you the trouble.
Don’t skip the parchment paper. I know it’s an extra step, but this cookie cake is delicate when warm. Without parchment, you risk it sticking to the pan and breaking apart when you try to remove it. Cut a circle of parchment to fit your pan exactly—it takes 30 seconds.
Room temperature ingredients matter. Cold eggs and cold butter don’t cream together properly. You’ll end up with a dense, flat cookie instead of a light, chewy one. Leave your butter and eggs on the counter for 30 minutes before you start. If you’re in a hurry, place the eggs in a bowl of warm water for 5 minutes.
The toothpick test can be tricky. Because this is a giant cookie, the center will look underdone even when it’s perfectly baked. Trust the toothpick test over the appearance. If the edges are golden and the center is no longer shiny, it’s likely done. Remember, it continues baking in the hot pan as it cools.
My biggest failure: The first time I made this, I was impatient. I piped the spider web onto a warm cookie, and the white chocolate immediately melted into a streaky mess. I tried to salvage it by adding more white chocolate, which only made things worse. The final product looked like a ghost had sneezed on it. Wait for the cookie to be completely cool—I promise it’s worth it.
For the cleanest spider web, practice on a piece of parchment paper first. It takes a few tries to get the pressure right in the piping bag. You want a steady, even stream—not too thick, not too thin. Once you’ve done one practice web, you’ll feel confident enough to tackle the real thing.
Variations & Adaptations
This recipe is endlessly adaptable, which is one of the reasons I keep coming back to it. Here are some of my favorite variations:
- Gluten-Free Version : Substitute the all-purpose flour with a 1:1 gluten-free baking flour blend. I’ve used Bob’s Red Mill with great success. Add an extra tablespoon of milk to the dough since gluten-free flours tend to absorb more moisture.
- Peanut Butter Spider Web : Swap 1 cup of the chocolate chips for peanut butter chips. The combination of peanut butter and chocolate is absolutely killer, and it gives the cookie a slightly different texture—more tender and rich.
- M&M Halloween Edition : Replace half the chocolate chips with Halloween-colored M&Ms (orange, purple, and green). The M&Ms stay intact during baking and add pops of color that look amazing against the white spider web.
- Vegan Adaptation : Use vegan butter sticks (not tub margarine), flax eggs (1 tablespoon ground flaxseed mixed with 3 tablespoons water per egg), and dairy-free chocolate chips. The texture will be slightly less tender but still delicious. Use vegan white chocolate for the web.
- Double Chocolate Version : Replace 1/2 cup of the flour with 1/2 cup unsweetened cocoa powder. Reduce the chocolate chips to 1 1/2 cups since the cookie itself will already be chocolatey. The spider web really pops against the dark chocolate background.
I tried the peanut butter version last year for a friend’s Halloween party, and it was the first thing to disappear from the dessert table. The salty-sweet combo with the white chocolate web is honestly addictive.
Serving & Storage Suggestions
This cookie cake is best served at room temperature, which lets the white chocolate web stay snappy and the cookie base stay chewy. If you’ve refrigerated it, let it sit out for 15 minutes before serving.
Presentation tips: Place the cookie cake on a black or dark gray cake stand for maximum spooky vibes. Arrange a few extra chocolate spiders around the base. I like to add some edible glitter or silver dragees to the web for a touch of glamour—it catches the light beautifully.
What to serve with it: A scoop of vanilla bean ice cream is the classic pairing, but I also love it with salted caramel ice cream or a dollop of fresh whipped cream. For a non-dairy option, coconut milk ice cream works wonderfully. A warm mug of apple cider or a cold glass of milk completes the Halloween experience.
Storage: Store the undecorated cookie cake in an airtight container at room temperature for up to 5 days. The white chocolate web is best added the day you plan to serve it, as it can soften and lose its crispness over time. If you need to make it ahead, bake the cookie, cool it completely, wrap it tightly in plastic wrap, and store it at room temperature. Add the web decoration just before serving.
Freezing instructions: The baked, undecorated cookie cake freezes beautifully for up to 2 months. Wrap it tightly in plastic wrap, then aluminum foil. Thaw at room temperature for 2-3 hours before decorating. Do not freeze the cookie with the white chocolate web—it will crack and become tacky.
Reheating: If you want that fresh-from-the-oven experience, reheat individual slices in a 300°F (150°C) oven for 5-7 minutes. The edges will crisp up again, and the center will become soft and gooey. The white chocolate web will soften slightly, but that’s part of the charm.
Nutritional Information & Benefits
Let’s be honest—this is a treat, not a health food. But here’s what you should know:
One serving (1/12 of the cookie cake) contains approximately 420 calories, 22g fat, 54g carbs, 5g protein, and 32g sugar. The chocolate chips provide a small amount of antioxidants from cocoa, and the butter contains fat-soluble vitamins A, D, and E.
Dietary considerations: This recipe contains gluten, dairy, and eggs. For a gluten-free version, use a 1:1 gluten-free flour blend. For a dairy-free version, use vegan butter and dairy-free chocolate chips. For an egg-free version, use flax eggs as mentioned in the variations section.
Potential allergens: Wheat, dairy, eggs, and soy (in some chocolate chips). Always check your ingredient labels if you’re serving someone with allergies.
My personal perspective? This is the kind of dessert that brings people together. It’s meant to be shared, savored, and enjoyed without guilt. One slice won’t derail your wellness goals, and the joy it brings is its own kind of nourishment.
Conclusion
This spooky spider web Halloween cookie cake is proof that themed desserts can be just as delicious as they are beautiful. It’s the recipe that changed my mind about holiday baking, and I have a feeling it’ll do the same for you.
Here’s what I love most: you can make it your own. Add your favorite mix-ins, experiment with different web colors, or go wild with the spider decorations. The base recipe is foolproof, and the decorating is where you get to have fun. Don’t stress about making the web perfect—imperfect lines and slightly wobbly spiders add character.
I’d love to hear how yours turns out. Did you try a variation? Did your kids help with the spider legs? Drop a comment below and share your creation. And if you’re looking for more Halloween baking inspiration, check out my halloween cupcake recipes or this pumpkin bread recipe that’s perfect for fall mornings.
Happy Halloween, and happy baking. You’ve got this.
Frequently Asked Questions
Can I use a different size pan for this recipe?
Yes, you can use a 10-inch cast iron skillet or a 9-inch round cake pan. Just adjust the baking time—a smaller pan will need 2-4 extra minutes, while a larger pan will bake faster. Keep an eye on the edges and use the toothpick test to check for doneness.
How do I prevent the white chocolate web from cracking?
The key is to let the cookie cool completely before piping the web. If the cookie is even slightly warm, the white chocolate will melt and become soft. Also, don’t make the web too thick—thin, even lines dry faster and are less likely to crack when you cut into the cookie.
Can I make this cookie cake ahead of time?
Absolutely. Bake the cookie up to 2 days in advance and store it wrapped tightly at room temperature. Add the spider web decoration the day you plan to serve it for the best texture and appearance. The cookie itself stays fresh and chewy for several days.
My cookie cake spread too thin in the pan. What went wrong?
This usually happens if the butter was too soft or if the dough was overmixed. Make sure your butter is softened but not melted—it should still hold its shape when pressed. Also, chill the dough for 15-20 minutes before spreading it in the pan if your kitchen is warm.
Can I use dark chocolate instead of white chocolate for the web?
You can, but the contrast won’t be as striking. Dark chocolate will blend into the chocolate chip cookie base and the web won’t be as visible. If you want to try it, use a lighter colored chocolate like milk chocolate or a colored candy melt in orange or purple for a fun Halloween twist.
Pin This Recipe!
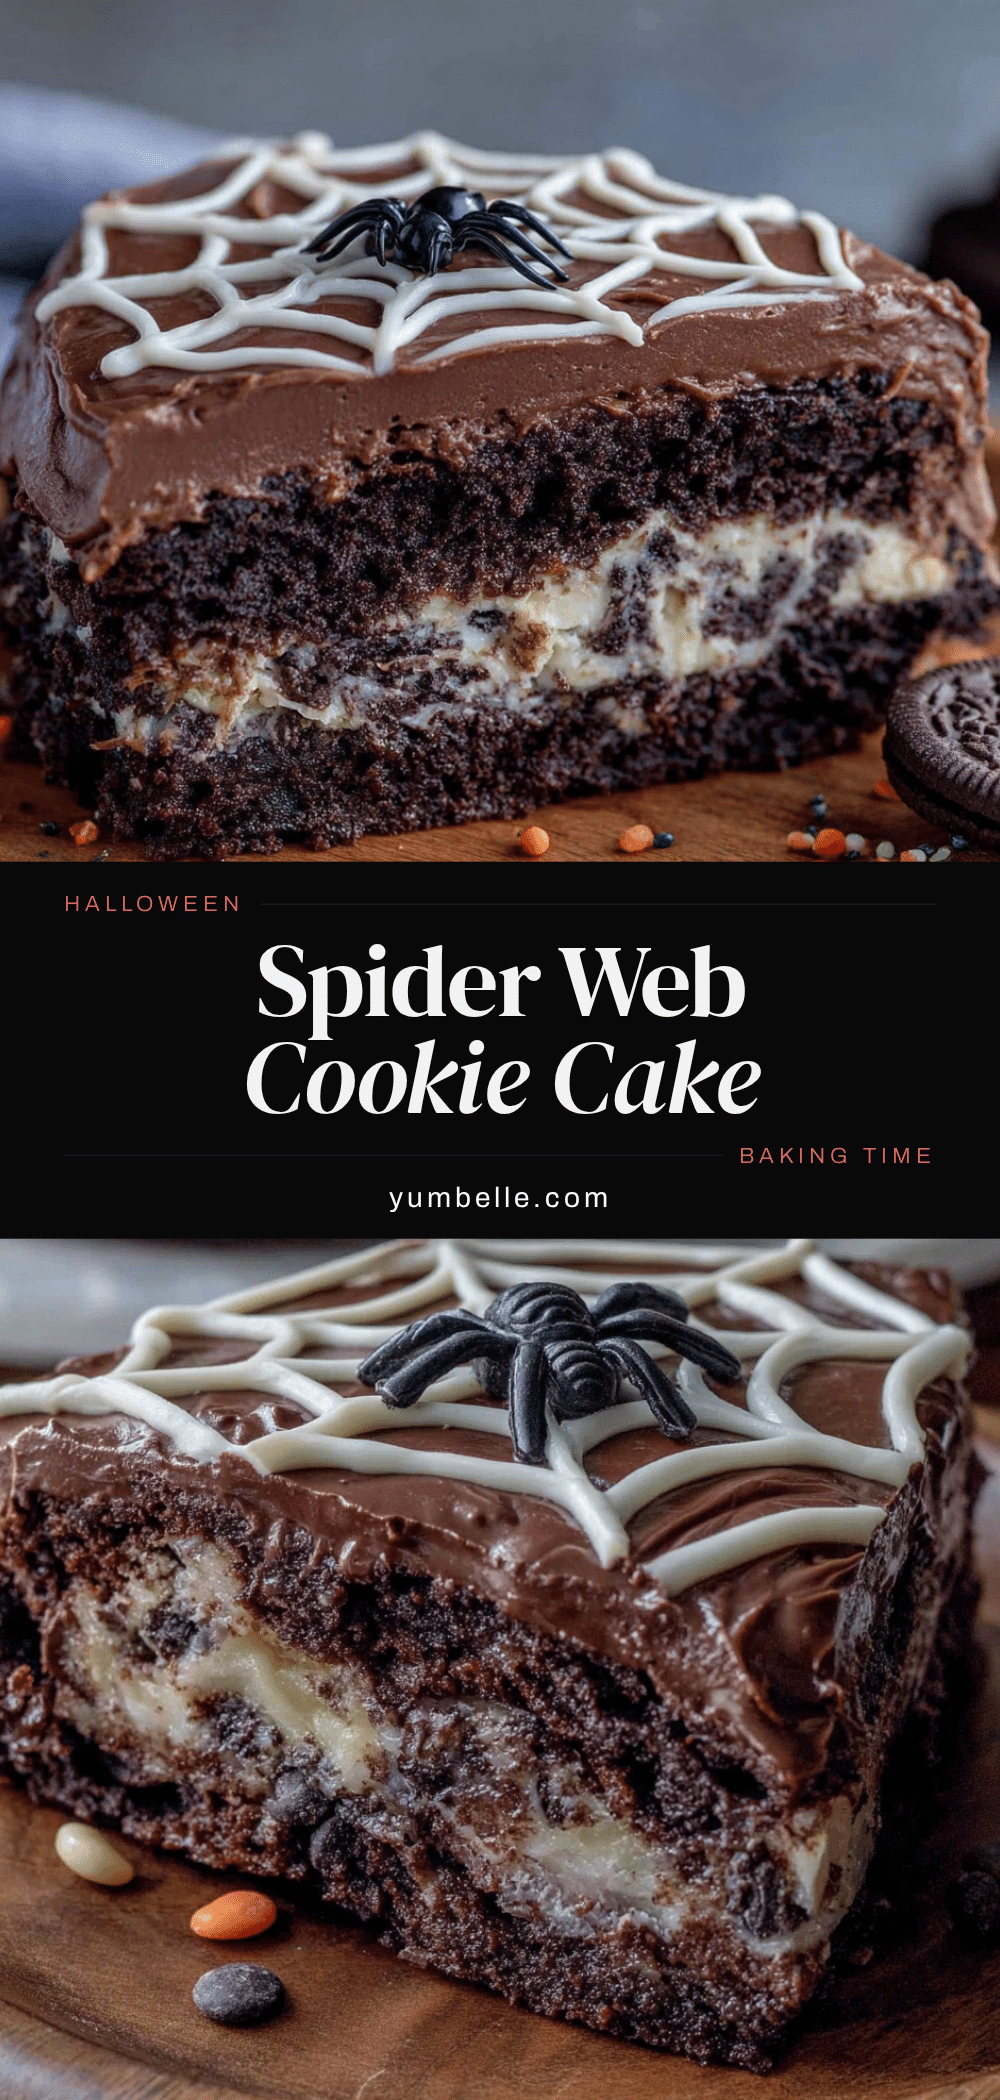
Spooky Spider Web Halloween Cookie Cake
A giant, chewy chocolate chip cookie cake topped with a delicate white chocolate spider web. This easy Halloween dessert is crispy around the edges, soft in the center, and perfect for parties.
- Prep Time: 15 minutes
- Cook Time: 25 minutes
- Total Time: 40 minutes
- Yield: 12 servings 1x
- Category: Dessert
- Cuisine: American
Ingredients
- 1 cup (2 sticks) unsalted butter, softened
- 1 cup granulated sugar
- 1 cup light brown sugar, packed
- 2 large eggs, room temperature
- 2 teaspoons vanilla extract
- 3 cups all-purpose flour, spooned and leveled
- 1 teaspoon baking soda
- 1 teaspoon fine sea salt
- 2 cups semi-sweet chocolate chips
- 1 cup white chocolate melting wafers
- Black gel food coloring (optional)
- 8 pretzel sticks (for spider legs)
Instructions
- Preheat oven to 350°F (175°C). Line a 12-inch round pan with parchment paper and lightly grease the sides.
- In a large bowl, cream together softened butter, granulated sugar, and brown sugar on medium speed for 3-4 minutes until light and fluffy.
- Add eggs one at a time, beating well after each addition. Mix in vanilla extract.
- In a separate bowl, whisk together flour, baking soda, and salt. Gradually add dry ingredients to wet mixture, mixing on low until just combined.
- Fold in chocolate chips with a rubber spatula until evenly distributed.
- Transfer dough to prepared pan and spread into an even layer using an offset spatula. Slightly indent the center.
- Bake for 20-25 minutes until edges are golden brown and center is set but soft. A toothpick inserted should come out with moist crumbs.
- Cool in pan for 10 minutes, then transfer to a wire rack to cool completely (at least 45 minutes to 1 hour).
- Melt white chocolate wafers according to package directions. Transfer to a piping bag or zip-top bag with a tiny corner snipped off.
- Pipe a small circle in the center of the cookie, then pipe concentric circles about 1 inch apart. Use a toothpick to drag lines from center through each ring to create web effect.
- For spiders: melt a small amount of white chocolate, tint black with gel food coloring. Pipe small dots and attach pretzel sticks for legs. Let set completely.
- Let decorated cookie cake set for at least 20 minutes before slicing and serving.
Notes
Let the cookie cool completely before adding the spider web to prevent the white chocolate from melting. For gluten-free, use a 1:1 gluten-free flour blend. For vegan, use vegan butter, flax eggs, and dairy-free chocolate chips. Store undecorated cookie at room temperature for up to 5 days; add web decoration the day of serving.
Nutrition
- Serving Size: 1 slice (1/12 of coo
- Calories: 420
- Sugar: 32
- Sodium: 280
- Fat: 22
- Saturated Fat: 13
- Carbohydrates: 54
- Fiber: 2
- Protein: 5
Keywords: Halloween cookie cake, spider web cookie, chocolate chip cookie cake, Halloween dessert, spooky dessert, cookie cake recipe


