Love this? Save it for later!
Share the inspiration with your friends
I wasn’t supposed to be in the kitchen that Tuesday. I’d stopped by my neighbor Jen’s house to grab a measuring cup I’d borrowed, and the smell of peanut butter and something sweet hit me before I even got through the door. She was standing at her counter, hands covered in a sticky mixture, not even looking up. “Oh, these are just snack balls,” she said when I asked, like she was apologizing for not having something fancier. But the way she was rolling them—quick and confident, like she’d done it a thousand times—told me this was something special.
She offered me one, still warm from her hands, and honestly, I almost said no because I wasn’t hungry. But I took it, and that first bite stopped me mid-sentence. It was soft, chewy, and had this deep peanut butter flavor that didn’t taste like it came from a jar of the sugary stuff. There was something else in there too—a little crunch, a little sweetness, but not too much. I asked her what was in them, and she just shrugged. “Peanut butter, oats, some protein powder. That’s it.” She made it sound like nothing. But I knew better.
I stood there eating another one while she told me she makes a batch every Sunday for her kids’ lunches. “They don’t even know they’re healthy,” she laughed. And that’s when it clicked—this wasn’t a recipe she’d found online or perfected over years. It was just something she threw together one day when she needed a quick snack that wouldn’t fall apart in a lunchbox. Maybe you’ve been there, staring into your pantry, wishing something would magically combine into a snack that’s both good for you and actually tastes good.
These easy no-bake peanut butter protein balls are that recipe. They’re the kind of thing you make without thinking, and then suddenly you’re making them every week because they’re just that good. No oven, no fuss, no complicated ingredients. Just five minutes and a bowl, and you’ve got a snack that makes you feel like you actually have your life together. I’ve been making them ever since that Tuesday, and I still think about how casually Jen handed me that first ball. That’s the magic—it doesn’t try to impress you. It just works.
Why You’ll Love This Recipe
Let me tell you, I’ve tested a lot of protein ball recipes over the years. Some were too dry, some fell apart, and some tasted like cardboard disguised as a snack. These easy no-bake peanut butter protein balls are different. They’re the result of me tweaking Jen’s casual recipe until it was just right—not too sticky, not too crumbly, and with the perfect balance of sweet and salty. I’ve made them for my own kids, for road trips, and for those afternoons when I need something to keep me from raiding the cookie jar.
- Quick & Easy: These come together in under 5 minutes. No kidding. You mix everything in one bowl, roll them into balls, and you’re done. No baking, no chilling required (though they do firm up nicely in the fridge).
- Simple Ingredients: You probably already have most of these in your pantry. Peanut butter, oats, honey, protein powder—that’s it. No fancy grocery trips or obscure health food store finds.
- Perfect for Busy Days: Whether you need a post-workout snack, a lunchbox addition, or something to grab on your way out the door, these balls have your back. They’re portable, mess-free, and hold up well at room temperature.
- Crowd-Pleaser: I’ve brought these to playdates, work meetings, and family gatherings. Kids love them, adults love them, and nobody believes they’re actually healthy. They just taste like a peanut butter treat.
- Unbelievably Delicious: The texture is soft and chewy, not dry or chalky. The peanut butter flavor is front and center, with just enough sweetness from the honey to make it feel like a treat. It’s comfort food that happens to be good for you.
What makes these different from every other protein ball recipe out there? It’s the ratio. I spent way too many batches figuring out the perfect balance of wet to dry ingredients so you don’t end up with a sticky mess or a crumbly disaster. The honey adds just the right amount of moisture, and the protein powder binds everything together without making it taste like a protein shake. Honestly, it’s the kind of recipe that makes you feel like you’re cheating, but you’re not. You’re just eating something that actually tastes good and happens to have protein in it. That’s a win in my book.
What Ingredients You Will Need
This recipe uses simple, wholesome ingredients that work together to create a snack that’s both satisfying and nutritious. You don’t need anything fancy here—just a few pantry staples that you probably already have on hand. Let’s break down each ingredient and why it matters.
- 1 cup creamy peanut butter (natural or regular, but avoid the “no-stir” kind with added sugar—I prefer Skippy Natural or Justin’s for best texture): This is the base of the recipe, providing healthy fats, protein, and that rich flavor we all love. If you use natural peanut butter, make sure to stir it well before measuring, as the oil can separate.
- 1 cup old-fashioned rolled oats (not quick oats—they get too mushy): The oats add fiber, texture, and chewiness. They also help bind the mixture together. If you’re gluten-sensitive, make sure to use certified gluten-free oats.
- ½ cup vanilla or unflavored protein powder (I recommend a whey or plant-based powder—I’ve had good luck with Orgain vanilla plant-based protein): This gives the balls their protein boost and helps with the structure. If you’re using unflavored protein powder, you might want to add an extra tablespoon of honey for sweetness.
- ¼ cup honey (or maple syrup for a vegan option): Honey adds natural sweetness and helps bind everything together. It also keeps the balls soft and chewy. If you’re using maple syrup, the mixture might be slightly stickier, so you may need to add a tablespoon more oats.
- ¼ cup mini chocolate chips (optional, but highly recommended): These add little bursts of sweetness and make the balls feel more like a treat. I use dark chocolate chips for a less sweet option, but milk chocolate works too.
- 1 tablespoon chia seeds or flaxseed meal (optional, for extra fiber and omega-3s): This is my little addition for extra nutrition. The chia seeds also help absorb moisture and make the balls easier to roll.
- Pinch of sea salt (if your peanut butter is unsalted): Salt enhances the peanut butter flavor and balances the sweetness. Don’t skip it if your peanut butter is unsalted—it makes a big difference.
Ingredient Selection Tips: For the best results, use a peanut butter that you enjoy eating straight from the jar. If it’s too oily, the balls might be greasy. If it’s too thick, they might be dry. I’ve found that a standard creamy peanut butter works perfectly. If you want to add a little crunch, you can use crunchy peanut butter instead—just note that the texture will be different.
Substitution Guidance: Need a nut-free option? Use sunflower seed butter or tahini instead of peanut butter. The flavor will be different, but the texture will be similar. For a lower-carb version, you can replace the oats with unsweetened shredded coconut or almond flour. Just keep in mind that the texture will be denser. And if you’re out of honey, agave syrup or brown rice syrup work as substitutes, though they’ll change the sweetness level slightly.
Equipment Needed
The beauty of these easy no-bake peanut butter protein balls is that you don’t need any fancy equipment. Here’s what you’ll need:
- Large mixing bowl: Any bowl will do, but a medium to large one gives you room to mix without spilling. I use a glass mixing bowl because it’s easy to clean and I can see if everything is combined.
- Measuring cups and spoons: You’ll need a 1-cup measure for the peanut butter and oats, and a ½-cup for the protein powder. A tablespoon for the chia seeds and a ¼-cup for the honey are also helpful.
- Spatula or wooden spoon: A sturdy spatula works best for mixing the thick dough. A wooden spoon is also fine, but it might take a little more elbow grease.
- Cookie scoop or tablespoon: For portioning the balls evenly. I use a 1-tablespoon cookie scoop, which gives me perfectly uniform balls. If you don’t have one, just use a regular tablespoon and your hands.
- Parchment paper or wax paper: To place the rolled balls on while they set. This prevents them from sticking to your counter or plate.
- Baking sheet or large plate: To hold the balls while they firm up. A baking sheet works great because it’s flat and fits in the fridge easily.
- Optional: Food processor: If you want to make a smoother dough or if you’re using a very chunky peanut butter, a quick pulse in the food processor can help everything come together. But honestly, I prefer mixing by hand—it’s faster and there’s less cleanup.
Personal Tip: I used to use a cheap plastic spatula that always bent under the pressure of mixing thick dough. Invest in a good silicone spatula—it makes a world of difference. Also, if you’re making a double batch, a stand mixer with the paddle attachment works wonders, but it’s totally unnecessary for a single batch.
Preparation Method
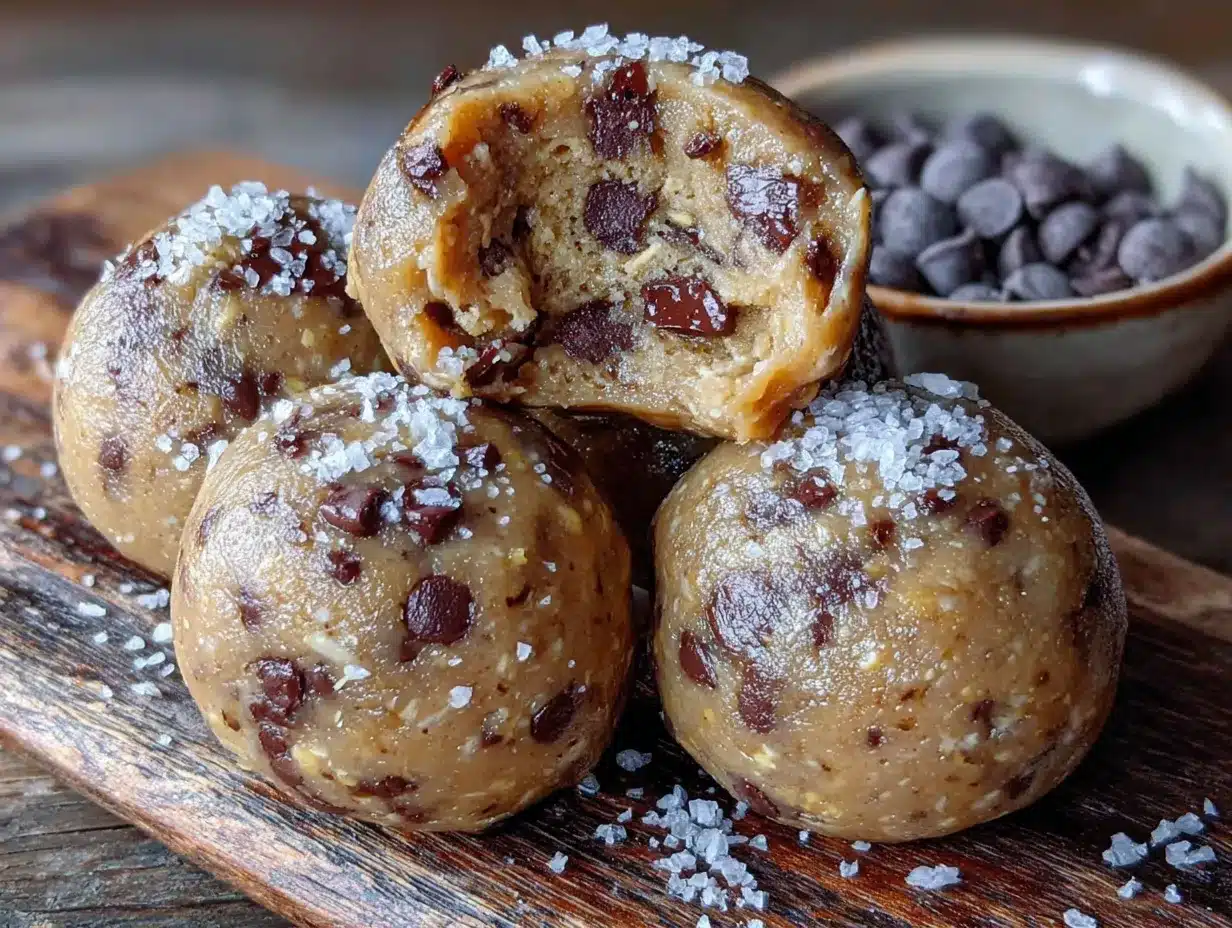
Making these easy no-bake peanut butter protein balls is almost ridiculously simple. But there are a few tricks I’ve learned over the years to get them just right. Follow these steps, and you’ll have perfect balls every time.
- Gather your ingredients. Before you start, make sure everything is measured and ready to go. This recipe comes together fast, and you don’t want to be scrambling for the honey while your hands are covered in sticky dough. I like to line a baking sheet with parchment paper before I start so I have a place to put the rolled balls.
- Combine the dry ingredients. In a large mixing bowl, add the rolled oats, protein powder, and chia seeds (if using). Whisk them together with a fork or your spatula to break up any clumps in the protein powder. This step ensures even distribution and prevents pockets of dry protein powder in your balls.
- Add the wet ingredients. Spoon the peanut butter into the bowl, making sure to scrape the measuring cup clean. Drizzle the honey over the top. If you’re using chocolate chips, add them now too. Don’t add the salt yet—wait until you taste the mixture.
- Mix until combined. Using your spatula or wooden spoon, stir everything together. At first, it will look like a crumbly mess. Keep mixing, pressing the dough against the sides of the bowl. This is where the elbow grease comes in. After about a minute, the dough will start to come together into a cohesive mass. It should be thick, slightly sticky, and hold together when you press it between your fingers. If it’s too dry and crumbly, add a teaspoon of honey or a splash of milk. If it’s too sticky and wet, add a tablespoon more oats.
- Taste and adjust. This is the best step. Take a small pinch of the dough and taste it. Is it sweet enough? Does it need a pinch of salt? If you’re using unsalted peanut butter, you’ll almost certainly need that salt. Add it now and mix again. I like to add a little extra salt because it really makes the peanut butter flavor pop.
- Chill the dough (optional but recommended). If the dough feels too sticky to handle, pop the bowl in the fridge for 15-20 minutes. This firms up the peanut butter and makes the balls easier to roll. I usually skip this step if I’m in a hurry, but if you have the time, it makes for neater balls.
- Roll the balls. Using your cookie scoop or a tablespoon, portion out the dough. Roll each portion between your palms to form a smooth ball. Don’t over-roll them—just a few gentle rotations until they’re round. If the dough sticks to your hands, lightly wet your palms with a little water. Place each ball on the prepared baking sheet.
- Let them set. Once all the balls are rolled, transfer the baking sheet to the refrigerator. Let them chill for at least 30 minutes. This allows them to firm up and hold their shape. If you can’t wait, you can eat them right away, but they’ll be softer and a bit messier.
- Store and enjoy. After they’ve set, transfer the balls to an airtight container. Keep them in the fridge for up to a week, or in the freezer for up to three months. They’re delicious cold, straight from the fridge.
Troubleshooting Tips: If your balls are falling apart, the mixture is too dry. Add a little more peanut butter or honey. If they’re too sticky to roll, the mixture is too wet. Add more oats or protein powder, one tablespoon at a time. If they’re greasy, you might have used a peanut butter that’s too oily. Next time, try a different brand or blot the excess oil off the surface.
Cooking Tips & Techniques
Over the years, I’ve made these easy no-bake peanut butter protein balls more times than I can count. And I’ve definitely made my share of mistakes. Here are some tips I’ve picked up along the way to help you avoid the same pitfalls.
Don’t overmix the dough. I know it’s tempting to keep stirring until everything is perfectly smooth, but overmixing can make the oats break down and release too much starch, resulting in a gummy texture. Mix just until everything is combined and the dough holds together. A few oat flakes still visible are totally fine.
Use room temperature peanut butter. If your peanut butter has been sitting in the fridge, it will be too hard to mix. Let it come to room temperature for about 20 minutes before you start. This makes it much easier to incorporate into the other ingredients. I’ve learned this the hard way—cold peanut butter leads to a lumpy, uneven dough.
Toast the oats for extra flavor. This is a game-changer. Spread the oats on a baking sheet and toast them in a 350°F oven for 5-7 minutes until they’re lightly golden and fragrant. Let them cool completely before using. Toasted oats add a nutty, deep flavor that takes these balls to another level. I do this when I have an extra few minutes and want to impress myself.
Use a cookie scoop for uniform balls. Not only does a cookie scoop make the process faster, but it also ensures that all your balls are the same size. This matters for even storage and portion control. A 1-tablespoon scoop gives you balls that are about 1 inch in diameter, perfect for a snack.
Chill your hands if the dough is sticky. If you’re having trouble rolling the balls without them sticking to your palms, run your hands under cold water for a few seconds. The cool temperature helps prevent the peanut butter from melting and sticking. You can also lightly oil your palms with a drop of coconut oil.
Let the balls rest before storing. After rolling, let the balls sit at room temperature for about 10 minutes before transferring them to the fridge. This allows the flavors to meld and the texture to stabilize. I’ve noticed that balls eaten immediately are good, but balls that have rested for an hour are even better.
My biggest failure? Once, I tried to make these with a “natural” peanut butter that had separated badly. I didn’t stir it well enough, and my balls ended up greasy and falling apart. Now, I always stir my peanut butter thoroughly before measuring. It’s a simple step, but it makes all the difference.
Variations & Adaptations
One of the best things about this recipe is how versatile it is. You can change it up based on what you have in your pantry, your dietary needs, or just your mood. Here are some of my favorite variations.
Chocolate Peanut Butter Protein Balls: Add 2 tablespoons of unsweetened cocoa powder to the dry ingredients. The chocolate and peanut butter combo is classic for a reason. You might need to add an extra tablespoon of honey to balance the bitterness of the cocoa. These taste like a healthier version of a Reese’s cup.
Vegan Peanut Butter Protein Balls: Swap the honey for maple syrup or agave nectar. Make sure your protein powder is plant-based (pea or brown rice protein works well). Everything else stays the same. The texture will be slightly softer because maple syrup is thinner than honey, but they still hold together beautifully.
Gluten-Free Peanut Butter Protein Balls: Use certified gluten-free rolled oats. That’s really the only change you need to make. Most protein powders are gluten-free, but double-check the label to be safe. I’ve made these for friends with celiac disease, and they’ve never complained.
Coconut Peanut Butter Protein Balls: Replace half of the oats with unsweetened shredded coconut. The coconut adds a chewy texture and a tropical flavor that pairs surprisingly well with peanut butter. Roll the finished balls in extra shredded coconut for a pretty presentation.
Spiced Peanut Butter Protein Balls: Add ½ teaspoon of cinnamon and a pinch of nutmeg to the dry ingredients. The warm spices complement the peanut butter and make these feel more like a holiday treat. I make these in the fall when I’m craving something cozy.
No-Bake Peanut Butter Protein Balls with Dried Fruit: Replace the chocolate chips with dried cranberries, raisins, or chopped dried apricots. The tartness of the fruit balances the sweetness of the honey. I love using dried cherries for a slightly tart twist.
Personal Variation: My absolute favorite version is the “Everything But The Kitchen Sink” variation. I add a tablespoon of hemp seeds, a tablespoon of ground flaxseed, a handful of chopped dark chocolate, and a few dried tart cherries. It’s a texture explosion, and I feel like a superhuman after eating one. My kids think I’m crazy, but they still eat them.
Serving & Storage Suggestions
These easy no-bake peanut butter protein balls are incredibly versatile when it comes to serving. Here’s how to make the most of them.
Serving Temperature: I love them straight from the fridge—they’re firm, cold, and almost like a peanut butter fudge bite. But they’re also delicious at room temperature, especially if you’re packing them for a snack on the go. If you’re serving them at a party, let them sit out for about 10 minutes before serving so they soften slightly.
Presentation Ideas: Arrange them on a platter with fresh fruit like apple slices or strawberries for a beautiful snack board. You can also drizzle a little melted dark chocolate over the top for a fancier look. For a kids’ party, stick a toothpick in each one for easy grabbing.
Complementary Dishes: These balls pair perfectly with a glass of cold milk, a cup of coffee, or a smoothie. They’re also great alongside a yogurt parfait or a bowl of fresh fruit. For a post-workout snack, I like to eat two balls with a banana.
Storage Instructions: Store the balls in an airtight container in the refrigerator. They’ll stay fresh for up to 7 days. If you’re making a big batch, you can freeze them for up to 3 months. To freeze, place the balls on a baking sheet in a single layer and freeze until solid (about 1 hour). Then transfer them to a freezer-safe bag or container. This prevents them from sticking together.
Reheating Methods: You don’t really need to reheat these, but if you prefer a softer texture, let them sit at room temperature for 15-20 minutes. If you’re taking them straight from the freezer, they’ll thaw in about 30 minutes at room temperature. I’ve also microwaved one for about 10 seconds to make it warm and gooey—it’s a completely different experience, but delicious in its own way.
How Flavors Develop: I’ve noticed that these balls actually taste better the next day. The flavors meld together overnight, and the texture becomes more uniform. So if you can resist eating them all on the first day, you’ll be rewarded on day two.
Nutritional Information & Benefits
These easy no-bake peanut butter protein balls aren’t just delicious—they’re also packed with nutrition. Here’s a breakdown of what you’re getting in each ball (based on a recipe that makes about 18 balls).
| Nutrient | Per Ball (approximate) |
|---|---|
| Calories | 150-180 |
| Protein | 7-9g |
| Carbohydrates | 15-18g |
| Fiber | 3-4g |
| Sugar | 8-10g |
| Fat | 8-10g |
Health Benefits: Peanut butter is a great source of healthy monounsaturated fats and plant-based protein, which helps keep you full and satisfied. Oats provide complex carbohydrates for sustained energy, plus beta-glucan, a type of fiber that supports heart health. Chia seeds (if you add them) are loaded with omega-3 fatty acids, fiber, and antioxidants. And protein powder gives you an extra boost for muscle recovery and satiety.
Dietary Considerations: This recipe is naturally vegetarian and can easily be made vegan and gluten-free with the substitutions mentioned above. It’s also dairy-free (as long as your chocolate chips are dairy-free). However, it does contain peanuts, so it’s not suitable for those with peanut allergies. If you’re watching your sugar intake, you can reduce the honey to 2 tablespoons, but the balls will be less sweet and slightly drier.
Personal Wellness Perspective: I love that these balls give me a quick energy boost without the crash that comes from processed snacks. They’re my go-to for afternoon slumps and pre-workout fuel. I feel good about feeding them to my kids because I know exactly what’s in them. No preservatives, no weird additives—just real food that happens to taste like a treat.
Potential Allergens: Peanuts, oats (may contain traces of gluten), and depending on your protein powder, milk or soy. Always check labels if you’re cooking for someone with allergies.
Conclusion
So there you have it—my take on those easy no-bake peanut butter protein balls that Jen casually made that Tuesday afternoon. They’re simple, they’re fast, and they’re honestly one of the most reliable recipes in my kitchen. I make them when I’m busy, when I’m lazy, and when I just want something good to eat that won’t make me regret it later.
What I love most about this recipe is how forgiving it is. You can tweak it, add to it, or take things away, and it still works. That’s the sign of a great recipe—it adapts to you, not the other way around. So don’t be afraid to make it your own. Add some coconut, swap the chocolate chips for dried fruit, or throw in a pinch of cinnamon. The possibilities are endless, and they’re all delicious.
I’d love to hear how these turn out for you. Did you try a fun variation? Did your kids gobble them up? Did you sneak one before dinner? Drop a comment below and let me know. Your feedback helps me and other readers discover new ways to enjoy this recipe. And if you loved them, don’t forget to share this post with a friend who needs a quick, healthy snack in their life.
Until next time, happy snacking! And remember—sometimes the best recipes come from the most unexpected moments.
Frequently Asked Questions
Can I use crunchy peanut butter instead of creamy?
Absolutely! Crunchy peanut butter will add a nice texture to the balls. Just keep in mind that the dough might be a little harder to roll because of the peanut pieces. The flavor will be the same, but you’ll get little bursts of crunch in every bite.
How long do these protein balls last at room temperature?
They can sit at room temperature for about 2-3 hours without any issues, making them perfect for lunchboxes or road trips. If you’re keeping them out longer than that, I’d recommend storing them in a cool place or packing them with an ice pack. For long-term storage, always keep them in the fridge or freezer.
Can I make these without protein powder?
Yes, you can! If you don’t have protein powder, replace it with an equal amount of rolled oats or oat flour. The balls will have a slightly different texture—they’ll be a bit denser and less structured—but they’ll still taste great. You might need to add an extra tablespoon of peanut butter to help bind everything together.
Why are my protein balls too dry?
This usually happens when the peanut butter is too thick or the protein powder is very absorbent. Try adding a little more honey or a splash of milk (dairy or plant-based) to the mixture, one teaspoon at a time, until the dough comes together. Also, make sure you’re using a moist peanut butter—natural peanut butters that have separated can sometimes be drier.
Can I double this recipe?
Definitely! This recipe doubles beautifully. Just make sure you have a large enough bowl to mix everything. I often make a double batch and freeze half for later. They’re perfect for having on hand when you need a quick snack without any effort.
Pin This Recipe!
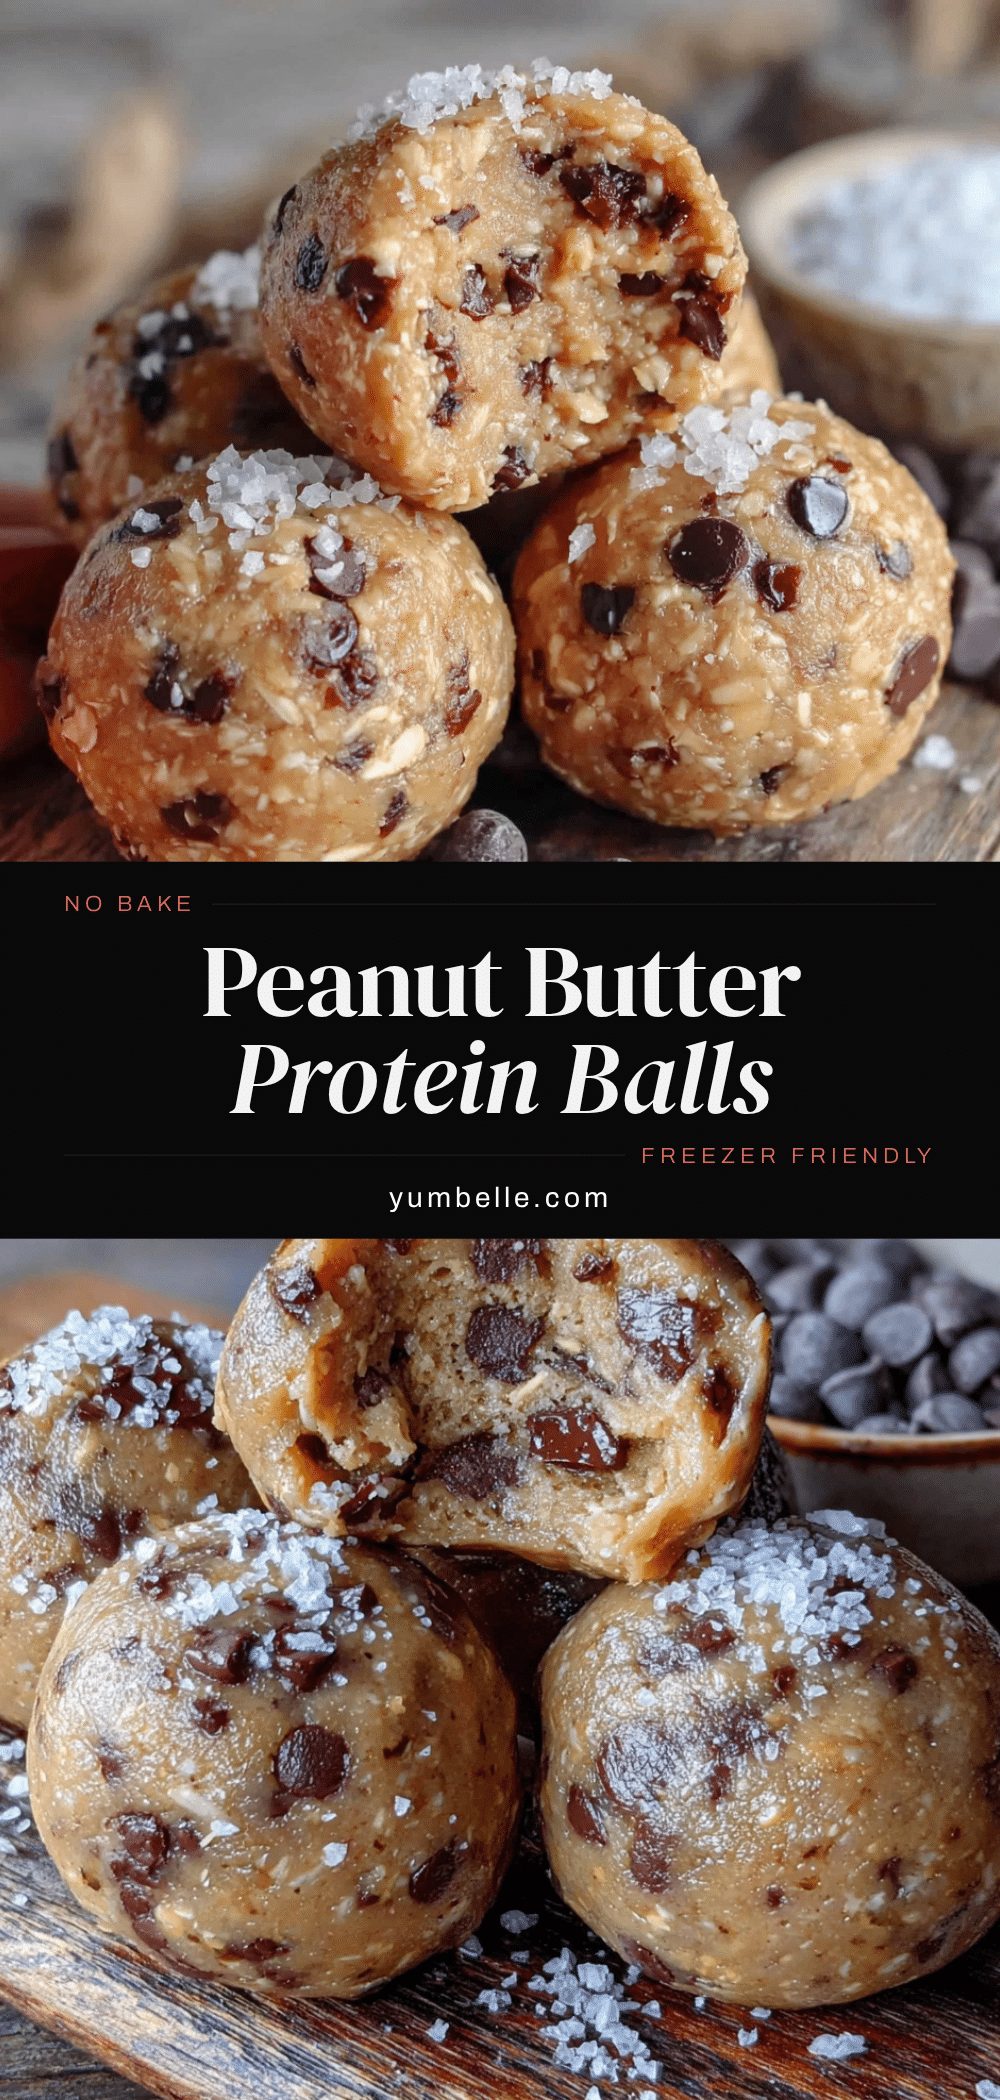
Easy No-Bake Peanut Butter Protein Balls: 5-Minute Best Snack
These easy no-bake peanut butter protein balls are a quick, healthy snack made with simple pantry ingredients. Ready in under 5 minutes, they’re perfect for busy days, lunchboxes, or post-workout fuel.
- Prep Time: 5 minutes
- Cook Time: 0 minutes
- Total Time: 5 minutes (plus 30 minutes chilling)
- Yield: 18 servings 1x
- Category: Snack
- Cuisine: American
Ingredients
- 1 cup creamy peanut butter (natural or regular, avoid no-stir kind with added sugar)
- 1 cup old-fashioned rolled oats (not quick oats)
- ½ cup vanilla or unflavored protein powder (whey or plant-based)
- ¼ cup honey (or maple syrup for vegan)
- ¼ cup mini chocolate chips (optional, but recommended)
- 1 tablespoon chia seeds or flaxseed meal (optional)
- Pinch of sea salt (if peanut butter is unsalted)
Instructions
- Gather your ingredients and line a baking sheet with parchment paper.
- In a large mixing bowl, combine the rolled oats, protein powder, and chia seeds (if using). Whisk to break up clumps.
- Add the peanut butter, honey, and chocolate chips (if using) to the bowl. Do not add salt yet.
- Mix with a spatula or wooden spoon until the dough comes together into a cohesive mass. It should be thick, slightly sticky, and hold together when pressed. If too dry, add a teaspoon of honey or splash of milk. If too sticky, add a tablespoon more oats.
- Taste the dough and add a pinch of salt if needed. Mix again.
- If the dough is too sticky to handle, refrigerate for 15-20 minutes.
- Using a cookie scoop or tablespoon, portion out the dough and roll each portion between your palms into smooth balls. Place on the prepared baking sheet.
- Refrigerate the balls for at least 30 minutes to firm up.
- Transfer to an airtight container and store in the fridge for up to a week, or freeze for up to 3 months.
Notes
For best results, use room temperature peanut butter. Toast the oats for extra flavor. Chill hands if dough is sticky. Balls taste even better the next day.
Nutrition
- Serving Size: 1 ball
- Calories: 165
- Sugar: 9
- Sodium: 80
- Fat: 9
- Saturated Fat: 2
- Carbohydrates: 16
- Fiber: 3
- Protein: 8
Keywords: no-bake, peanut butter, protein balls, healthy snack, easy, 5-minute, gluten-free option, vegan option


