Love this? Save it for later!
Share the inspiration with your friends
I was standing in line at the hardware store—of all places—holding a bag of lightbulbs and a new spatula I absolutely didn’t need, when the man behind me started talking about chicken thighs. He was probably seventy, wearing a flannel shirt with a coffee stain on the collar, and he had this no-nonsense way of explaining things that made you stop and listen. “The trick,” he said, shaking his head like he was disappointed in the entire world’s cooking methods, “isn’t the seasoning. It’s the skin. Or in your case, the lack of it.” I blinked. I hadn’t told him I was making dinner. I hadn’t told him anything. But there I was, getting a full lecture on how to get boneless skinless chicken thighs actually crispy on a sheet pan, while the cashier rang up my lightbulbs.
His name was Frank. He used to run a diner, apparently. And the method he described was so simple it almost felt wrong. No flipping. No fancy equipment. Just heat, timing, and a little patience. I went home, tried it that same night, and honestly? I haven’t made chicken any other way since. These crispy sheet pan chicken thighs are now my go-to for busy weeknights, lazy Sundays, and everything in between. Maybe you’ve been there—staring at a pack of boneless skinless chicken thighs, wondering how to get them golden without a skillet full of oil. Let me tell you, Frank’s method changed everything for me.
This recipe is fast, forgiving, and produces the kind of crispy edges that make you forget you’re eating something healthy. The best part? It takes just 30 minutes from start to finish. No marinating overnight, no complicated steps. Just good food that looks like you tried harder than you actually did.
Why You’ll Love This Recipe
I’ve tested this method more times than I can count—for friends, for family, for that one dinner party where I accidentally burned the appetizer. It works every single time. Here’s why this recipe stands out from every other sheet pan chicken you’ve seen:
- Quick & Easy: Ready in under 30 minutes, including prep. This is the definition of a weeknight lifesaver.
- Simple Ingredients: You probably have everything in your pantry right now. No fancy marinades or hard-to-find spices required.
- Perfect for Meal Prep: These chicken thighs reheat beautifully and taste great cold in salads or wraps.
- Crowd-Pleaser: Even picky eaters love the crispy edges. My nephew asked for seconds—then thirds.
- Unbelievably Crispy: Without any breading or extra oil. The texture is honestly shocking for boneless skinless thighs.
What makes this recipe different is the technique. Most recipes tell you to flip the chicken halfway through, which ruins the crust. Frank’s method keeps the chicken still, letting that bottom side develop a deep golden sear while the top stays juicy. It’s not just another recipe—it’s the version I make when I need dinner to be absolutely perfect without any stress. The kind that makes you close your eyes after the first bite and forget you’re eating chicken you’ve had a hundred times before.
What Ingredients You Will Need
This recipe uses simple, everyday ingredients to create something genuinely special. The magic is in how they work together, not in how complicated they are. Here’s what you’ll need:
- Boneless skinless chicken thighs (about 1.5 pounds or 680g) — Look for thighs that are similar in size so they cook evenly. I prefer thighs that are on the thicker side for extra juiciness.
- Olive oil (2 tablespoons, or 30ml) — Use a good quality extra virgin olive oil for flavor, or avocado oil for a higher smoke point.
- Garlic powder (1 teaspoon) — Not garlic salt! Pure garlic powder gives you that savory depth without extra sodium.
- Onion powder (1 teaspoon) — Adds a subtle sweetness that balances the savory notes.
- Paprika (1 teaspoon) — I use smoked paprika for a deeper, almost bacon-like flavor. Sweet paprika works too if that’s what you have.
- Dried thyme (½ teaspoon) — Earthy and slightly floral. Fresh thyme works if you have it—just use 1 teaspoon of fresh leaves.
- Salt (1 teaspoon) — I recommend kosher salt for better seasoning control. Diamond Crystal is my go-to.
- Black pepper (½ teaspoon) — Freshly ground is always better, but pre-ground works in a pinch.
- Optional: Lemon wedges (for serving) — A squeeze of bright acidity at the end really wakes up all the flavors.
That’s it. Seven ingredients, plus salt and pepper. The beauty of this recipe is that it doesn’t hide behind complicated spice blends. Each seasoning has a job, and together they create a crust that’s savory, slightly smoky, and deeply satisfying.
Ingredient Tips: If you can find air-chilled chicken thighs, they tend to have better texture and less water content, which means they crisp up faster. For the oil, don’t skimp—you need enough to coat the pan and help the spices stick. And if you want a little heat, add ¼ teaspoon of cayenne pepper to the spice mix. I do this half the time, depending on my mood.
Equipment Needed
You don’t need much for this recipe, which is exactly why I love it. Here’s what you’ll need:
- Sheet pan (half-sheet size, about 18×13 inches or 46x33cm) — A rimmed baking sheet is essential to catch any juices. I’ve used the same Nordic Ware pan for years, and it’s never let me down.
- Parchment paper or aluminum foil — For easy cleanup. Parchment is my preference because it doesn’t stick and doesn’t react with the chicken.
- Mixing bowl (medium-sized) — For tossing the chicken with oil and spices.
- Tongs — For placing the chicken on the pan without touching the hot surface.
- Instant-read thermometer — This is non-negotiable for perfectly cooked chicken. I’ve used a ThermoPop for years, and it’s affordable and accurate.
- Sharp knife and cutting board — For trimming any excess fat or silver skin from the thighs.
If you don’t have an instant-read thermometer, you can cook by visual cues—the chicken should be golden brown on the bottom and the juices should run clear when pierced. But honestly, a thermometer takes all the guesswork out. It’s worth the investment.
Preparation Method
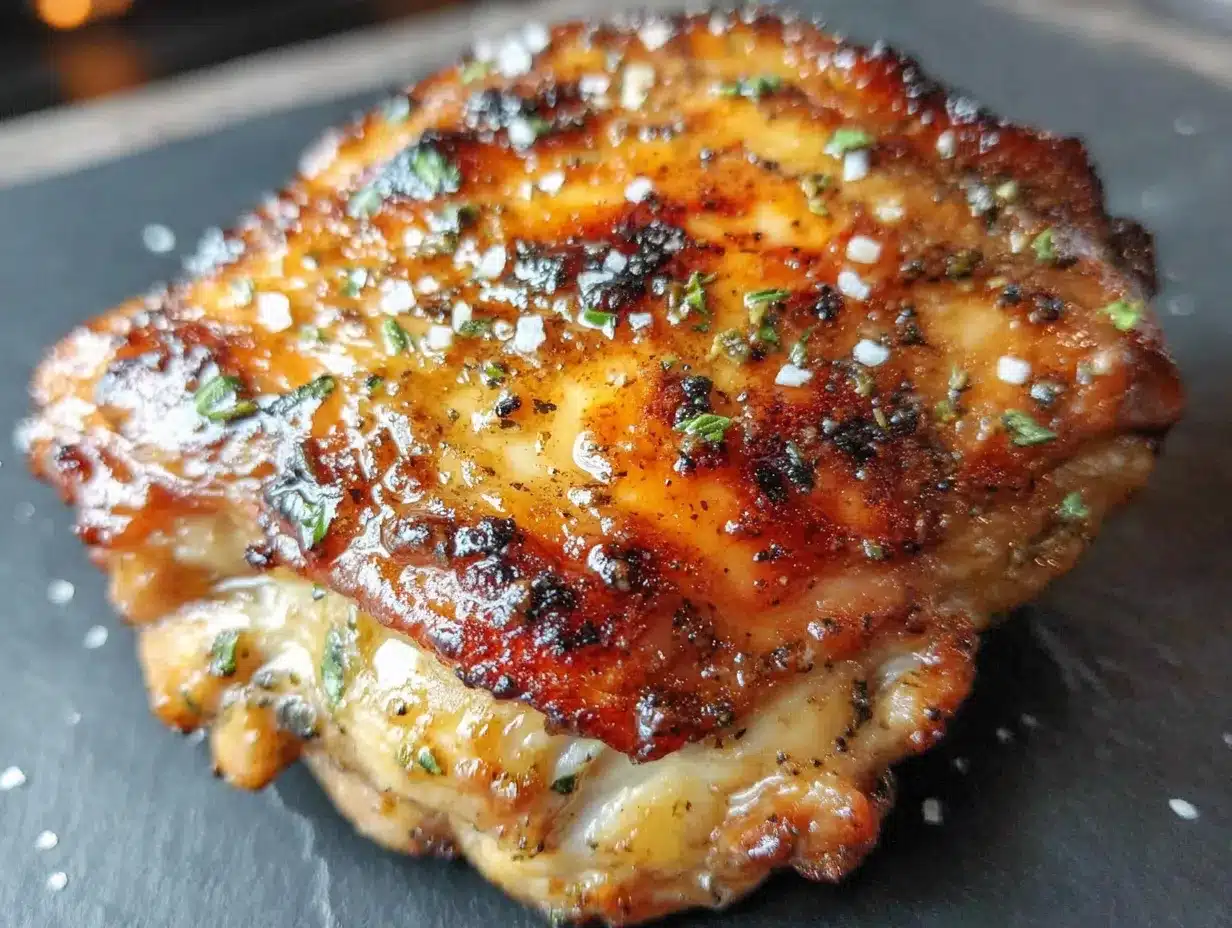
This is where the magic happens. Follow these steps carefully, and you’ll have the crispiest boneless skinless chicken thighs of your life.
- Preheat your oven to 425°F (220°C). This is important—the high heat is what creates that crispy exterior. While the oven heats, place your oven rack in the middle position. Don’t skip this step; a properly preheated oven makes all the difference.
- Pat the chicken thighs completely dry. Use paper towels to remove as much moisture as possible from both sides of each thigh. This is the single most important step for achieving crispiness. Water is the enemy of a good sear. I usually pat each thigh twice, changing the paper towels halfway through.
- Trim any excess fat or silver skin. Using a sharp knife, remove any large pieces of fat and the thin, silvery membrane on the underside of the thighs. Don’t go crazy—a little fat adds flavor—but remove anything that looks tough or unappetizing.
- Season the chicken. In a medium mixing bowl, combine the olive oil, garlic powder, onion powder, paprika, dried thyme, salt, and black pepper. Whisk with a fork to combine. Add the chicken thighs and toss with your hands until every piece is evenly coated. Make sure the spices are distributed well—I like to rub the seasoning into the chicken a little.
- Line your sheet pan with parchment paper. This prevents sticking and makes cleanup ridiculously easy. If you’re using foil, spray it lightly with cooking spray to prevent sticking.
- Arrange the chicken on the sheet pan. Place each thigh flat on the pan, making sure they are not touching each other. Leave at least an inch of space between each piece. If they’re crowded, they’ll steam instead of sear, and you’ll lose that crispy texture. I usually fit 4-5 thighs on a standard half-sheet pan.
- Bake for 20-25 minutes. Do NOT flip the chicken. This is Frank’s secret—leaving the chicken undisturbed allows the bottom to develop a deep, golden crust. After 20 minutes, check the internal temperature with your instant-read thermometer. You’re looking for 165°F (74°C) at the thickest part of the thigh.
- Optional: Broil for 1-2 minutes. If you want extra color on top, switch your oven to broil for the last 1-2 minutes of cooking. Watch it carefully—broilers can burn things in seconds. I only do this when I’m feeling fancy.
- Rest for 5 minutes before serving. Transfer the chicken to a cutting board or serving platter and let it rest. This allows the juices to redistribute, keeping the meat tender and moist. Don’t skip this—it makes a real difference.
Sensory Cues: When the chicken is done, the bottom should be deep golden brown and slightly crispy to the touch. The top should be light golden with darker spots where the spices concentrated. You should hear a slight crackle when you press the crust with a fork. The smell? Smoky, savory, and absolutely irresistible.
Cooking Tips & Techniques
I’ve made this recipe more times than I can count, and I’ve learned a few things the hard way. Here are my best tips for getting it right every time:
- Don’t overcrowd the pan. This is the number one mistake I see. If the chicken thighs are touching, they’ll steam instead of sear. Use two pans if you need to, or cook in batches. Trust me, it’s worth the extra pan.
- Dry the chicken thoroughly. I cannot stress this enough. Pat the chicken dry, then pat it again. Any moisture on the surface will turn into steam in the oven, preventing that beautiful crust from forming.
- Let the chicken come to room temperature. If your chicken is straight from the fridge, it will take longer to cook and may dry out before the outside gets crispy. Let it sit on the counter for 15-20 minutes before seasoning. Just don’t leave it out longer than that.
- Use a thermometer. The difference between perfectly cooked chicken and dry, overcooked chicken is about 5 degrees. An instant-read thermometer takes all the guesswork out. I once served chicken that was 160°F—still safe, but not as juicy as it could have been. Now I never skip this step.
- Don’t flip the chicken. I know it’s tempting, but flipping interrupts the searing process. The bottom needs consistent contact with the hot pan to develop that crispy crust. Leave it alone, and you’ll be rewarded.
- Let it rest. I know you’re hungry, but those 5 minutes of rest are crucial. The juices need time to redistribute. Cut into the chicken too early, and all that moisture will run out onto your plate instead of staying in the meat.
Variations & Adaptations
This recipe is incredibly versatile. Here are some of my favorite ways to change it up:
- Spicy Version: Add ½ teaspoon of cayenne pepper and 1 teaspoon of chili powder to the spice mix. For extra heat, serve with sliced jalapeños or a drizzle of hot honey. I made this version for a game day party, and it disappeared in minutes.
- Herb-Crusted Version: Mix 2 tablespoons of finely chopped fresh herbs (rosemary, parsley, and chives work beautifully) into the oil before coating the chicken. The herbs create a fragrant crust that’s perfect for spring dinners.
- Lemon-Garlic Version: Add 2 minced garlic cloves and the zest of one lemon to the oil mixture. Squeeze fresh lemon juice over the chicken after it comes out of the oven. This version is bright, fresh, and perfect with roasted vegetables.
- BBQ Version: Skip the spice mix and toss the chicken with ¼ cup of your favorite barbecue sauce before baking. The sauce caramelizes in the oven, creating a sticky, sweet crust. Just be careful—the sugar in the sauce can burn, so check it a few minutes early.
- Asian-Inspired Version: Replace the olive oil with sesame oil and add 2 tablespoons of soy sauce, 1 tablespoon of honey, and 1 teaspoon of grated ginger to the marinade. Sprinkle with sesame seeds and sliced green onions before serving.
- Sheet Pan Meal: Add vegetables to the pan around the chicken—broccoli florets, bell pepper strips, and red onion wedges work great. Toss them with a little oil and salt, and they’ll roast alongside the chicken for a complete meal.
Serving & Storage Suggestions
These crispy sheet pan chicken thighs are incredibly versatile when it comes to serving. Here’s how I like to enjoy them:
Serving: Serve the chicken hot, right out of the oven, with a squeeze of fresh lemon juice on top. The bright acidity cuts through the richness and wakes up all the flavors. I love pairing these thighs with simple sides—steamed rice, roasted potatoes, or a crisp green salad with a tangy vinaigrette. For a low-carb option, serve with cauliflower rice or roasted asparagus.
Temperature: These are best served immediately while the crust is still crispy. If you’re serving them later, keep them warm in a low oven (200°F) for up to 30 minutes, but don’t cover them—the steam will soften the crust.
Storage: Store leftover chicken in an airtight container in the refrigerator for up to 4 days. The crust will soften slightly, but the flavor will still be amazing. I actually love leftovers cold, sliced over a salad for lunch the next day.
Reheating: The best way to reheat these is in a hot oven or air fryer. Place the chicken on a baking sheet and warm at 375°F for 5-7 minutes, or until heated through. The microwave works in a pinch, but it will make the crust soggy. If you’re in a hurry, a hot skillet with a little oil will revive the crispy edges beautifully.
Freezing: You can freeze cooked chicken thighs for up to 3 months. Let them cool completely, then wrap individually in plastic wrap and place in a freezer bag. Thaw overnight in the refrigerator and reheat as directed above.
Nutritional Information & Benefits
Here’s the estimated nutritional breakdown for one serving (about 2 chicken thighs, based on a 4-serving recipe):
| Nutrient | Amount per Serving |
|---|---|
| Calories | 320 |
| Protein | 35g |
| Fat | 18g |
| Saturated Fat | 4g |
| Carbohydrates | 2g |
| Fiber | 0.5g |
| Sugar | 0.5g |
| Sodium | 620mg |
Chicken thighs are a fantastic source of lean protein, which supports muscle growth and keeps you feeling full longer. They’re also rich in B vitamins, particularly niacin and B6, which help convert food into energy. The olive oil provides healthy monounsaturated fats, which are great for heart health. This recipe is naturally gluten-free, low-carb, and keto-friendly. If you’re watching your sodium, feel free to reduce the salt to ½ teaspoon—the other spices will still provide plenty of flavor.
Conclusion
These crispy sheet pan chicken thighs have become a staple in my kitchen for good reason. They’re fast, forgiving, and produce results that taste like you spent hours in the kitchen. Whether you’re feeding a family on a busy weeknight or meal-prepping for the week ahead, this recipe delivers every single time. Frank from the hardware store probably has no idea how many times I’ve made his method, but I think about him every time I pull a perfectly crispy chicken thigh out of the oven.
I encourage you to make this recipe your own. Try different spice combinations, add vegetables to the pan, or experiment with the variations I’ve shared. The beauty of this dish is that it’s a blank canvas for your creativity. And when you nail that crispy crust—and you will—I’d love to hear about it. Leave a comment below and let me know how it turned out, or share your own twist on this recipe. Happy cooking!
Frequently Asked Questions
Can I use chicken breasts instead of thighs?
Yes, but the cooking time will be different. Boneless skinless chicken breasts are leaner and cook faster. I recommend checking the internal temperature at 15 minutes. They may also not get as crispy since they have less fat, so consider brushing them with a little extra oil.
Why is my chicken not getting crispy?
Most likely, there’s too much moisture on the surface. Make sure you pat the chicken very dry before seasoning. Also, check that your oven is fully preheated to 425°F and that the chicken thighs aren’t touching each other on the pan. Crowding is a common culprit.
Can I make this recipe in an air fryer?
Absolutely! Preheat your air fryer to 400°F (200°C). Place the seasoned chicken thighs in a single layer in the basket (you may need to work in batches). Cook for 12-15 minutes, flipping halfway through, until the internal temperature reaches 165°F. The air fryer creates an even crispier exterior.
How do I know when the chicken is fully cooked?
The most reliable way is to use an instant-read thermometer. Insert it into the thickest part of the thigh (not touching bone). The chicken is safe to eat at 165°F (74°C). If you don’t have a thermometer, the juices should run clear when you pierce the thickest part, and the meat should no longer be pink.
Can I prepare this recipe ahead of time?
Yes! You can season the chicken up to 24 hours in advance and store it in the refrigerator. Just bring it to room temperature for 15-20 minutes before baking. You can also fully cook the chicken, let it cool, and reheat it later. The texture is best when served fresh, but leftovers are still delicious.
Pin This Recipe!
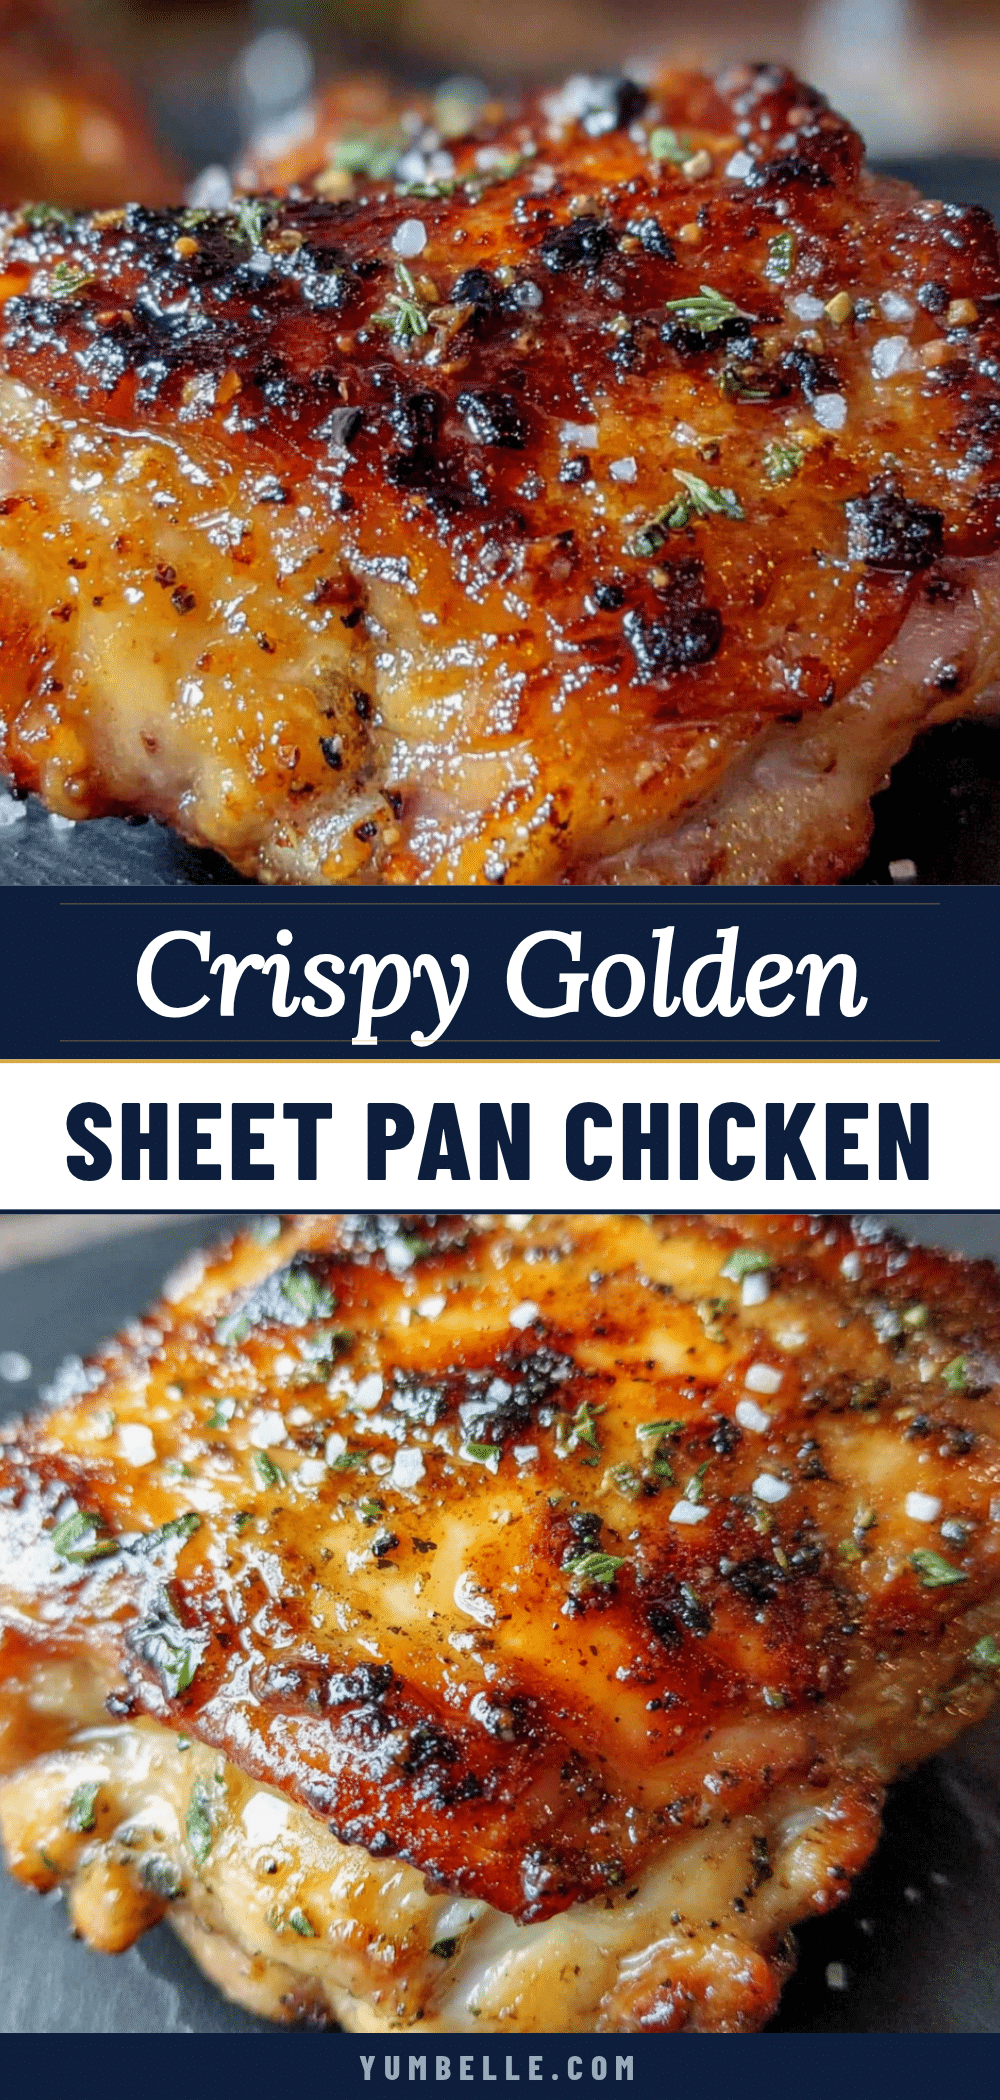
Crispy Sheet Pan Chicken Thighs: Easy 30-Minute Dinner

These crispy sheet pan chicken thighs are fast, forgiving, and produce the kind of crispy edges that make you forget you’re eating something healthy. Ready in just 30 minutes from start to finish, this recipe uses simple ingredients and a no-flip method for perfectly golden, juicy chicken every time.
- Prep Time: 10 minutes
- Cook Time: 20-25 minutes
- Total Time: 30 minutes
- Yield: 4 servings 1x
- Category: Main Course
- Cuisine: American
Ingredients
- 1.5 pounds (680g) boneless skinless chicken thighs
- 2 tablespoons (30ml) olive oil
- 1 teaspoon garlic powder
- 1 teaspoon onion powder
- 1 teaspoon paprika (smoked or sweet)
- ½ teaspoon dried thyme
- 1 teaspoon salt
- ½ teaspoon black pepper
- Lemon wedges (for serving, optional)
Instructions
- Preheat your oven to 425°F (220°C). Place the oven rack in the middle position.
- Pat the chicken thighs completely dry with paper towels, removing as much moisture as possible.
- Trim any excess fat or silver skin from the thighs using a sharp knife.
- In a medium mixing bowl, combine olive oil, garlic powder, onion powder, paprika, dried thyme, salt, and black pepper. Whisk to combine.
- Add the chicken thighs to the bowl and toss with your hands until every piece is evenly coated.
- Line a half-sheet pan (18×13 inches) with parchment paper or aluminum foil.
- Arrange the chicken thighs on the prepared pan, flat side down, leaving at least an inch of space between each piece. Do not overcrowd.
- Bake for 20-25 minutes without flipping, until the internal temperature reaches 165°F (74°C) at the thickest part.
- Optional: For extra color on top, switch the oven to broil for the last 1-2 minutes, watching carefully.
- Remove from the oven and let the chicken rest for 5 minutes before serving. Serve with lemon wedges if desired.
Notes
Pat the chicken very dry for maximum crispiness. Do not flip the chicken during baking. Let the chicken rest for 5 minutes before serving. For extra heat, add ¼ teaspoon cayenne pepper to the spice mix. If using an air fryer, cook at 400°F for 12-15 minutes, flipping halfway.
Nutrition
- Serving Size: 2 chicken thighs
- Calories: 320
- Sugar: 0.5
- Sodium: 620
- Fat: 18
- Saturated Fat: 4
- Carbohydrates: 2
- Fiber: 0.5
- Protein: 35
Keywords: crispy chicken thighs, sheet pan chicken, easy dinner, 30-minute meal, boneless skinless chicken thighs, healthy chicken recipe


