Love this? Save it for later!
Share the inspiration with your friends
There used to be a tiny bakery tucked between a laundromat and a used bookstore in my old neighborhood that made the most incredible pumpkin cookies. When they closed their doors three years ago—just a handwritten sign taped to the window saying “Thanks for the memories”—I actually felt a little lost. Those cookies were my October ritual, the thing I looked forward to when the air got crisp and the leaves started turning. After twelve tries—some so flat they looked like sad orange pancakes, others so dry they crumbled into dust—I finally got it.
The secret wasn’t some fancy technique or hard-to-find ingredient. It was simplicity itself. I mean, I spent weeks overcomplicating things, adding extra steps, pulling out my stand mixer, making a mess of my kitchen. And then one Tuesday afternoon, with the power flickering from a storm outside, I threw everything into one bowl, stirred it by hand, and there they were. That familiar smell of pumpkin and warm spices filled my kitchen, and when I pulled that first tray out of the oven, I knew. This was it.
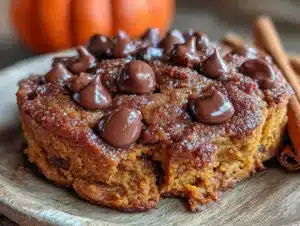
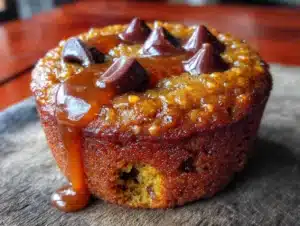
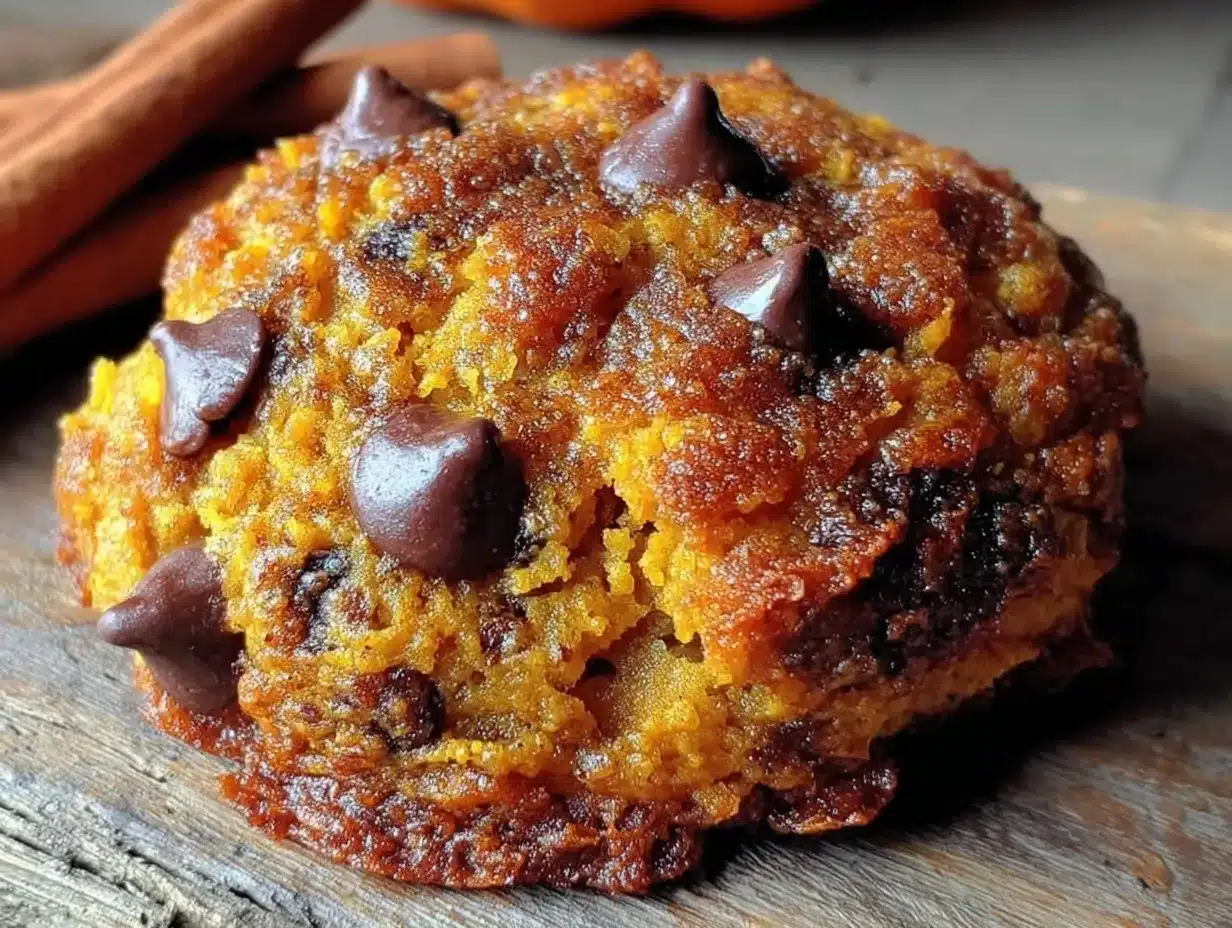
Honestly, I almost cried. Maybe you’ve been there—that feeling when you finally crack a recipe that’s been haunting you. These cookies have that perfect texture: soft and cake-like in the center with slightly crisp edges that give just a little resistance when you bite in. The chocolate chips melt into warm pockets of sweetness against the earthy pumpkin and those cozy fall spices. And the best part? No mixer needed. One bowl, a wooden spoon, and about twenty minutes of your time. That’s all it takes to get that bakery taste back in your life.
Why You’ll Love This Recipe
Look, I’ve tested a lot of pumpkin cookie recipes over the years. Some were too cakey, some were too greasy, and some just didn’t have enough pumpkin flavor to justify the effort. These cookies hit that sweet spot—and I mean that literally and figuratively. Here’s why they’ve become my go-to fall recipe:
- One Bowl, No Mixer: You don’t need to drag out your stand mixer or hand beaters. Just one bowl and a sturdy spoon. Less cleanup means more time enjoying those cookies.
- Wholesome Ingredients: These use whole wheat pastry flour and coconut sugar, so you get that cozy cookie experience without the sugar crash. They feel indulgent but use ingredients that actually make you feel good.
- Perfect for Busy Mornings or Afternoon Cravings: From start to finish, you’re looking at about 25 minutes. That’s faster than driving to the bakery and back.
- Crowd-Pleasing Texture: The pumpkin keeps these incredibly moist, while the chocolate chips add little bursts of richness. Kids devour them, and adults sneak them from the cookie jar when no one’s watching.
- Dietary-Friendly Without Sacrifice: They’re naturally dairy-free if you use coconut oil, and you can easily make them gluten-free with a simple flour swap. No one will know the difference.
What really sets these apart from every other pumpkin cookie recipe out there is the texture. Most pumpkin cookies turn out like little cakes—fluffy and soft, sure, but missing that cookie feel. By using the right ratio of pumpkin to flour and letting the dough rest for just five minutes before baking, these cookies develop that perfect edge while staying tender in the middle. It’s not just another pumpkin cookie recipe. It’s the one you’ll come back to year after year.
What Ingredients You Will Need
This recipe uses simple, pantry-friendly ingredients to create something that tastes like it came from a fancy bakery. Most of these are probably already in your kitchen, especially if you do any fall baking.
- 1 cup pumpkin puree (not pumpkin pie filling—make sure it’s 100% pure pumpkin. I prefer Libby’s for consistent texture, but store brands work fine too. If your puree seems watery, blot it with a paper towel before using)
- 1/2 cup coconut sugar (adds a subtle caramel flavor and keeps these lower on the glycemic index. You can substitute brown sugar if that’s what you have)
- 1/4 cup melted coconut oil (gives these cookies a tender crumb. Use refined coconut oil if you don’t want any coconut taste, or substitute melted butter for a richer flavor)
- 1 large egg (room temperature—just let it sit on the counter for 15 minutes while you gather your other ingredients)
- 1 teaspoon vanilla extract (pure vanilla extract makes a difference here, but imitation works in a pinch)
- 1 1/2 cups whole wheat pastry flour (this is my secret weapon—it gives you whole grain nutrition without the dense texture. All-purpose flour works perfectly too)
- 1 teaspoon baking powder (make sure it’s fresh—test by dropping a bit in hot water; if it fizzes, you’re good)
- 1/2 teaspoon baking soda (helps the cookies rise and gives them that soft texture)
- 1/2 teaspoon salt (don’t skip this—it balances the sweetness and brings out the pumpkin flavor)
- 2 teaspoons pumpkin pie spice (store-bought is fine, but I mix my own: 1 teaspoon cinnamon, 1/2 teaspoon ginger, 1/4 teaspoon nutmeg, 1/4 teaspoon cloves. Adjust to your taste)
- 1 cup dark chocolate chips (I use Enjoy Life dark chocolate chips for a dairy-free option, but any good-quality chocolate chip works. The bitterness of dark chocolate pairs beautifully with the sweet pumpkin)
One thing I learned the hard way: don’t overpack your flour. Spoon it into your measuring cup and level it off with a knife. Too much flour makes these cookies dense and dry, and nobody wants that. Also, if you’re using pumpkin puree from a can that’s been sitting in your pantry for a while, give it a good stir before measuring. It tends to separate, and you want that smooth, consistent texture.
Equipment Needed
You really don’t need much for this recipe, which is part of its charm. Here’s what you’ll need:
- One large mixing bowl (any bowl works—I use a ceramic one that belonged to my grandmother, but glass, metal, or plastic all do the job)
- A wooden spoon or sturdy spatula (something with some heft to it, since the dough gets a bit thick)
- Measuring cups and spoons (the standard set you probably already have)
- A baking sheet (I recommend a light-colored metal sheet for even browning—dark sheets can burn the bottoms)
- Parchment paper or a silicone baking mat (parchment paper makes cleanup a breeze and prevents sticking without extra oil)
- A cookie scoop or two spoons (a 1.5-tablespoon scoop gives you perfectly uniform cookies, but two spoons work just fine)
- A cooling rack (helps the cookies cool evenly and keeps them from getting soggy on the bottom)
If you don’t have a cookie scoop, don’t worry. Just use two spoons—one to scoop the dough and one to push it onto the baking sheet. Your cookies might not look perfectly round, but they’ll taste just as good. Honestly, the slightly imperfect ones are my favorites. They look more homemade, more real.
Preparation Method
Preheat your oven to 350°F (175°C). Line a baking sheet with parchment paper and set it aside. This whole process takes about 10 minutes of active work, then 12 minutes of baking. Here’s how it goes:
- Mix the wet ingredients: In your large bowl, combine the pumpkin puree, coconut sugar, melted coconut oil, egg, and vanilla extract. Stir until everything is smooth and well combined. The mixture should look like a thick, glossy orange batter. Don’t worry if the coconut oil solidifies slightly when it hits the cold pumpkin—that’s normal.
- Add the dry ingredients: Sprinkle the whole wheat pastry flour, baking powder, baking soda, salt, and pumpkin pie spice right on top of the wet mixture. Stir gently at first to avoid a flour cloud, then mix until just combined. You want to see no more white streaks of flour, but stop stirring as soon as it comes together. Overmixing develops the gluten and makes tough cookies.
- Fold in the chocolate chips: Add the dark chocolate chips and fold them in with a few gentle strokes. Make sure they’re distributed evenly throughout the dough. The dough will be thick and slightly sticky—that’s exactly what you want.
- Let the dough rest: Here’s a trick I learned from my failed attempts—let the dough sit for 5 minutes. This gives the whole wheat flour time to absorb some of the moisture from the pumpkin, which means your cookies will be softer and more tender. Trust me on this one.
- Scoop and shape: Using your cookie scoop or two spoons, drop rounded tablespoons of dough onto the prepared baking sheet, spacing them about 2 inches apart. These cookies spread slightly but not too much. If you want perfectly round cookies, gently shape each scoop with your fingers—the dough is forgiving.
- Bake: Place the baking sheet in the preheated oven and bake for 10-12 minutes. At 10 minutes, the edges should look set and slightly golden, while the centers will still look soft and puffed. That’s perfect. For crispier cookies, leave them in for the full 12 minutes. The smell at this point is absolutely intoxicating—pumpkin, warm spices, and melting chocolate.
- Cool properly: Let the cookies cool on the baking sheet for 5 minutes. This is crucial—they’re fragile when hot and will fall apart if you try to move them too soon. After 5 minutes, transfer them to a cooling rack to cool completely. Or, let’s be honest, eat one while it’s still warm. The chocolate will be melty and the texture will be pure comfort.
A quick note: if your kitchen is particularly warm or humid, the dough might be stickier than usual. Just pop the bowl in the fridge for 10 minutes before scooping. It makes the dough easier to handle and helps the cookies hold their shape better during baking.
Cooking Tips & Techniques
After those twelve failed attempts, I learned a few things the hard way. Let me save you some trouble:
Don’t skip blotting the pumpkin: Pumpkin puree contains a lot of water. If your cookies turn out flat or gummy, it’s probably because the pumpkin was too wet. Before mixing, place your measured pumpkin puree on a plate lined with paper towels, cover with another paper towel, and gently press to absorb excess moisture. You’ll be amazed at how much water comes out—and how much better your cookies turn out.
Room temperature ingredients matter: I know, I know, it seems fussy. But when your egg is cold, it doesn’t incorporate as smoothly into the coconut oil, and you end up with little flecks of solidified fat in your dough. Just let your egg sit on the counter while you preheat the oven. That’s all it takes.
The scoop-and-level trick for flour: This is probably the most common baking mistake I see. Scooping your measuring cup directly into the flour bag packs in way too much flour. Instead, use a spoon to fluff the flour, then spoon it into your measuring cup and level it off with a knife. It takes an extra 10 seconds and makes a huge difference.
Baking in batches: Unless you have a massive oven, you’ll probably need to bake these in two batches. Don’t be tempted to crowd the baking sheet—the cookies need space to spread and bake evenly. While the first batch bakes, keep the remaining dough at room temperature. If it gets too warm and sticky, pop it in the fridge for 5 minutes.
Check your baking powder freshness: Baking powder loses its potency over time. If your cookies aren’t puffing up in the oven, your baking powder might be old. A quick test: drop a teaspoon of baking powder into a cup of hot water. If it bubbles vigorously, it’s good. If not, time for a new can.
I once forgot the baking powder entirely—ran out and thought I could get away without it. The cookies came out like little hockey pucks. My neighbor’s dog loved them, but that’s about it. Learn from my mistakes!
Variations & Adaptations
This recipe is wonderfully flexible. Here are some ways I’ve adapted it over the years:
Gluten-Free Version: Swap the whole wheat pastry flour for a 1:1 gluten-free baking flour blend. I’ve had great results with Bob’s Red Mill 1-to-1 Baking Flour. The texture will be slightly more delicate, but still delicious. Add an extra tablespoon of flour if the dough seems too wet.
Vegan Adaptation: Replace the egg with a flax egg (1 tablespoon ground flaxseed mixed with 3 tablespoons water, let sit for 5 minutes until gel-like). The cookies will be a bit more cake-like, but still incredibly tasty. Make sure your chocolate chips are vegan-friendly too.
Spice It Up or Down: Not a fan of pumpkin pie spice? Use just cinnamon and a pinch of nutmeg. Want more warmth? Add a pinch of cardamom or a dash of black pepper—trust me, it sounds weird but it works. I once accidentally added cayenne instead of cinnamon (don’t ask), and the spicy-sweet combo was actually pretty amazing.
Mix-In Adventures: Chocolate chips are classic, but try white chocolate chips with dried cranberries for a festive twist. Chopped pecans or walnuts add wonderful crunch. Toasted pepitas (pumpkin seeds) on top before baking give a gorgeous look and nutty flavor. In the summer, I’ve even added chopped dried apricots—surprisingly good.
Healthier Swaps: Reduce the coconut sugar to 1/3 cup if you prefer less sweetness. You can also use half whole wheat pastry flour and half oat flour (just grind rolled oats in a blender) for extra fiber. The cookies won’t be quite as tender, but they’ll still satisfy that cookie craving.
Serving & Storage Suggestions
These cookies are wonderful warm from the oven, but they’re also fantastic at room temperature. Here’s how to enjoy them at their best:
Serving: Serve these cookies slightly warm with a cold glass of milk (dairy or non-dairy—oat milk is my favorite pairing). They’re perfect for an afternoon snack, a lunchbox treat, or alongside a cup of coffee or chai tea. For a dessert that feels a little special, sandwich two cookies with a scoop of vanilla ice cream or a dollop of coconut whipped cream.
Storage: Store cooled cookies in an airtight container at room temperature for up to 5 days. Place a slice of bread in the container—it absorbs excess moisture and keeps the cookies soft. Replace the bread slice every couple of days. I’ve also layered them between sheets of parchment paper in a tin, and they stay perfect for almost a week.
Freezing: These cookies freeze beautifully. Place cooled cookies in a single layer on a baking sheet and freeze until solid (about 1 hour), then transfer to a freezer-safe bag or container. They’ll keep for up to 3 months. To thaw, just leave them at room temperature for about 30 minutes, or pop one in the microwave for 10-15 seconds for that fresh-from-the-oven feel.
Dough Freezing: You can also freeze the cookie dough. Scoop the dough into balls, place them on a parchment-lined baking sheet, and freeze until solid. Transfer the frozen dough balls to a freezer bag. When you’re ready to bake, just place them on a baking sheet and add 2-3 minutes to the baking time. Fresh cookies anytime you want them!
Flavor Development: Here’s something interesting—these cookies actually taste better the next day. The spices have time to meld, and the pumpkin flavor becomes more pronounced. So don’t feel like you have to eat them all immediately. Well, you don’t have to, but I won’t judge if you do.
Nutritional Information & Benefits
These cookies are a great example of how you can enjoy a treat without completely derailing your healthy eating goals. Here’s the approximate nutritional breakdown per cookie (based on 18 cookies):
| Nutrient | Amount per Cookie |
|---|---|
| Calories | 145 |
| Total Fat | 7g |
| Saturated Fat | 4.5g |
| Carbohydrates | 20g |
| Fiber | 3g |
| Sugar | 10g |
| Protein | 3g |
The real benefits come from the ingredients. Pumpkin is packed with vitamin A (beta-carotene), which supports eye health and immune function. Whole wheat pastry flour provides more fiber and nutrients than refined white flour, keeping you fuller longer. Coconut oil contains medium-chain triglycerides (MCTs) that may support metabolism. And dark chocolate? It’s rich in antioxidants called flavonoids that are good for heart health. So yes, these cookies are a treat—but they’re a treat that actually gives back.
If you’re watching your sugar intake, you can reduce the coconut sugar to 1/3 cup without sacrificing too much sweetness. The chocolate chips do a lot of the heavy lifting in the sweetness department. For a lower-carb option, try using almond flour (about 1 1/4 cups) instead of whole wheat flour, though the texture will be more delicate.
Conclusion
These one-bowl pumpkin chocolate chip cookies have become my fall tradition, the recipe I make every October without fail. They remind me of that little bakery that closed its doors, but more than that, they remind me that sometimes the best things come from simple beginnings. One bowl, a wooden spoon, and a few minutes of your time—that’s all it takes to create something that feels special.
I hope you’ll give these a try and make them your own. Maybe you’ll add extra spices, swap in white chocolate chips, or discover a variation I haven’t thought of. That’s the beauty of a simple recipe—it leaves room for your creativity. And if you do make them, I’d love to hear how they turned out. Drop a comment below and let me know what you think. Did they remind you of a bakery from your past? Did your kids devour them before they cooled? Did you sneak one for breakfast? (No judgment here.)
Until next time, happy baking—and may your kitchen always smell like warm pumpkin and chocolate.
Frequently Asked Questions
Can I use canned pumpkin pie filling instead of pumpkin puree?
No, please don’t. Pumpkin pie filling already has sugar and spices added, which will throw off the balance of this recipe. Stick with 100% pure pumpkin puree for the best results. If you only have pumpkin pie filling, you’ll need to reduce the sugar and spices significantly, but honestly, it’s better to just grab a can of pure pumpkin.
Why did my cookies turn out flat?
Flat cookies usually mean one of three things: your pumpkin puree was too wet (try blotting it next time), your baking powder is old (check the expiration date), or your coconut oil was too warm when you mixed it (it should be melted but not hot). Also, make sure you’re measuring your flour correctly—scoop and level, don’t pack it in.
Can I make these cookies ahead of time for a party?
Absolutely! These cookies actually taste better the next day, so making them a day ahead is perfect. Store them in an airtight container at room temperature. You can also freeze the baked cookies for up to 3 months—just thaw them at room temperature before serving. For a party, I often make the dough a day ahead and bake them fresh the morning of the event.
How do I make these cookies dairy-free?
This recipe is already dairy-free if you use coconut oil and dairy-free chocolate chips. I recommend Enjoy Life dark chocolate chips or any brand that’s labeled dairy-free. The cookies will still be soft, tender, and absolutely delicious. Your dairy-free friends will thank you!
Can I use all-purpose flour instead of whole wheat pastry flour?
Yes, you can substitute all-purpose flour 1:1. The cookies will be slightly less hearty and a bit more tender, but they’ll still be wonderful. If you’re using all-purpose flour, you might need to add an extra tablespoon or two since whole wheat flour absorbs more liquid. Start with the same amount and add more if the dough seems too wet.
Pin This Recipe!
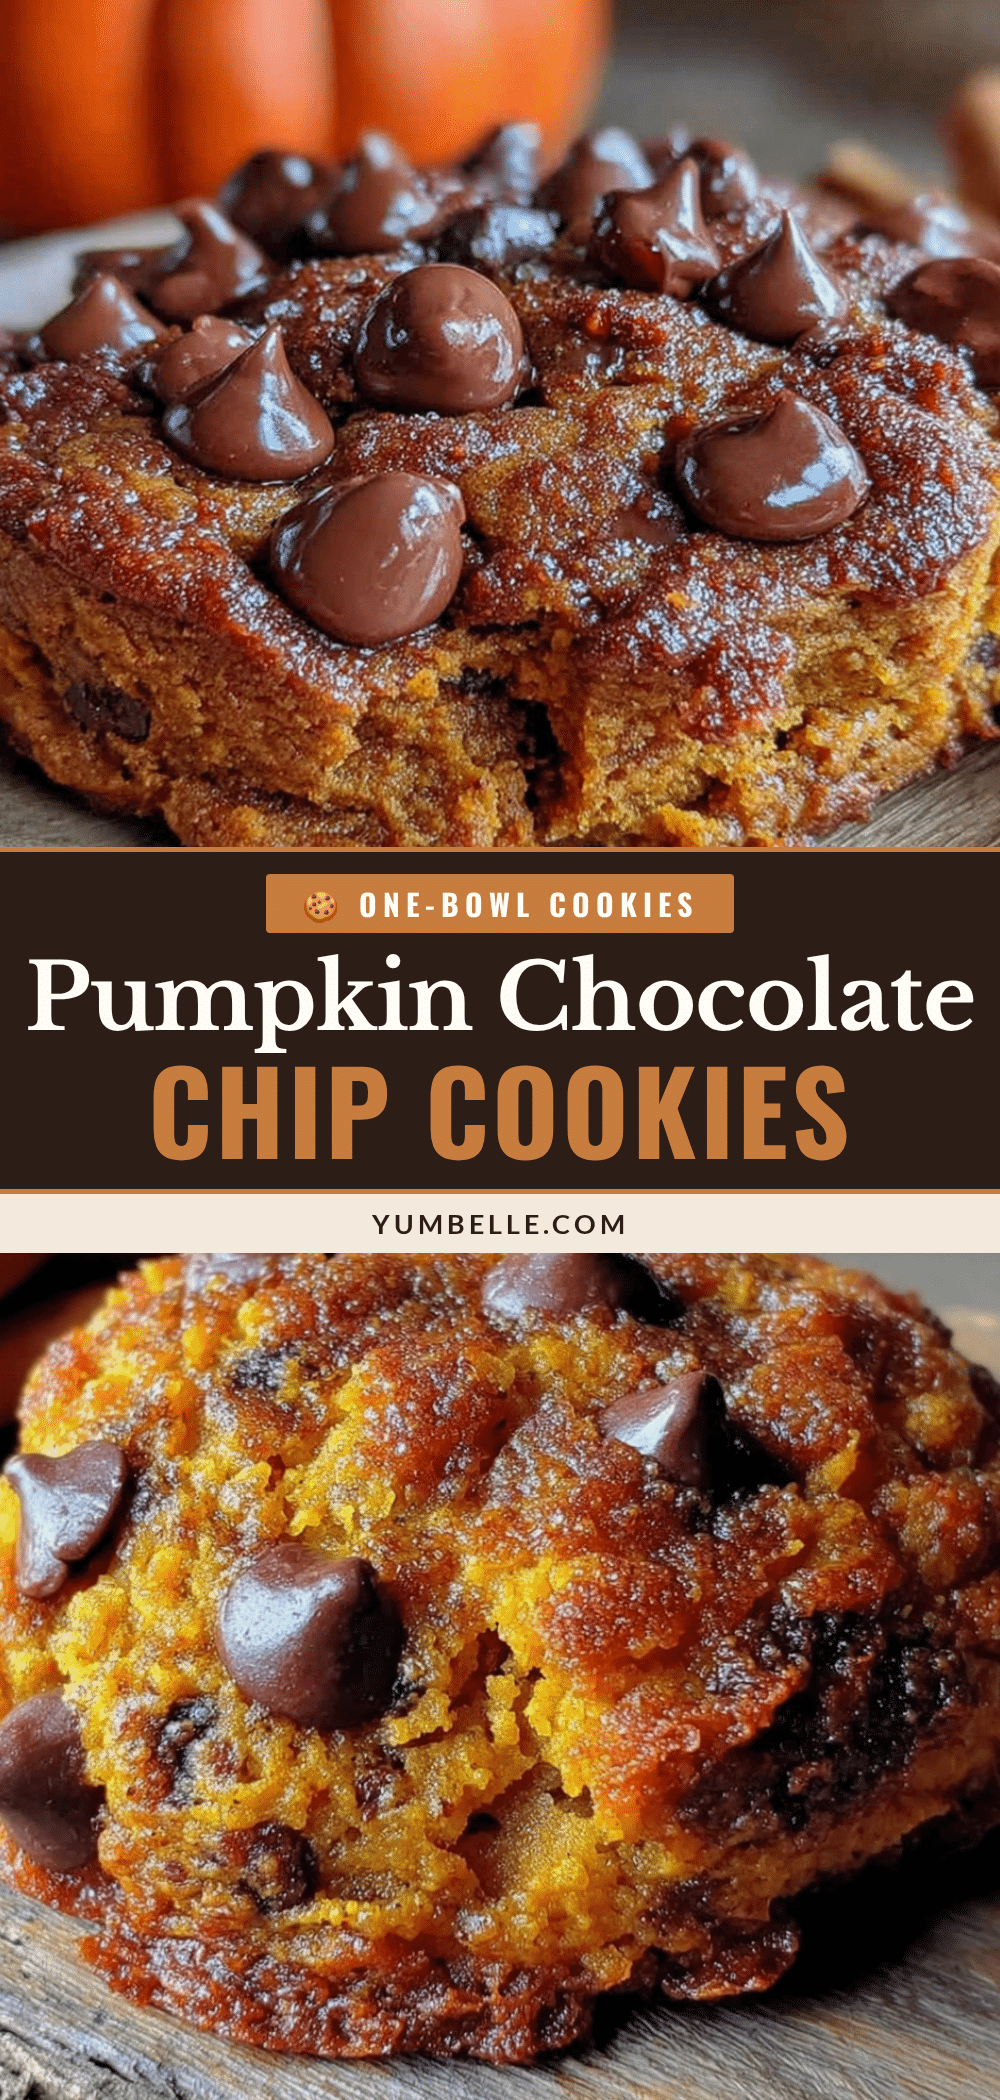
Easy One-Bowl Pumpkin Chocolate Chip Cookies
These soft, cake-like pumpkin chocolate chip cookies come together in one bowl with no mixer needed. Made with wholesome ingredients like whole wheat pastry flour and coconut sugar, they’re a healthier fall treat that tastes like it came from a bakery.
- Prep Time: 10 minutes
- Cook Time: 12 minutes
- Total Time: 25 minutes
- Yield: 18 cookies 1x
- Category: Dessert
- Cuisine: American
Ingredients
- 1 cup pumpkin puree (not pumpkin pie filling)
- 1/2 cup coconut sugar
- 1/4 cup melted coconut oil
- 1 large egg, room temperature
- 1 teaspoon vanilla extract
- 1 1/2 cups whole wheat pastry flour
- 1 teaspoon baking powder
- 1/2 teaspoon baking soda
- 1/2 teaspoon salt
- 2 teaspoons pumpkin pie spice
- 1 cup dark chocolate chips
Instructions
- Preheat oven to 350°F (175°C). Line a baking sheet with parchment paper.
- In a large bowl, combine pumpkin puree, coconut sugar, melted coconut oil, egg, and vanilla extract. Stir until smooth and well combined.
- Sprinkle whole wheat pastry flour, baking powder, baking soda, salt, and pumpkin pie spice on top of the wet mixture. Stir gently until just combined; do not overmix.
- Fold in dark chocolate chips until evenly distributed. Dough will be thick and slightly sticky.
- Let dough rest for 5 minutes to allow flour to absorb moisture.
- Drop rounded tablespoons of dough onto prepared baking sheet, spacing 2 inches apart. Gently shape with fingers if desired.
- Bake for 10-12 minutes, until edges are set and slightly golden. Centers will still look soft.
- Let cookies cool on baking sheet for 5 minutes, then transfer to a cooling rack to cool completely.
Notes
Blot pumpkin puree with paper towels if watery to prevent flat cookies. Use room temperature egg for better incorporation. Check baking powder freshness by testing in hot water. For gluten-free, use 1:1 gluten-free baking flour blend. For vegan, use a flax egg. Cookies taste even better the next day.
Nutrition
- Serving Size: 1 cookie
- Calories: 145
- Sugar: 10
- Sodium: 95
- Fat: 7
- Saturated Fat: 4.5
- Carbohydrates: 20
- Fiber: 3
- Protein: 3
Keywords: pumpkin cookies, chocolate chip cookies, one bowl, fall baking, healthy cookies, whole wheat, dairy-free option