Love this? Save it for later!
Share the inspiration with your friends
My neighbor, a retired school nurse named Carol, knocked on my door one August afternoon holding a jar of dark purple syrup. “You’re going to need this,” she said, thrusting it into my hands. I stared at the label—handwritten, slightly smudged—that read “Elderberry Syrup.” I thanked her politely, set it on my counter, and honestly forgot about it for two weeks. I mean, I’d seen elderberry syrup at the health food store for twenty bucks a bottle and always thought it was one of those things that sounded nice but probably didn’t do much.
Then school started. And you know how that goes. Within three days, my youngest came home with that telltale sniffle—the one that usually means we’re all about to go down like dominoes. I was digging through the medicine cabinet, feeling that familiar dread, when I spotted Carol’s jar. I figured, what’s the harm? I gave everyone a spoonful that morning. And another that night. And here’s the part that still makes me shake my head—nobody got sick. Not one of them. The sniffle disappeared. The rest of the month passed without a single fever, without a single missed day.
I called Carol to thank her, genuinely stunned, and she laughed. “I’ve been making this for thirty years,” she said. “It’s not magic, honey. It’s just good science.” So I asked her to show me how. And let me tell you, watching her work in that tiny kitchen, simmering dried berries with ginger and cinnamon, I realized I’d been overcomplicating wellness for years. This homemade elderberry syrup recipe took maybe forty minutes from start to finish. Forty minutes for a whole season of protection. I’ve tweaked her method a little over time—added a bit more honey, swapped in fresh ginger once—but the core is still hers. And every August now, I make a fresh batch. It’s become my little back-to-school ritual. Maybe you’ve been there, standing in the pharmacy aisle wondering if there’s a better way. There is. It’s in this jar.
Why You’ll Love This Recipe
Let me be honest with you—I’ve tested a lot of elderberry syrup recipes over the years. Some were too thin, some were too sweet, and a few just tasted like medicine you’d have to hold your nose to swallow. This one? It’s the Goldilocks version. And I say that not because I’m bragging, but because Carol’s original formula was already perfect, and all I did was make it a little more family-friendly. Here’s why this homemade elderberry syrup recipe stands out from the rest:
- Quick & Easy : Comes together in about 45 minutes, most of which is just letting it simmer on the stove. You don’t need any special skills or fancy equipment.
- Simple Ingredients : Dried elderberries, ginger, cinnamon, cloves, raw honey, and water. That’s it. You can find everything at a regular grocery store or online.
- Perfect for Back-to-School Season : This isn’t just another wellness trend—it’s a tried-and-true immune support staple that generations of families have relied on.
- Crowd-Pleaser : The kids actually ask for it. No fighting, no hiding it in smoothies. The honey and spices make it taste like a warm, cozy dessert.
- Unbelievably Effective : I’m not a doctor and I won’t pretend to be one, but I can tell you that since I started making this syrup, our sick days have dropped dramatically. That’s not a coincidence.
What makes this recipe different from the dozens you’ll find online is the balance. Most recipes either dump in too much honey (making it cloying) or skimp on the spices (making it bland). I spent an entire winter tweaking the ratios—measuring, tasting, adjusting—until I landed on a version that feels both medicinal and genuinely delicious. The ginger gives it a little warmth, the cinnamon adds depth, and the cloves round everything out without making it taste like a pumpkin spice latte. It’s immune support that actually tastes good. And honestly, that’s the secret to getting kids to take it consistently.
This recipe isn’t just good—it’s the kind that makes you feel like you’ve got a secret weapon in your fridge. When cold season hits and everyone around you is sniffling, you’ll reach for that jar and feel a little bit invincible. It’s comfort and protection in one spoonful.
What Ingredients You Will Need
This recipe uses simple, wholesome ingredients that work together to create a powerful immune-supporting syrup. Most of these are pantry staples in my house now, but even if you’re starting from scratch, you won’t need to hunt down anything obscure. Let’s break down each ingredient and why it matters.
For the Syrup Base
- Dried elderberries, 1 cup (about 150 grams) — These are the star of the show. Look for organic dried elderberries from a reputable brand like Starwest Botanicals or Frontier Co-op. I’ve tried both, and they’re consistently high quality. Don’t use fresh elderberries—they need to be cooked thoroughly to be safe, and dried ones are more concentrated and easier to work with.
- Water, 4 cups (950 ml) — Filtered water is best, especially if your tap water has a strong chlorine taste. You want the elderberry flavor to shine, not the pool water.
For the Immune-Boosting Spices
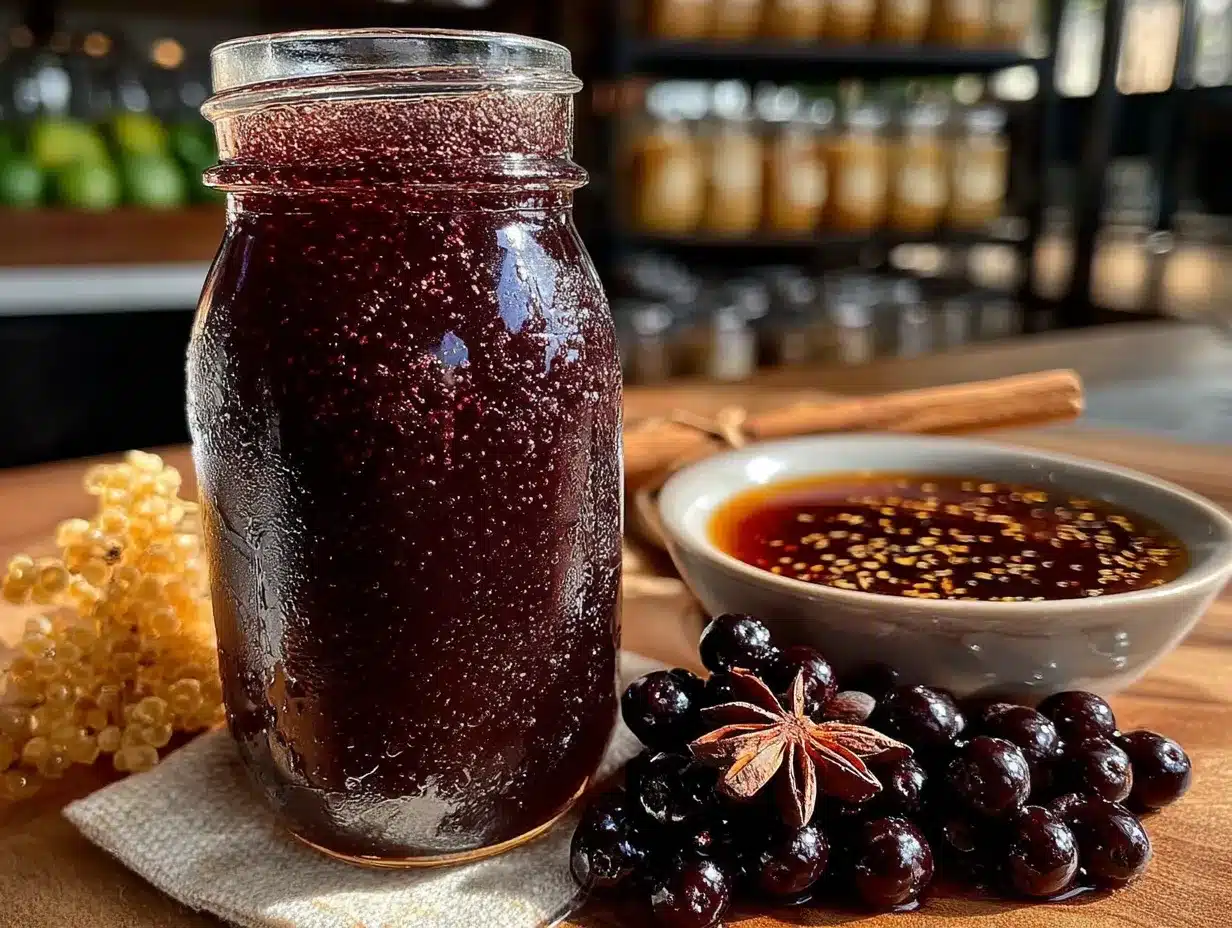
- Fresh ginger root, 1 large thumb-sized piece (about 2 inches, sliced into coins) — Ginger adds warmth and a little zing, plus it’s known for its anti-inflammatory properties. I’ve used dried ginger in a pinch, but fresh gives a much brighter, more authentic flavor. No need to peel it—just give it a good scrub.
- Cinnamon sticks, 2 whole (or 2 teaspoons ground cinnamon) — Cinnamon adds sweetness without sugar and has antimicrobial properties. I prefer whole sticks because they infuse more gently and don’t make the syrup cloudy. If you only have ground, use a fine-mesh strainer later to catch the sediment.
- Whole cloves, 1 teaspoon (about 5-6 cloves) — A little goes a long way here. Cloves add that deep, almost medicinal warmth that makes this syrup feel like a cozy hug. Don’t overdo it—too many cloves can make the syrup bitter and overpowering.
For Sweetening
- Raw honey, 1 cup (340 grams) — This is where quality really matters. Use raw, unfiltered honey if you can find it—it contains natural enzymes and probiotics that support immune health. I like local honey from a farmers’ market because it may also help with seasonal allergies. If you’re making this for a child under one year old, substitute with maple syrup or agave nectar (honey is not safe for infants).
Ingredient Selection Tips
When buying dried elderberries, look for deeply purple, almost black berries that are plump and fragrant. Avoid any that look shriveled or have a dusty gray coating—that means they’re old. I’ve made the mistake of buying cheap elderberries from an unknown brand once, and the syrup came out thin and watery. Trust me, the quality of your berries directly affects the quality of your syrup. For the honey, don’t use the stuff in the plastic bear. Get the good jar—your immune system will thank you.
Substitution Guidance
If you’re allergic to any of the spices, you can leave them out. The elderberries are doing most of the heavy lifting anyway. For a caffeine-free version, skip the black tea if you were considering adding it (some recipes do). For a low-sugar option, reduce the honey to 1/2 cup and add a few drops of stevia to taste—though I’ll warn you, it won’t be as thick or shelf-stable. And if you can’t find dried elderberries locally, Amazon has plenty of options. Just read the reviews first.
Equipment Needed
The beauty of this recipe is that you don’t need any fancy gadgets. I’ve made it in a tiny apartment kitchen and in a big farmhouse kitchen, and it works the same either way. Here’s what you’ll need:
- Medium to large saucepan (3-4 quart capacity) — A stainless steel or enameled pot works best. Avoid aluminum, which can react with the acidic berries and give the syrup a metallic taste.
- Fine-mesh strainer or cheesecloth — This is crucial for catching all the berry bits and spice pieces. I prefer a fine-mesh strainer because it’s reusable and easier to clean. If you’re using cheesecloth, double-layer it for best results.
- Glass jar or bottle for storage — A 16-ounce (500 ml) mason jar works perfectly. Make sure it’s thoroughly cleaned and sterilized. I run mine through the dishwasher on the sanitize cycle.
- Wooden spoon or silicone spatula — For stirring. Nothing fancy needed.
- Measuring cups and spoons — Standard set will do.
- Funnel (optional but helpful) — Makes pouring the syrup into the jar much less messy. I learned this the hard way after spilling half a batch on my counter.
That’s it. No dehydrator, no slow cooker, no special gadgets. If you have a stove and a pot, you’re good to go. I’ve seen recipes that use a slow cooker, but honestly, the stovetop method is faster and gives you more control over the reduction.
Preparation Method
Alright, let’s make some syrup. I’ll walk you through every step, including the little details that make the difference between a good batch and a great one. Set aside about 45 minutes, but most of that is hands-off simmering time.
- Combine the berries and water. Place 1 cup of dried elderberries in your saucepan and pour in 4 cups of filtered water. Give it a quick stir. The berries will float at first—that’s normal. Don’t worry about it.
- Add the spices. Toss in your sliced ginger, 2 cinnamon sticks, and 1 teaspoon of whole cloves. If you’re using ground cinnamon instead of sticks, add it later—otherwise it can make the syrup gritty. For now, just the whole spices.
- Bring to a boil, then simmer. Turn the heat to high and bring the mixture to a gentle boil. You’ll see small bubbles breaking the surface. This usually takes about 5-7 minutes. Once it’s boiling, reduce the heat to low and let it simmer uncovered. Set a timer for 30 minutes. The liquid will turn a deep, almost black-purple color, and your kitchen will start smelling amazing—like a cozy autumn day.
- Check the consistency. After 30 minutes, the liquid should have reduced by about half. You should have roughly 2 cups of concentrated liquid left. If it’s still too watery, let it simmer another 10 minutes. I like mine a little thicker so it coats the spoon nicely. Pro tip: don’t overcook it, or it’ll turn into a jelly. I did that once and ended up with elderberry jam instead of syrup. It was still delicious on toast, but not what I was going for.
- Strain the mixture. Place your fine-mesh strainer over a large bowl or a heat-safe measuring cup. Carefully pour the hot liquid through the strainer. Use the back of a spoon to press down on the berries and spices to extract every last drop of goodness. Don’t rush this step—there’s a lot of liquid still trapped in those berries. You should get about 1.5 to 2 cups of dark, fragrant liquid.
- Let it cool slightly. Let the strained liquid sit for about 10 minutes until it’s warm but not hot. You want it around 110-120°F (45-50°C). If it’s too hot, it will destroy the beneficial enzymes in the raw honey. If it’s too cool, the honey won’t incorporate smoothly. This is the most important temperature tip I can give you.
- Stir in the honey. Add 1 cup of raw honey to the warm liquid and stir gently until fully dissolved. The honey will thicken the syrup and add that beautiful golden hue. Taste it here—if you want it sweeter, add a little more honey. If you prefer it more tart, leave it as is. Remember, the honey is also acting as a natural preservative, so don’t skimp too much if you plan to store it for a while.
- Bottle it up. Using a funnel, pour the syrup into your clean glass jar. Seal it tightly and let it cool completely on the counter before moving it to the refrigerator. The syrup will thicken slightly as it cools.
- Label and date it. This sounds silly, but trust me—you’ll forget when you made it. I write the date on a piece of masking tape and stick it on the jar. Homemade elderberry syrup lasts about 2-3 months in the fridge, so it’s good to know when you need to make a new batch.
And that’s it. Nine steps, mostly waiting, and you’ve got a jar of liquid immune support that’ll carry your family through the school year.
Cooking Tips & Techniques
I’ve made this syrup probably thirty times by now, and I’ve learned a few things the hard way. Let me save you some trouble.
Don’t boil the honey. This is the biggest mistake people make. If you add honey while the liquid is still boiling, you’ll destroy all the good stuff that makes raw honey special. I learned this when I was rushing one morning and poured honey into a scalding pot. The syrup still tasted fine, but I felt like I’d wasted the expensive honey. Patience pays off here.
Use whole spices when you can. Ground spices are convenient, but they turn the syrup cloudy and leave sediment at the bottom of your jar. I’ve used ground cinnamon and ginger in a pinch, and the flavor is still good—it just looks less appealing. If you’re giving this as a gift, definitely go with whole spices for that beautiful, clear syrup.
Double the batch if you’re making it for a big family. This recipe makes about 1.5 to 2 cups, which lasts my family of four about a month (taking a spoonful daily). If you’ve got more kids or want to stock up for the whole season, just double everything. The simmering time stays the same.
Strain while it’s hot. I made the mistake of letting the berries cool in the pot once, thinking I’d strain it later. Bad idea. The mixture turns into a thick, sticky mess that’s impossible to strain properly. Strain it while it’s still warm and fluid.
Keep the leftover berries. Don’t throw away those strained elderberries! They still have some goodness in them. I spread them on a baking sheet, let them dry out, and then add them to smoothies or oatmeal. They’re not as potent as fresh, but they add fiber and a little immune boost.
Multitask wisely. While the syrup is simmering, use that time to wash and sterilize your jar. It’ll be dry and ready by the time you need to bottle. I also like to prep my honey by setting it out at room temperature so it’s easier to pour.
Variations & Adaptations
One of the things I love about this recipe is how flexible it is. Over the years, I’ve played around with different combinations, and here are some of my favorites.
For a stronger immune boost. Add 1 tablespoon of dried echinacea root or 1 teaspoon of astragalus root when you simmer the berries. Both are known for their immune-supporting properties and blend well with the elderberry flavor. Just strain them out with the rest of the spices.
For a kid-friendly version. Reduce the ginger by half and skip the cloves entirely. Some kids find cloves too strong. I made this adjustment for my niece, who used to wrinkle her nose at the “spicy” syrup. Without the cloves, she drinks it like it’s juice.
For a low-sugar option. Use only 1/2 cup of honey and add 10-15 drops of liquid stevia to taste. The syrup won’t be as thick, and it won’t last as long in the fridge (about 3-4 weeks), but it works if you’re watching your sugar intake. I’ve also used monk fruit sweetener with decent results.
For a winter wellness version. Add 1/4 teaspoon of turmeric powder and a pinch of black pepper when you simmer the berries. Turmeric is amazing for inflammation, and the black pepper helps your body absorb it. This version has a slightly earthy flavor, but it’s wonderfully warming on cold days.
For a slow cooker method. If you want to set it and forget it, add all the ingredients (except the honey) to a slow cooker and cook on low for 6-8 hours. Strain, cool, and add honey as directed. The flavor is a little deeper, but honestly, I prefer the stovetop method because it’s faster and gives me more control.
Serving & Storage Suggestions
This syrup is incredibly versatile. Here’s how I use it in our daily routine.
Daily maintenance dose. During cold and flu season, I give everyone in my family 1 tablespoon (15 ml) per day. For kids under 5, I reduce it to 1 teaspoon (5 ml). We take it in the morning, straight from a spoon. It tastes like a warm, spiced honey—nothing medicinal about it.
At the first sign of a cold. If someone starts sniffling or coughing, I increase the dose to 1 tablespoon three times a day for 3-5 days. I’ve found this really helps shorten the duration and severity of symptoms. My daughter went from a scratchy throat to feeling fine in two days last winter.
In beverages. Stir a tablespoon into hot tea or warm water with lemon for a soothing drink. It’s especially nice in the evening when you’re winding down. I also add it to smoothies—just a spoonful blends right in without changing the flavor much.
Storage. Keep the syrup in a sealed glass jar in the refrigerator. It will stay good for 2-3 months. If you see any mold, fizzing, or off smells, toss it and make a fresh batch. I’ve never had that happen, but it’s good to know what to look for.
Freezing option. You can freeze the syrup in ice cube trays for individual portions. Once frozen, pop the cubes into a freezer bag. They’ll keep for up to 6 months. Just thaw a cube in the fridge overnight or add it directly to hot tea. This is great for making a big batch at the beginning of the season and having it ready to go.
Flavor development. The syrup actually gets better after a few days in the fridge. The flavors meld together and mellow out. So don’t worry if it tastes a little strong right after you make it—give it time.
Nutritional Information & Benefits
I want to be clear: I’m not a doctor or a nutritionist. This information is based on my own research and experience, and you should always consult a healthcare professional before starting any new wellness routine. That said, here’s what I’ve learned about the ingredients in this syrup.
Elderberries are packed with antioxidants, particularly anthocyanins, which give them that deep purple color. Studies suggest they may help reduce the duration and severity of cold and flu symptoms by supporting the immune system. They’re also rich in vitamin C and fiber.
Ginger is well-known for its anti-inflammatory and antioxidant properties. It can help soothe sore throats and settle upset stomachs—a common companion to colds.
Cinnamon has antimicrobial properties and can help regulate blood sugar. It also adds warmth and sweetness without extra sugar.
Raw honey contains natural enzymes, antioxidants, and antibacterial properties. Local honey may also help with seasonal allergies by exposing your system to local pollen in small amounts.
Estimated nutritional values per 1 tablespoon serving: approximately 35-40 calories, 9-10 grams of carbohydrates (mostly from honey), and 0 grams of fat or protein. The exact values depend on the honey and berries you use.
Dietary considerations: This recipe is gluten-free, dairy-free, and nut-free. It’s not suitable for infants under 1 year due to the honey. For a vegan version, substitute maple syrup for the honey.
Conclusion
If you’ve never made homemade elderberry syrup before, I hope this recipe convinces you to try it. It’s one of those things that feels almost too simple to work—just berries, spices, and honey simmered on the stove. But it does work. I’ve seen it in my own home, and I’ve heard the same from friends who’ve started making their own batches. There’s something empowering about knowing exactly what’s in the medicine you’re giving your family, and this syrup is about as clean as it gets.
I’d love to hear how it goes for you. Maybe you’ll add a little extra ginger, or swap in star anise for the cloves. Maybe you’ll make a double batch and share it with a neighbor (Carol would approve). Whatever you do, don’t be afraid to make it your own. That’s the beauty of homemade—it’s yours.
So grab some dried elderberries, clear a spot on your stove, and give it a try. Your immune system—and your family—will thank you. And if you come up with a variation I haven’t tried, drop a comment below. I’m always looking for new ideas. Happy cooking, and here’s to a healthy school year!
Frequently Asked Questions
Can I use fresh elderberries instead of dried?
You can, but I don’t recommend it for this recipe. Fresh elderberries need to be cooked thoroughly to be safe, and they have a much higher water content, which throws off the ratios. Dried elderberries are more concentrated, easier to find, and give you a consistent result every time. Stick with dried for this recipe.
How long does homemade elderberry syrup last?
In a sealed jar in the refrigerator, it will stay good for 2-3 months. The honey acts as a natural preservative. If you freeze it in ice cube trays, it will last up to 6 months. Always check for signs of spoilage like mold or an off smell before using.
Can I give this syrup to my toddler?
Yes, but with two important caveats. First, never give honey to a child under 1 year old due to the risk of botulism. For toddlers over 1, you can give a smaller dose—about 1/2 to 1 teaspoon per day. Always check with your pediatrician before introducing any new supplement to a young child.
Does this syrup really prevent colds?
I can’t make medical claims, but I can share my experience. Since I started making this syrup, my family gets sick less often, and when we do get sick, the symptoms are milder and shorter. The research on elderberries is promising, showing they may help reduce the duration of cold and flu symptoms. It’s not a miracle cure, but it’s a powerful tool in your wellness toolkit.
Can I use this syrup in cooking or baking?
Absolutely! It makes a lovely glaze for roasted chicken or pork, a sweetener for salad dressings, or a drizzle over pancakes and yogurt. Just remember that heat can destroy some of the beneficial properties of the honey and elderberries, so it’s best to use it in raw or low-heat applications for maximum immune benefit.
Pin This Recipe!
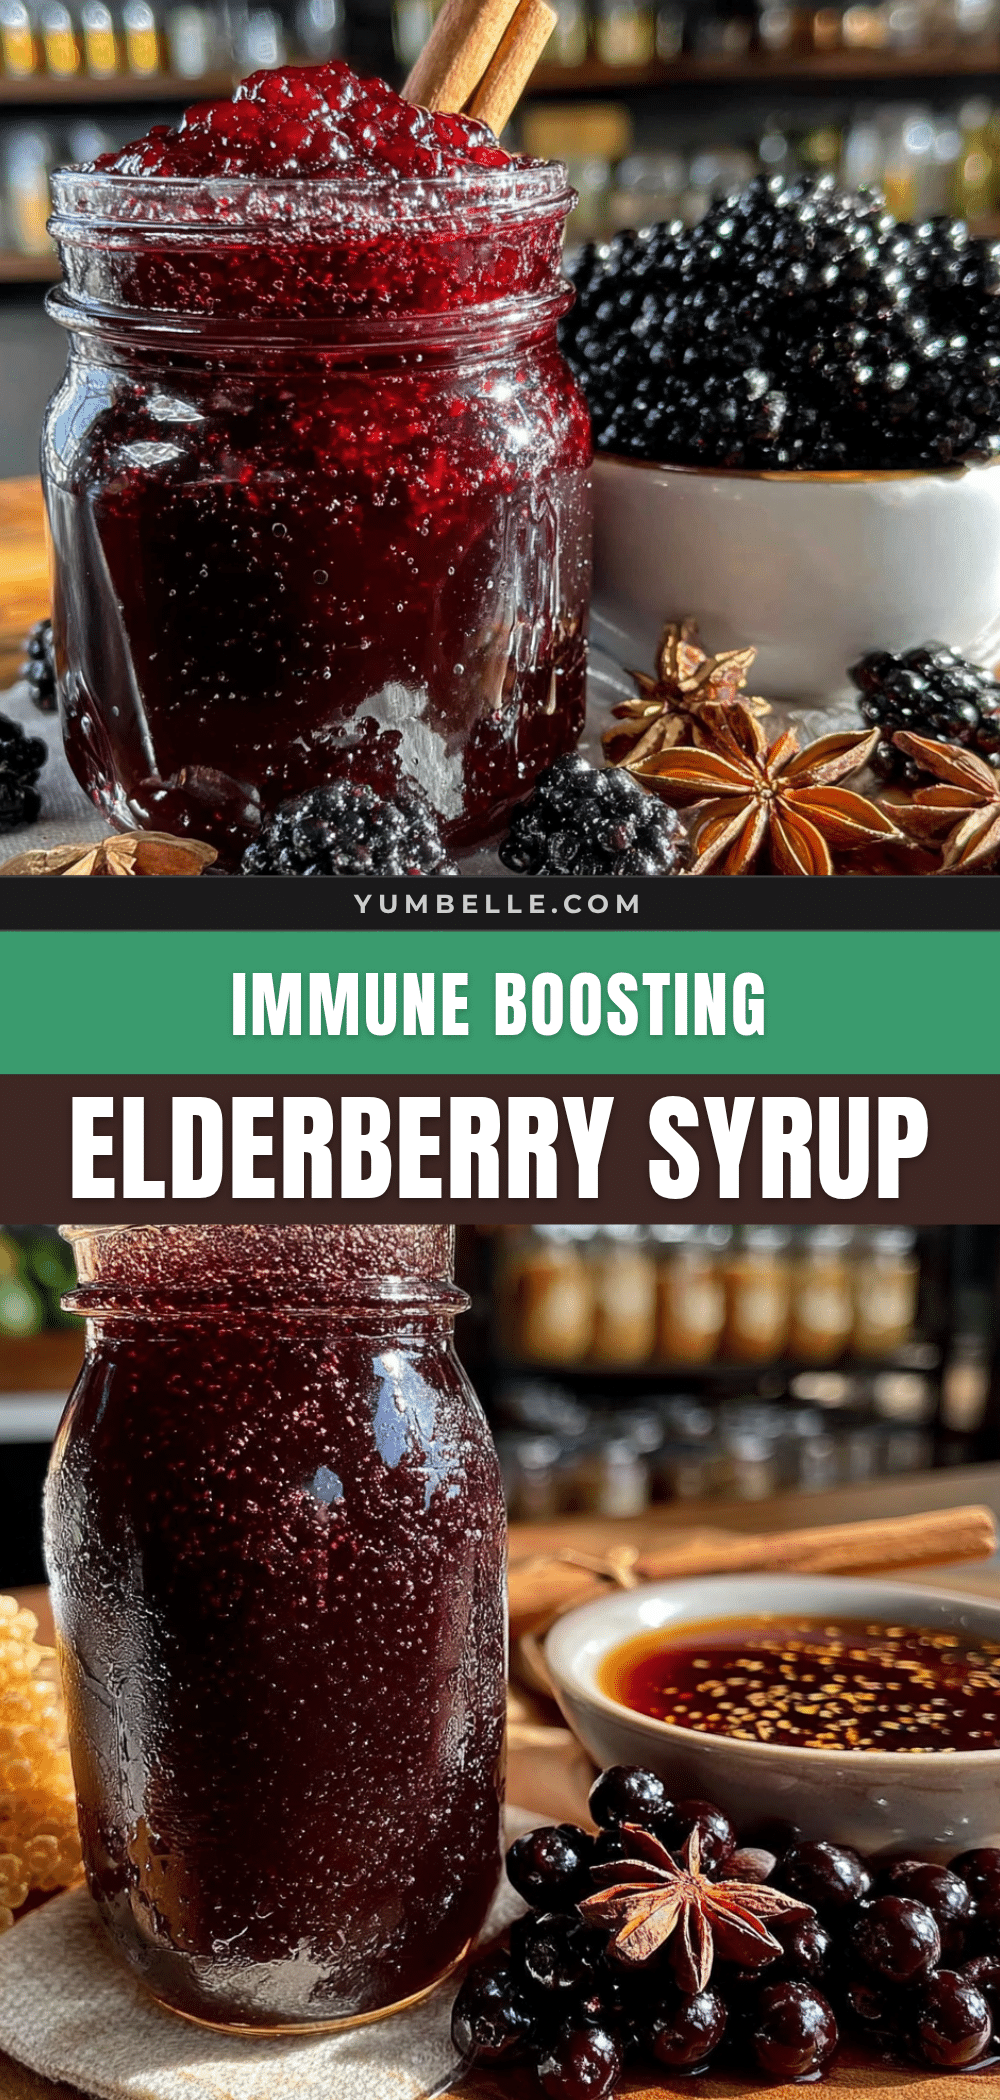
Homemade Elderberry Syrup Recipe for Back-to-School Immune Support
A quick and easy homemade elderberry syrup recipe that uses simple ingredients like dried elderberries, ginger, cinnamon, cloves, and raw honey to create a delicious immune-supporting syrup perfect for back-to-school season.
- Prep Time: 10 minutes
- Cook Time: 30 minutes
- Total Time: 45 minutes
- Yield: 1.5 to 2 cups (about 16-24 servings) 1x
- Category: Condiment
- Cuisine: American
Ingredients
- 1 cup (150 grams) dried elderberries
- 4 cups (950 ml) filtered water
- 1 large thumb-sized piece fresh ginger root (about 2 inches, sliced into coins)
- 2 whole cinnamon sticks (or 2 teaspoons ground cinnamon)
- 1 teaspoon whole cloves (about 5–6 cloves)
- 1 cup (340 grams) raw honey
Instructions
- Combine the berries and water: Place 1 cup of dried elderberries in a medium to large saucepan and pour in 4 cups of filtered water. Stir briefly.
- Add the spices: Add sliced ginger, 2 cinnamon sticks, and 1 teaspoon of whole cloves to the saucepan.
- Bring to a boil, then simmer: Heat on high until the mixture reaches a gentle boil (about 5-7 minutes). Reduce heat to low and simmer uncovered for 30 minutes. The liquid will reduce by about half and turn a deep purple color.
- Check the consistency: After 30 minutes, the liquid should have reduced by about half to roughly 2 cups. If too watery, simmer another 10 minutes. Avoid overcooking to prevent turning into jelly.
- Strain the mixture: Place a fine-mesh strainer over a large bowl or heat-safe measuring cup. Pour the hot liquid through the strainer, pressing on the berries and spices with a spoon to extract all liquid. You should get about 1.5 to 2 cups of liquid.
- Let it cool slightly: Allow the strained liquid to cool for about 10 minutes until warm but not hot (110-120°F or 45-50°C).
- Stir in the honey: Add 1 cup of raw honey to the warm liquid and stir gently until fully dissolved. Taste and adjust sweetness if desired.
- Bottle it up: Using a funnel, pour the syrup into a clean glass jar. Seal tightly and let cool completely on the counter before refrigerating.
- Label and date it: Write the date on a piece of masking tape and stick it on the jar. Store in the refrigerator for 2-3 months.
Notes
Don’t boil the honey as it destroys beneficial enzymes. Use whole spices for a clearer syrup. Strain while hot to avoid a sticky mess. Leftover strained berries can be dried and added to smoothies or oatmeal. The syrup thickens slightly as it cools. For children under 1 year, substitute honey with maple syrup or agave nectar.
Nutrition
- Serving Size: 1 tablespoon (15 ml)
- Calories: 3540
- Sugar: 910
- Carbohydrates: 910
Keywords: elderberry syrup, homemade elderberry syrup, immune support, back-to-school, natural remedy, elderberry recipe, ginger, cinnamon, honey


