Love this? Save it for later!
Share the inspiration with your friends
It was 10:47 PM on a rainy Wednesday in October, and I was supposed to be folding laundry. Instead, I found myself staring into the fridge like it held the secrets to the universe—or at least a halfway decent snack. I had this sudden, ridiculous urge to make something that looked gross but tasted amazing. You know that feeling when you want to be a little bit creepy but also really, really delicious? That night, I didn’t have food coloring, but I had almond slivers, strawberry jam, and a half-used bag of sugar cookie mix that was probably past its prime. And then it hit me—witch fingers. Honestly, the idea arrived fully formed, like a weird little ghost whispering in my ear. I grabbed a bowl, cracked an egg, and started mixing, and by midnight, my kitchen looked like a crime scene of powdered sugar and almond “fingernails.”
These Spooky Witch Finger Halloween Sugar Cookies came out of that messy, slightly unhinged late-night experiment, and let me tell you—they were the best mistake I’ve ever made. The cookies themselves are soft, buttery, and perfectly sweet, with a subtle almond flavor that makes them taste almost fancy. But the real magic? The look on people’s faces when they see a plate of severed fingers sitting on the dessert table. It’s pure Halloween gold. Maybe you’ve been there—scrambling for a last-minute party treat that’s spooky enough to impress but easy enough to pull off after the kids go to bed. This recipe is that. It’s the kind of thing that makes you feel like a baking genius even though it’s ridiculously simple.
I’ve made these every year since that rainy night, and they never get old. They’re the cookies that make people laugh, scream a little, and then reach for seconds. There’s something about the combination of creepy looks and cozy flavor that just works. So grab your rolling pin and your best scary movie playlist—we’re about to get spooky.
Why You’ll Love This Recipe
I’ve tested this recipe more times than I care to admit, tweaking the bake time, the almond ratio, and even the way the “knuckles” wrinkle. After years of trial and error (and a few batches that looked more like zombie toes than witch fingers), I can confidently say this version is the one. Here’s why it works:
- Quick & Easy: From start to finish, these cookies come together in about 40 minutes. No chilling required, which means you can whip them up between school pickup and the Halloween party.
- Simple Ingredients: You probably have most of these in your pantry already. No weird specialty items—just butter, sugar, flour, and a few spooky additions.
- Perfect for Halloween: Whether it’s a classroom party, a spooky movie night, or a potluck with friends, these cookies steal the show every single time.
- Crowd-Pleaser: I’ve served these to kids, adults, and even my picky uncle who “doesn’t do themed food.” Everyone loves them. The almond flavor is subtle enough to please even the skeptics.
- Unbelievably Delicious: Let’s be real—some Halloween treats look great but taste like cardboard. Not these. The texture is soft and tender, with a slight crisp at the edges. The almond sliver “fingernail” adds a lovely crunch.
What makes this recipe different from the dozens of other witch finger cookies out there? It’s the technique. Instead of a stiff dough that cracks when you shape it, this one is soft and pliable, which means you can mold realistic knuckles and wrinkles without fighting the dough. Plus, the almond extract gives it that unmistakable bakery flavor that makes people think you spent hours. You didn’t, but they don’t need to know that.
This is the recipe that makes Halloween feel special. It’s not just a cookie—it’s an experience. The first bite always gets a laugh, and the second bite gets a satisfied sigh. That’s the kind of magic I can get behind.
What Ingredients You Will Need
This recipe uses simple, everyday ingredients to create something delightfully creepy. Most of these are pantry staples, so you can get started without a special grocery run. Here’s what you’ll need:
For the Cookie Dough
- 1 cup (226g) unsalted butter, softened — Make sure it’s at room temperature for easy creaming. I prefer Kerrygold for its rich flavor, but any good-quality butter works.
- 1 cup (200g) granulated sugar — Regular white sugar gives the cookies a nice, clean sweetness.
- 1 large egg, room temperature — Cold eggs can make the dough seize up, so let it sit out for 15 minutes first.
- 1 teaspoon vanilla extract — Pure vanilla adds warmth, but imitation works fine too.
- 1/2 teaspoon almond extract — This is the secret ingredient. It gives the cookies that marzipan-like flavor that pairs perfectly with the almond fingernails. Don’t skip it!
- 2 1/2 cups (312g) all-purpose flour — Spoon and level for accuracy. Too much flour makes the cookies dry.
- 1/2 teaspoon baking powder — Just enough to give them a slight lift without puffing up too much.
- 1/4 teaspoon salt — Balances the sweetness and enhances the almond flavor.
For the Spooky Details
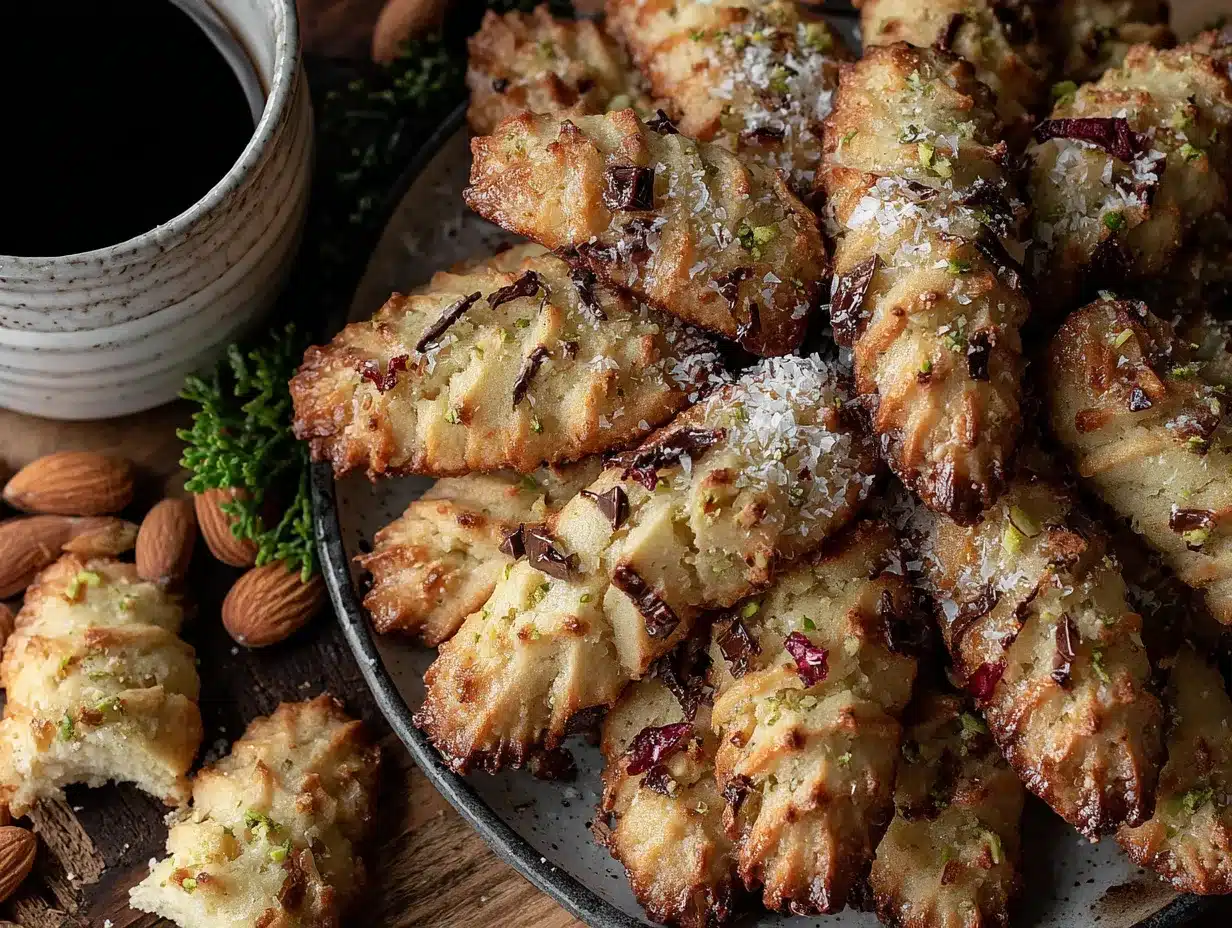
- 1/2 cup (about 60g) whole blanched almonds, sliced lengthwise — These become the fingernails. Look for slivered almonds that are wide enough to look like a nail bed. Trader Joe’s has great ones.
- Red gel food coloring — For the “blood” at the cuticle. Gel is better than liquid because it doesn’t thin the jam. I use Wilton brand.
- Strawberry or raspberry jam, about 2 tablespoons — This creates the gory cuticle effect. Seedless jam looks cleaner, but I kind of like the tiny seeds—they look more gruesome!
- Optional: green or purple gel food coloring — If you want to tint the dough for a more “witchy” look. I’ve done it both ways, and the natural golden color is actually more realistic for fingers.
Ingredient Selection Tips
For the best texture, use butter that’s truly softened—soft enough that your finger leaves an indent but not so soft that it’s greasy. If you’re in a hurry, cut the butter into small cubes and let it sit for 10 minutes. For the almond slivers, try to find ones that are relatively flat and uniform. If they’re too curved, they’ll look like claws instead of fingernails. And honestly? That’s kind of fun too.
Substitution Guidance
Need to make these dairy-free? Swap the butter for a high-quality vegan butter stick (like Miyoko’s) and use a flax egg (1 tablespoon ground flaxseed + 3 tablespoons water). The texture will be slightly different but still delicious. For a gluten-free version, use a 1:1 gluten-free flour blend that contains xanthan gum. I’ve tested this with King Arthur’s Measure for Measure, and it worked beautifully.
Equipment Needed
You don’t need a lot of fancy tools for this recipe, which is part of the charm. Here’s what you’ll need:
- Electric hand mixer or stand mixer — Creaming the butter and sugar by hand is possible, but your arm will thank you for using a mixer. I use my trusty KitchenAid for this.
- Large mixing bowl — Any bowl works, but a wide one makes mixing easier.
- Baking sheets (2) — Light-colored, non-stick sheets work best. Dark sheets can over-brown the bottoms.
- Parchment paper or silicone baking mats — Silpat mats are my favorite because they distribute heat evenly and make cleanup a breeze.
- Sharp knife or bench scraper — For scoring the “knuckles.” A butter knife works in a pinch, but a sharp blade gives cleaner lines.
- Small pastry brush or clean finger — For brushing the jam onto the cuticle area. Honestly, your finger works great.
- Cooling rack — Essential for letting the cookies cool without getting soggy bottoms.
- Plastic wrap — Not required for chilling, but useful if you want to prep the dough ahead of time.
If you don’t have a pastry brush, don’t sweat it. I’ve used a clean finger to dab the jam on, and it works perfectly. The key is to be gentle so you don’t smear the “blood” everywhere. And if you don’t have a bench scraper, a butter knife does the job for scoring knuckle lines.
Preparation Method
Let’s get creepy! Follow these steps carefully, and you’ll have a batch of spooky witch fingers that look like they came straight from a haunted bakery.
- Preheat your oven to 350°F (175°C). Line two baking sheets with parchment paper or silicone mats. This is non-negotiable—the cookies will stick to unlined sheets.
- Cream the butter and sugar. In a large mixing bowl, beat the softened butter and granulated sugar together on medium speed until light and fluffy, about 2-3 minutes. Scrape down the sides of the bowl halfway through. You want the mixture to look pale and airy—this is what gives the cookies their tender texture.
- Add the wet ingredients. Beat in the egg, vanilla extract, and almond extract until fully combined. The mixture might look slightly curdled at this point—that’s totally normal. Don’t panic. Just make sure everything is well incorporated.
- Mix the dry ingredients. In a separate bowl, whisk together the all-purpose flour, baking powder, and salt. Gradually add this to the wet mixture, mixing on low speed until a soft dough forms. Be careful not to overmix—stop as soon as the flour disappears. Overworking the dough will make the cookies tough.
- Shape the fingers. Take a heaping tablespoon of dough (about 20-25 grams) and roll it into a ball, then shape it into a finger-like cylinder. The key is to make one end slightly thicker (the palm side) and the other end tapered (the fingertip). Place it on the prepared baking sheet. Don’t worry about making them perfect—real fingers aren’t identical either. I like to make some knobby and some slender for variety.
- Create the knuckles and wrinkles. Using a sharp knife or bench scraper, gently press horizontal lines into the dough to create knuckle creases. Make 2-3 lines per finger, pressing about 1/4 inch deep. For extra realism, gently pinch the sides of the finger at the knuckle to create a slight bulge. Then, using the tip of the knife, make a few tiny vertical lines near the fingertip to mimic skin wrinkles.
- Add the fingernail. Press one almond sliver firmly into the tapered end of each finger, angled slightly upward so it looks like a nail growing out. The wider end of the almond should be at the cuticle. Press gently so it stays in place during baking.
- Create the “bloody” cuticle. Using a small pastry brush or your clean finger, dab a tiny amount of strawberry or raspberry jam at the base of the almond sliver, right where it meets the dough. This will look like bloody cuticles after baking. Don’t go overboard—a little goes a long way. I learned this the hard way when my first batch looked like a massacre.
- Bake. Place the baking sheets in the preheated oven and bake for 10-12 minutes. The cookies should be set and lightly golden on the bottom, but still pale on top. They will continue to firm up as they cool. For softer cookies, bake for 10 minutes. For slightly crispier ones, go for 12.
- Cool completely. Let the cookies rest on the baking sheet for 5 minutes, then transfer them to a cooling rack. The jam will darken and look even more gruesome as it cools. Don’t touch them until they’re completely cool—the almond slivers can be hot and might shift.
- Optional gore upgrade. If you want extra blood, drizzle a tiny bit of red gel food coloring mixed with a drop of water over the cuticle area after baking. I sometimes add a small drop of jam to the “stump” end of the finger for that just-severed look. It’s gross. It’s perfect.
A quick note: If your dough feels too sticky to shape, pop it in the fridge for 10 minutes. But honestly, this dough is usually perfect at room temperature. The warmth from your hands helps shape it without cracking.
Cooking Tips & Techniques
After making these cookies more times than I can count, I’ve picked up a few tricks that make the process smoother and the results spookier. Here are my best tips:
Don’t overbake. This is the number one mistake I see. Witch finger cookies should be soft, not crunchy like a biscotti. The edges should just barely start to turn golden. If you wait until the whole cookie is brown, they’ll be too hard and won’t have that tender, melt-in-your-mouth texture. Trust the 10-minute mark and check them early.
Use cold hands for shaping. If the dough starts getting greasy from the warmth of your hands, run them under cold water for a few seconds and dry them off. This keeps the dough from becoming too soft and losing its shape. I keep a small bowl of ice water nearby when I’m shaping a big batch.
Vary the finger shapes. Real fingers aren’t all the same size. Make some long and thin, some short and stubby, and some slightly crooked. This adds to the realism and makes the final platter look more unsettling. I once made a batch where every finger was identical, and they looked more like breadsticks than body parts. Lesson learned.
Score the knuckles before adding the almond. It’s easier to get clean lines on the dough before the almond sliver is in the way. Once the almond is pressed in, you can still add a few wrinkles around it, but the main knuckle lines should be done first.
Watch the jam. Different jams behave differently in the oven. Strawberry jam tends to spread and darken nicely, while apricot jam stays lighter and doesn’t look as gory. Raspberry jam with seeds gives a more textured, gruesome look. Experiment to find your favorite “blood” effect.
Multitask like a pro. While one sheet is baking, shape the fingers for the next sheet. This keeps the process moving and prevents the dough from sitting too long and warming up. I usually bake one sheet at a time in the center of the oven for even baking.
My biggest failure? The time I forgot the almond extract. The cookies tasted fine—just like regular sugar cookies—but they didn’t have that haunting, almost marzipan-like flavor that makes these feel special. Don’t skip it. It’s the secret to the whole spooky vibe.
Variations & Adaptations
One of the best things about this recipe is how easy it is to customize. Here are some variations I’ve tried and loved:
Green Witch Fingers
Add 8-10 drops of green gel food coloring to the dough before mixing in the dry ingredients. This gives the cookies a classic witchy green hue that looks even more unnatural and creepy. I did this for a Halloween party last year, and everyone thought they were alien fingers. It was a hit.
Chocolate Witch Fingers
Replace 1/4 cup of the all-purpose flour with 1/4 cup of unsweetened cocoa powder. The chocolate version looks like dirt-covered fingers fresh from the grave. Use dark cocoa for an even more intense color. These pair beautifully with a glass of cold milk.
Gluten-Free Version
As mentioned, a 1:1 gluten-free flour blend works perfectly. I’ve tested this with Bob’s Red Mill and King Arthur, both with great results. The texture is slightly more tender, so handle the dough gently when shaping.
Vegan Witch Fingers
Use vegan butter and a flax egg (1 tablespoon ground flaxseed + 3 tablespoons water, let sit for 5 minutes). The dough will be a bit softer, so refrigerate it for 15 minutes before shaping. The taste is still amazing—I brought these to a vegan potluck and they disappeared first.
Spooky Blood Drip
Instead of just the cuticle jam, drizzle a line of red gel food coloring mixed with corn syrup down the side of each finger for a dripping blood effect. It’s extra work, but the visual impact is worth it for a dramatic presentation.
My personal favorite variation is the green version with chocolate almond slivers (just dip the almonds in melted dark chocolate and let them set before pressing into the dough). The contrast between the green “skin” and the dark “nail” is genuinely unsettling in the best way.
Serving & Storage Suggestions
These cookies are best served at room temperature, arranged on a platter in a way that maximizes the creep factor. Here’s how I like to present them:
For maximum spookiness: Arrange the fingers in a pile, as if they’ve been severed and collected. Scatter a few loose almond slivers around for extra “debris.” For a truly disturbing touch, stick a few fingers upright in a small bowl of chocolate pudding (it looks like mud). I did this for a Halloween party and people actually screamed.
Serving temperature: Room temperature is ideal. The cookies are soft and tender, and the jam has the perfect sticky consistency. If you’ve refrigerated them, let them sit out for 15 minutes before serving.
Complementary dishes: These pair wonderfully with a warm cup of spiced apple cider, a glass of cold milk, or a dark hot chocolate. For a full Halloween spread, serve them alongside other spooky treats like crispy garlic chicken (okay, maybe not—stick with sweets). They also go great with pumpkin dip or a cheese board with blood-red wine.
Storage instructions: Store the cookies in an airtight container at room temperature for up to 5 days. Layer them between sheets of parchment paper to prevent the jam from sticking. Do not refrigerate—the cookies will dry out and lose their soft texture.
Freezing: You can freeze the shaped, unbaked dough for up to 3 months. Place the shaped fingers on a baking sheet and freeze until solid, then transfer to a freezer bag. Bake directly from frozen, adding 2-3 minutes to the bake time. The jam should be added just before baking, not before freezing.
Flavor development: These cookies actually taste better the next day. The almond flavor deepens and melds with the butter, creating a more complex cookie. So if you can resist eating them all immediately, you’re in for a treat.
Nutritional Information & Benefits
Let’s be real—these are Halloween cookies, not health food. But here’s the estimated nutritional breakdown per cookie (based on 24 cookies):
| Nutrient | Amount Per Cookie |
|---|---|
| Calories | 175 |
| Total Fat | 9g |
| Saturated Fat | 5g |
| Cholesterol | 30mg |
| Sodium | 55mg |
| Total Carbohydrates | 22g |
| Sugars | 11g |
| Protein | 2g |
On the bright side, the almonds provide a small amount of vitamin E, healthy fats, and a bit of protein. The butter gives you a dose of vitamin A. And honestly? The joy these cookies bring is a mental health benefit all on its own.
Dietary considerations: This recipe contains gluten, dairy, eggs, and tree nuts (almonds). For allergen-friendly versions, see the variations section above. These cookies are not suitable for low-carb or keto diets due to the sugar content, but they can be made with a sugar substitute like monk fruit sweetener (though the texture will change slightly).
From a wellness perspective, I believe in balance. Halloween comes once a year, and these cookies are part of the fun. Enjoy them, share them, and don’t stress about the calories. Life is too short to skip the witch fingers.
Conclusion
These Spooky Witch Finger Halloween Sugar Cookies are more than just a recipe—they’re a tradition in the making. Every time I make them, I’m transported back to that rainy October night when a weird craving and a half-empty pantry conspired to create something magical. They’re proof that the best recipes often come from happy accidents.
I love how these cookies bring people together. Whether it’s the kids giggling at the “bloody” cuticles or the adults pretending to be grossed out while reaching for a third one, there’s something about food that looks this creepy but tastes this good that creates instant memories. They’re the kind of treat that makes Halloween feel special, even if you’re just having a quiet night in with a scary movie.
Now it’s your turn. I want to see your witch fingers! Tag me in your photos, leave a comment below telling me how they turned out, and share your own creepy variations. Did you add green food coloring? Try a different jam? Make them gluten-free? I’d love to hear about it. And if you have a story about the look on someone’s face when they bit into one of these, please share it—those are my favorite.
So go ahead, get a little spooky in the kitchen. Preheat that oven, wash your hands, and let’s make some magic. These cookies are waiting to haunt your Halloween—in the best possible way.
Frequently Asked Questions
Can I make these cookies ahead of time?
Absolutely. You can bake them up to 3 days in advance and store them in an airtight container at room temperature. For longer storage, freeze the shaped unbaked dough for up to 3 months.
Why did my cookies spread too much?
This usually happens if the butter was too soft or the dough was too warm. Try refrigerating the shaped fingers for 10 minutes before baking. Also, make sure you’re measuring your flour correctly—too little flour can cause spreading.
Can I use a different nut for the fingernails?
Sure! Sliced almonds are the most realistic, but you can also use whole cashews (they look like thick, weird nails) or even pumpkin seeds for a smaller, more delicate look. Just make sure whatever you use is flat enough to press into the dough.
My jam burned in the oven. What did I do wrong?
Jam burns when it’s too thin or baked too long. Use a thick, good-quality jam (not jelly) and keep an eye on the cookies. If your oven runs hot, reduce the temperature to 340°F and bake for the same amount of time.
Can I make these without almond extract?
You can, but they won’t have that signature witch finger flavor. The almond extract is what makes these cookies unique. If you don’t have it, use an extra 1/2 teaspoon of vanilla extract, but know that the flavor profile will be different.
Pin This Recipe!
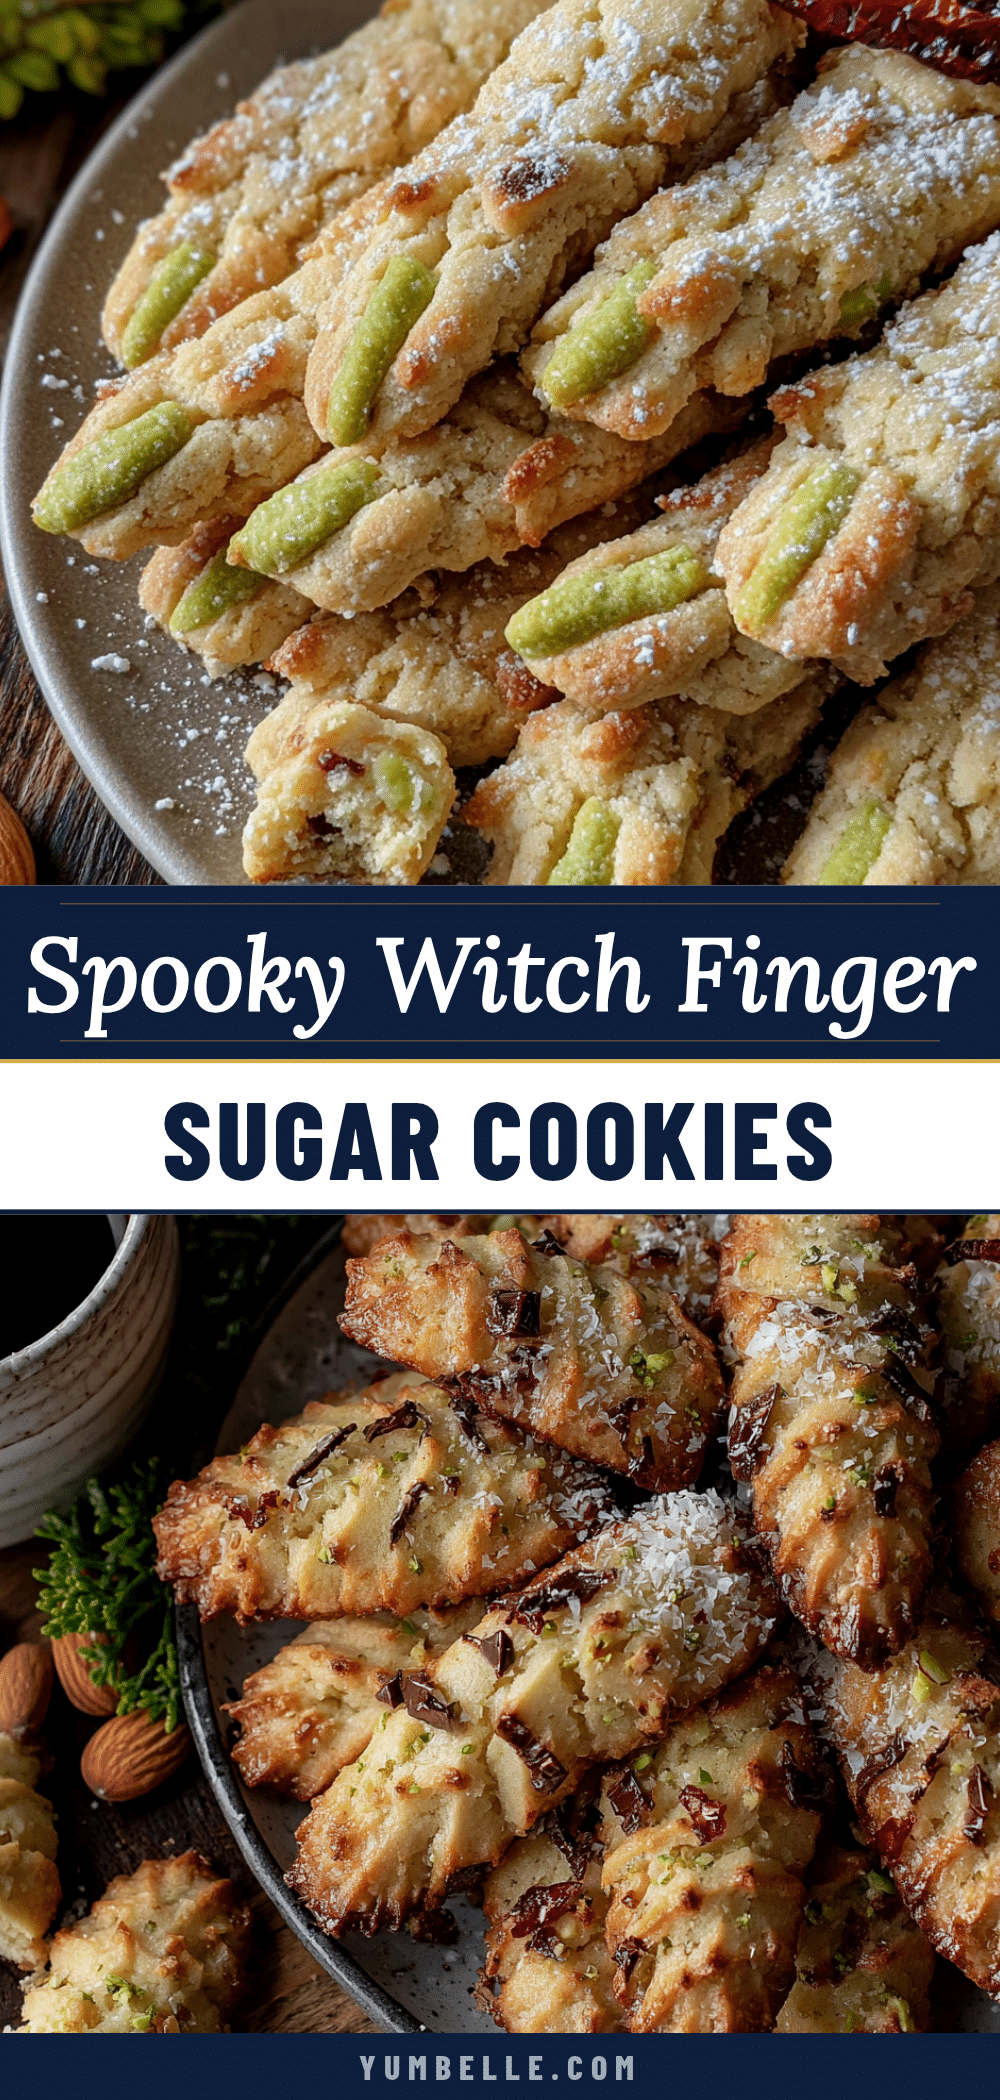
Spooky Witch Finger Halloween Sugar Cookies: Easy & Best
These spooky witch finger cookies are soft, buttery, and perfectly sweet with a subtle almond flavor. They’re easy to make and guaranteed to be the hit of any Halloween party.
- Prep Time: 20 minutes
- Cook Time: 12 minutes
- Total Time: 32 minutes
- Yield: 24 servings 1x
- Category: Dessert
- Cuisine: American
Ingredients
- 1 cup (226g) unsalted butter, softened
- 1 cup (200g) granulated sugar
- 1 large egg, room temperature
- 1 teaspoon vanilla extract
- 1/2 teaspoon almond extract
- 2 1/2 cups (312g) all-purpose flour
- 1/2 teaspoon baking powder
- 1/4 teaspoon salt
- 1/2 cup (about 60g) whole blanched almonds, sliced lengthwise
- Red gel food coloring
- Strawberry or raspberry jam, about 2 tablespoons
- Optional: green or purple gel food coloring
Instructions
- Preheat your oven to 350°F (175°C). Line two baking sheets with parchment paper or silicone mats.
- Cream the butter and sugar. In a large mixing bowl, beat the softened butter and granulated sugar together on medium speed until light and fluffy, about 2-3 minutes. Scrape down the sides of the bowl halfway through.
- Add the wet ingredients. Beat in the egg, vanilla extract, and almond extract until fully combined.
- Mix the dry ingredients. In a separate bowl, whisk together the all-purpose flour, baking powder, and salt. Gradually add this to the wet mixture, mixing on low speed until a soft dough forms. Be careful not to overmix.
- Shape the fingers. Take a heaping tablespoon of dough (about 20-25 grams) and roll it into a ball, then shape it into a finger-like cylinder. Make one end slightly thicker (the palm side) and the other end tapered (the fingertip). Place it on the prepared baking sheet.
- Create the knuckles and wrinkles. Using a sharp knife or bench scraper, gently press horizontal lines into the dough to create knuckle creases. Make 2-3 lines per finger, pressing about 1/4 inch deep. Gently pinch the sides of the finger at the knuckle to create a slight bulge. Then, using the tip of the knife, make a few tiny vertical lines near the fingertip to mimic skin wrinkles.
- Add the fingernail. Press one almond sliver firmly into the tapered end of each finger, angled slightly upward so it looks like a nail growing out. The wider end of the almond should be at the cuticle.
- Create the ‘bloody’ cuticle. Using a small pastry brush or your clean finger, dab a tiny amount of strawberry or raspberry jam at the base of the almond sliver, right where it meets the dough.
- Bake. Place the baking sheets in the preheated oven and bake for 10-12 minutes. The cookies should be set and lightly golden on the bottom, but still pale on top.
- Cool completely. Let the cookies rest on the baking sheet for 5 minutes, then transfer them to a cooling rack.
- Optional gore upgrade. If you want extra blood, drizzle a tiny bit of red gel food coloring mixed with a drop of water over the cuticle area after baking.
Notes
Don’t overbake. Witch finger cookies should be soft, not crunchy. Use cold hands for shaping if the dough gets greasy. Vary the finger shapes for realism. Score the knuckles before adding the almond. Watch the jam as different jams behave differently in the oven. These cookies actually taste better the next day.
Nutrition
- Serving Size: 1 cookie
- Calories: 175
- Sugar: 11
- Sodium: 55
- Fat: 9
- Saturated Fat: 5
- Carbohydrates: 22
- Protein: 2
Keywords: Halloween cookies, witch finger cookies, sugar cookies, spooky cookies, easy Halloween treat


