Love this? Save it for later!
Share the inspiration with your friends
It was 11:47 PM on a random Thursday, and I was hit with a craving for something sticky, sweet, and savory. I didn’t have the energy for a complicated recipe with a mile-long ingredient list, but I had chicken thighs in the fridge and a half-empty bottle of honey. The idea just arrived—what if I skipped the usual soy-and-garlic routine and went all in on a honey glaze? I grabbed a skillet, not even bothering to change out of my pajamas, and started throwing things together.
Honestly, I wasn’t expecting much. I mean, honey chicken can go wrong fast—too sweet, too burnt, too sticky in a bad way. But that night, something clicked. The chicken thighs got this incredible caramelized crust, the sauce reduced into this glossy, clingy glaze, and the whole apartment smelled like a takeout dream. I ate straight from the pan, standing at the counter, because waiting for a plate felt like too much effort. Maybe you’ve been there—too tired to cook but too hungry to order in, and somehow you stumble onto something amazing.
These Sticky Honey Garlic Chicken Thighs became my go-to from that moment on. It is the kind of recipe that feels fancy but takes almost no effort, and it all happens in one pan. No marinating, no complicated steps, just pure flavor payoff. I keep making it because it works every single time, and it never fails to make me feel like I actually know what I’m doing in the kitchen.
Why You’ll Love This Recipe
Let me tell you why these Sticky Honey Garlic Chicken Thighs have earned a permanent spot in my weekly rotation. I have tested this recipe at least a dozen times, tweaking the sauce ratio and the cooking time until it was absolutely perfect. It is chef-tested in my own tiny kitchen, family-approved by my picky eaters, and honestly, it is the easiest dinner that looks like you tried way harder than you did.
- Quick & Easy: This comes together in about 30 minutes from start to finish. Perfect for those nights when you walk in the door starving and need dinner on the table fast.
- Simple Ingredients: You probably have everything in your pantry right now. Honey, soy sauce, garlic, chicken thighs—that is it. No fancy grocery trips required.
- Perfect for Busy Weeknights: Whether it is a Tuesday dinner or a last-minute meal for unexpected guests, this recipe delivers every time.
- Crowd-Pleaser: Kids love the sweet sticky glaze, and adults appreciate the savory garlic kick. It disappears fast at any table.
- Unbelievably Delicious: The texture is what gets me—crispy skin, tender meat, and that glossy sauce that coats every bite.
What makes this different from every other honey chicken recipe out there? It is the balance. I spent a long time getting the honey-to-soy ratio just right so it is sweet but not cloying, savory but not salty. The garlic infuses into the oil first, creating a fragrant base that makes the whole dish taste like it simmered for hours. Plus, the one-pan method means the chicken gets that beautiful golden sear before the sauce goes in, so you get crispy edges and tender meat all at once.
This recipe is not just good—it is the kind that makes you close your eyes after the first bite. It is comfort food reimagined, faster and easier but with the same soul-soothing satisfaction. Perfect for impressing guests without stress, or turning a simple Tuesday into something memorable.
What Ingredients You Will Need
This recipe uses simple, wholesome ingredients to deliver bold flavor and satisfying texture without the fuss. Most of these are pantry staples, so you can probably make this right now without a trip to the store.
- Chicken Thighs: 6 bone-in, skin-on chicken thighs (about 2 lbs or 900g). The skin gets crispy and the meat stays juicy. Boneless thighs work too, but reduce cooking time by about 5 minutes.
- Honey: 1/3 cup (115g) of good quality honey. I prefer a lighter, mild honey like clover or orange blossom for a clean sweetness. Avoid raw honey with strong flavors that might overpower the dish.
- Soy Sauce: 1/4 cup (60ml) low-sodium soy sauce. This gives the salty umami base that balances the honey. Use tamari for a gluten-free option.
- Garlic: 4 cloves, minced (about 2 teaspoons). Fresh garlic is non-negotiable here—it infuses the oil and creates that aromatic foundation. Do not use jarred minced garlic; it just is not the same.
- Rice Vinegar: 2 tablespoons (30ml). This adds a gentle acidity that cuts through the sweetness and keeps the sauce from being one-dimensional. Apple cider vinegar works as a substitute.
- Sesame Oil: 1 teaspoon (5ml), optional but recommended. It adds a nutty depth that makes the dish taste more complex.
- Cornstarch: 1 tablespoon (8g) mixed with 2 tablespoons (30ml) cold water to make a slurry. This thickens the sauce to that perfect glossy, clingy consistency.
- Neutral Oil: 1 tablespoon (15ml) for searing. Avocado oil or vegetable oil works best—something with a high smoke point.
- Green Onions: 2-3, sliced, for garnish. They add a fresh pop of color and a mild onion kick that brightens the dish.
- Sesame Seeds: 1 tablespoon (9g) for garnish. Toasted if you have them, for extra nutty crunch.
I recommend using a brand like Mike’s Organic Honey for consistent quality, and Kikkoman soy sauce for that reliable umami punch. For the chicken, look for thighs that are evenly sized so they cook at the same rate. If you want to add some heat, toss in a pinch of red pepper flakes with the garlic.
Equipment Needed
You do not need much for this recipe, which is part of the beauty. Here is what you will need:
- Large Skillet: A 12-inch (30cm) skillet with a lid is ideal. Cast iron works beautifully for that crispy skin, but a heavy-bottomed stainless steel pan works too. Non-stick is fine, but you will not get as much browning.
- Tongs: For flipping the chicken without piercing the skin. I have a pair of OXO Good Grips tongs that have lasted me years.
- Small Bowl: For mixing the sauce and the cornstarch slurry.
- Measuring Cups and Spoons: For accuracy. Honey is sticky, so spray your measuring cup with a little oil first for easy cleanup.
- Knife and Cutting Board: For mincing garlic and slicing green onions.
- Whisk or Fork: For mixing the sauce ingredients together.
If you do not have a lid for your skillet, use a sheet of aluminum foil crimped tightly around the edges. It works just as well. And if you are using a non-stick pan, be gentle with the metal tongs—use silicone-tipped ones instead to avoid scratching the surface.
Preparation Method
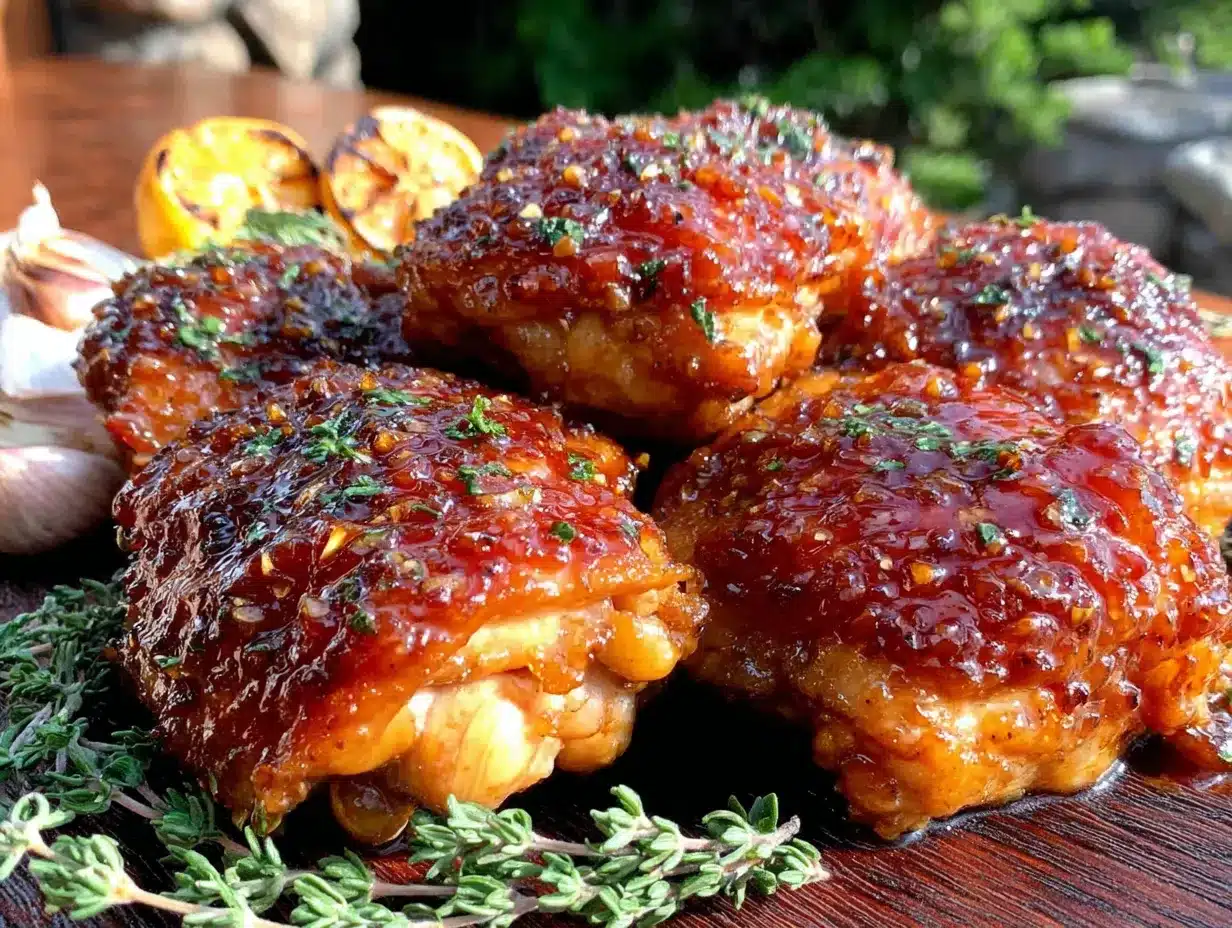
Let me walk you through this step by step. I have made this so many times that I have got the timing down to a science, and I will share all my little tricks along the way.
- Pat the chicken dry. Use paper towels to remove as much moisture as possible from the chicken thighs. This is the single most important step for crispy skin. Season both sides generously with salt and pepper. Let them sit at room temperature for 10 minutes while you prep the sauce.
- Make the sauce. In a small bowl, whisk together the honey, soy sauce, rice vinegar, and sesame oil. Set it aside. In another small bowl, mix the cornstarch with 2 tablespoons of cold water and stir until smooth. This slurry will thicken the sauce at the end.
- Heat the skillet. Place your skillet over medium-high heat and add the neutral oil. Swirl to coat the bottom. Wait until the oil shimmers—about 2 minutes. You want it hot enough that the chicken sizzles immediately when it hits the pan.
- Sear the chicken. Place the chicken thighs skin-side down in the hot skillet. Do not crowd the pan—cook in batches if needed. Let them cook undisturbed for 5 to 6 minutes. The skin should turn deep golden brown and crispy. Use your tongs to flip them over. Cook for another 4 minutes on the other side.
- Remove the chicken. Transfer the seared chicken to a plate. It will not be cooked through yet, and that is fine. Pour off all but about 1 tablespoon of the rendered fat from the skillet, leaving the browned bits on the bottom.
- Cook the garlic. Reduce the heat to medium-low. Add the minced garlic to the skillet and stir constantly for about 30 seconds. Do not let it burn—burnt garlic tastes bitter and will ruin the dish. You should smell it becoming fragrant almost immediately.
- Add the sauce. Pour the honey-soy mixture into the skillet. Stir it into the garlic, scraping up any browned bits from the bottom of the pan. Let it come to a gentle simmer.
- Return the chicken. Place the chicken thighs back in the skillet, skin-side up. Spoon some of the sauce over the tops. Cover the skillet with the lid and reduce the heat to low. Let it cook for 10 minutes. The chicken will finish cooking through and absorb all that flavor.
- Thicken the sauce. Remove the lid and transfer the chicken to a serving plate. Give the cornstarch slurry a quick stir (it settles fast) and pour it into the simmering sauce. Stir constantly for about 1 minute until the sauce thickens into a glossy, sticky glaze. You should see it coat the back of a spoon.
- Glaze the chicken. Spoon the thickened sauce over the chicken thighs. Sprinkle with sliced green onions and sesame seeds. Serve immediately.
A few things to watch for: If the sauce starts looking too thick, add a splash of water to loosen it up. If it is too thin, let it simmer a little longer before adding the slurry. The chicken is done when an instant-read thermometer reads 165°F (74°C) in the thickest part.
Cooking Tips & Techniques
I have messed up this recipe more times than I care to admit, so let me save you the trouble. Here are the things I wish someone had told me the first time I made it.
Do not skip drying the chicken. This is the number one mistake people make. Wet skin will steam instead of sear, and you will end up with pale, rubbery skin instead of that beautiful golden crust. Take the extra 30 seconds to pat it dry.
Let the chicken sear undisturbed. I know it is tempting to peek or move it around, but leave it alone. The skin needs uninterrupted contact with the hot pan to develop that crispy texture. If you try to flip it too early, it will stick and tear.
Watch the garlic like a hawk. Garlic goes from fragrant to burnt in about 15 seconds. Have your sauce mixture ready to go before you add the garlic to the pan. The moment it becomes aromatic, pour in the liquid to stop the cooking process.
Use low sodium soy sauce. Regular soy sauce will make the dish overwhelmingly salty, especially as the sauce reduces. Low sodium gives you control over the seasoning. You can always add more salt at the end if needed.
Make extra sauce. Trust me on this one. I always double the sauce ingredients because people want extra to drizzle over rice or vegetables. It keeps in the fridge for a week, so you can use it on other things too.
Timing is everything. Start your rice or vegetables before you begin the chicken. That way everything finishes at the same time. I like to steam some broccoli or green beans while the chicken simmers, so dinner comes together in one smooth flow.
Variations & Adaptations
One of the best things about this recipe is how flexible it is. I have tried all sorts of variations, and here are my favorites.
Spicy Honey Garlic Chicken: Add 1 teaspoon of sriracha or gochujang to the sauce mixture. The heat cuts through the sweetness beautifully. I made this version for a friend who loves spicy food, and she asked for the recipe immediately.
Baked Version: If you want to go hands-off, sear the chicken in an oven-safe skillet, then pour the sauce over and transfer to a 400°F (200°C) oven for 20 minutes. The sauce will caramelize even more in the dry heat, creating an almost sticky-sweet crust.
Gluten-Free Adaptation: Swap the soy sauce for tamari or coconut aminos. The flavor profile changes slightly—coconut aminos are a bit sweeter—but it still tastes fantastic. I have tested this for a gluten-sensitive friend and she could not tell the difference.
Chicken Breast Option: Use boneless, skinless chicken breasts instead. Cut them in half horizontally to create even pieces, then reduce the cooking time to about 4 minutes per side for searing and 8 minutes covered. Watch the internal temperature carefully so they do not dry out.
Vegetable Add-In: Throw in some broccoli florets or snap peas during the last 5 minutes of cooking. They will soak up the sauce and become tender-crisp. It turns the dish into a complete one-pan meal with vegetables built right in.
Serving & Storage Suggestions
These Sticky Honey Garlic Chicken Thighs are best served hot, straight from the skillet. The sauce is at its glossiest and most flavorful right when it comes off the heat. I like to serve them over a bed of steamed jasmine rice to soak up all that extra glaze. A side of roasted green beans or a simple cucumber salad balances the richness nicely.
For drinks, an ice-cold beer or a crisp white wine like Sauvignon Blanc cuts through the sweetness. If you are keeping it non-alcoholic, iced green tea with a squeeze of lemon is perfect.
Storage: Leftovers keep well in an airtight container in the refrigerator for up to 4 days. The sauce will thicken as it cools, almost turning into a jelly-like consistency. Do not worry—it loosens up when reheated.
Reheating: The best way to reheat is in a skillet over medium-low heat with a splash of water. Cover and let it steam for about 5 minutes. This keeps the chicken moist and restores the sauce to its glossy state. The microwave works in a pinch, but the skin will lose its crispiness.
Freezing: You can freeze the cooked chicken in the sauce for up to 3 months. Thaw overnight in the refrigerator, then reheat gently in a skillet. The flavor actually deepens after freezing, so do not be surprised if it tastes even better the second time around.
One thing I have noticed—the flavors meld together beautifully overnight. Leftovers sometimes taste better than the original meal, especially if you let the chicken sit in the sauce. It is a great make-ahead option for busy weeks.
Nutritional Information & Benefits
Here is a rough estimate per serving (one chicken thigh with sauce):
| Nutrient | Amount |
|---|---|
| Calories | 380 |
| Protein | 28g |
| Fat | 18g |
| Carbohydrates | 22g |
| Fiber | 0g |
| Sugar | 20g |
| Sodium | 720mg |
Chicken thighs are a great source of protein, iron, and B vitamins. They have more fat than chicken breasts, but that fat is what keeps the meat juicy and flavorful. Honey provides quick energy and has antimicrobial properties, while garlic is known for its immune-boosting benefits. This recipe is naturally gluten-free if you use tamari, and can be made dairy-free easily. It is not low-carb due to the honey, but you can reduce the honey to 1/4 cup and add a splash more vinegar for a lighter version.
I personally love that this meal feels indulgent but is made from whole, recognizable ingredients. It is the kind of dinner that satisfies a craving without leaving you feeling heavy or guilty.
Frequently Asked Questions
Can I use boneless chicken thighs?
Yes, absolutely. Boneless thighs cook faster, so reduce the covered cooking time to about 6 to 8 minutes. Check for doneness with a thermometer. The skinless version will not get crispy, but it will still be tender and flavorful.
Why is my sauce not thickening?
Make sure your cornstarch slurry is well mixed before adding it to the pan—it settles quickly. Also, the sauce needs to be simmering, not just warm, for the cornstarch to activate. If it still is not thickening, mix another teaspoon of cornstarch with a tablespoon of water and add it in.
Can I make this in advance?
Yes, this recipe is great for meal prep. Cook the chicken completely, then store it in the sauce in the refrigerator. Reheat gently in a skillet with a splash of water. The flavors actually get better after a day or two.
Is this recipe freezer-friendly?
It freezes wonderfully. Place the cooled chicken and sauce in a freezer-safe container and freeze for up to 3 months. Thaw overnight in the fridge before reheating. The texture of the sauce might separate slightly, but a good stir brings it back together.
How do I prevent the honey from burning?
Honey burns easily because of its high sugar content. Keep the heat at medium-low once you add the sauce, and do not walk away from the pan. If you notice the sauce darkening too quickly, add a splash of water to cool it down and thin it out.
Conclusion
These Sticky Honey Garlic Chicken Thighs are the kind of recipe that makes you feel like a kitchen hero with almost no effort. They come together in one pan, use ingredients you probably already have, and deliver that perfect balance of sweet, savory, and sticky that everyone loves. Whether you are cooking for a busy weeknight dinner or trying to impress someone special, this dish delivers every single time.
I encourage you to make this recipe your own. Adjust the honey to your taste, add some heat if you like, or throw in whatever vegetables you have lying around. That is the beauty of a simple recipe—it leaves room for your own creativity. I would love to hear how it turns out for you, so drop a comment below or tag me in your photos. Honestly, this recipe has become my go-to for those nights when I need dinner to be both easy and amazing, and I hope it becomes yours too.
Happy cooking, and do not forget to save that extra sauce for rice!
Pin This Recipe!
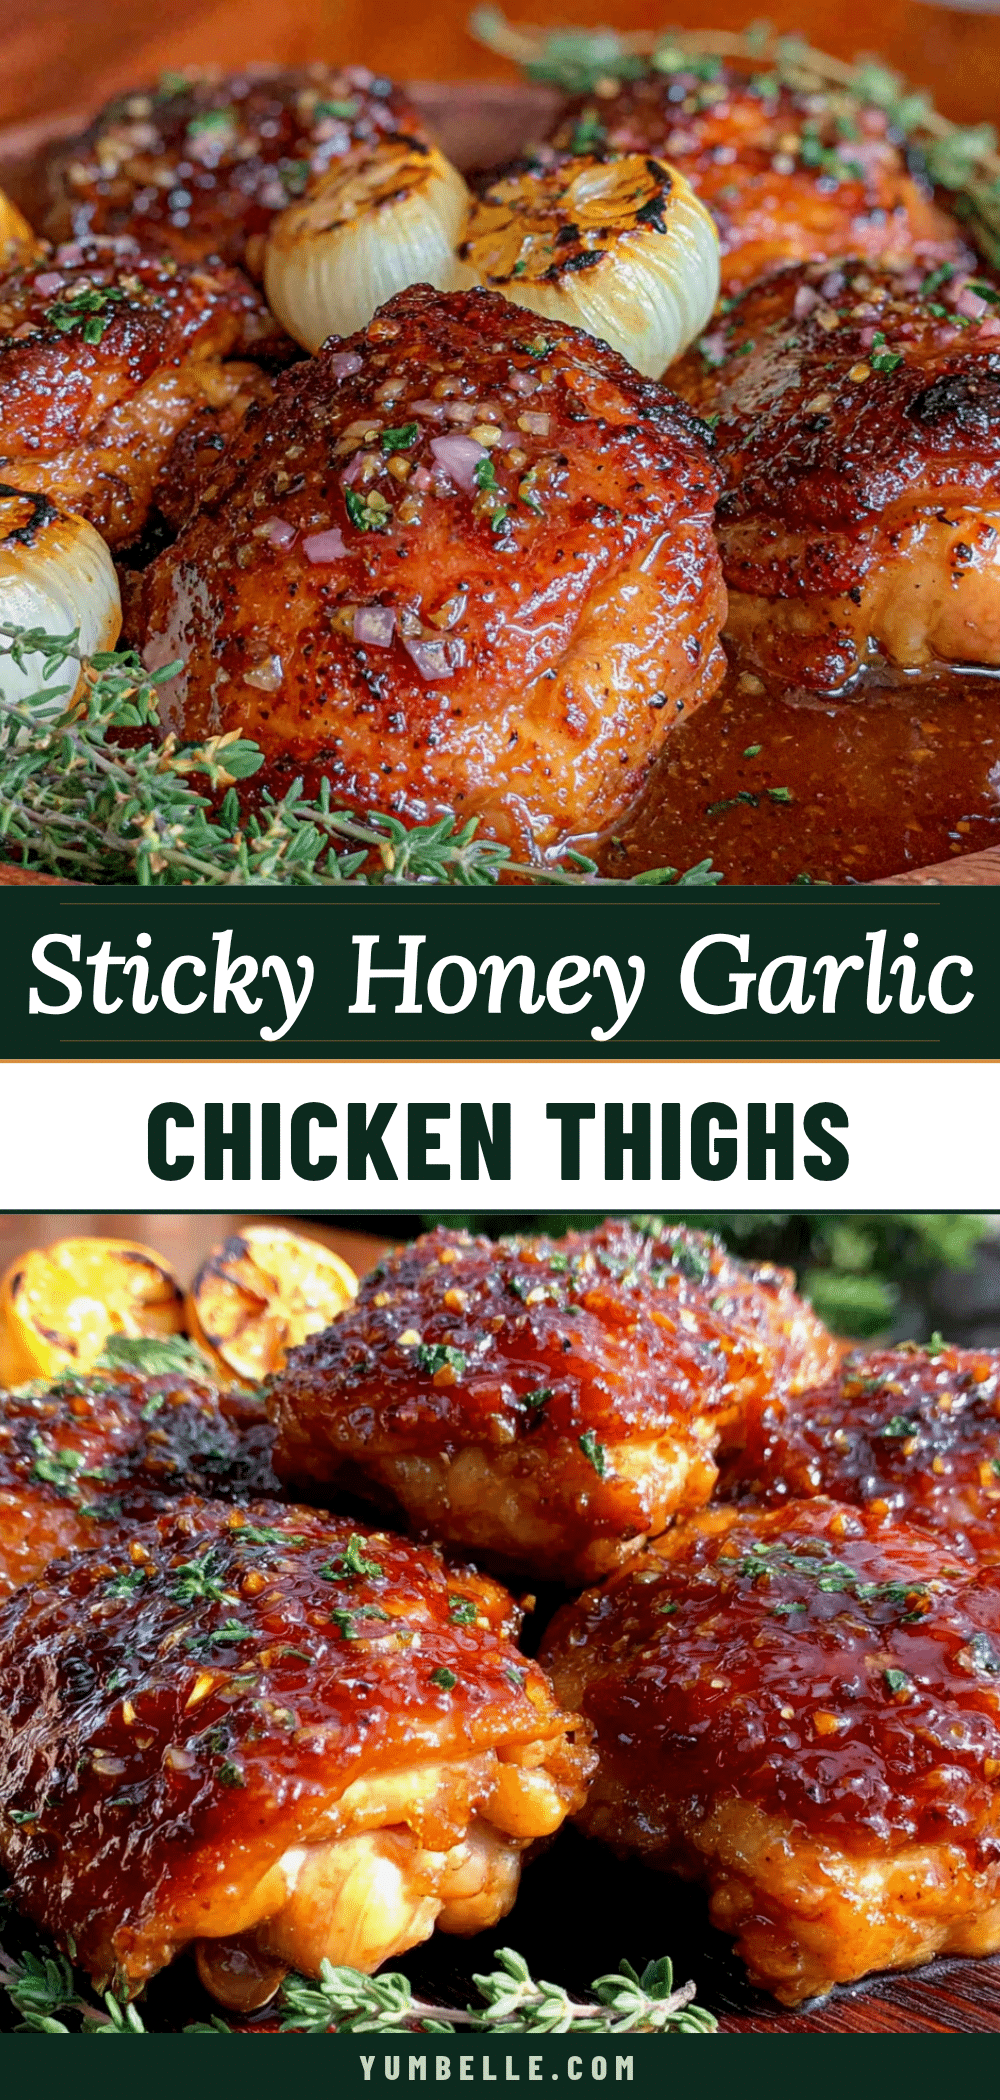
Sticky Honey Garlic Chicken Thighs: Easy One-Pan Dinner

These Sticky Honey Garlic Chicken Thighs are a quick and easy one-pan dinner with a perfect balance of sweet and savory flavors. Ready in about 30 minutes, this recipe features crispy-skinned chicken thighs coated in a glossy, sticky honey garlic glaze.
- Prep Time: 10 minutes
- Cook Time: 20 minutes
- Total Time: 30 minutes
- Yield: 6 servings 1x
- Category: Main Course
- Cuisine: Asian
Ingredients
- 6 bone-in, skin-on chicken thighs (about 2 lbs or 900g)
- 1/3 cup (115g) honey
- 1/4 cup (60ml) low-sodium soy sauce
- 4 cloves garlic, minced (about 2 teaspoons)
- 2 tablespoons (30ml) rice vinegar
- 1 teaspoon (5ml) sesame oil (optional)
- 1 tablespoon (8g) cornstarch
- 2 tablespoons (30ml) cold water
- 1 tablespoon (15ml) neutral oil (e.g., avocado or vegetable oil)
- Salt and pepper to taste
- 2–3 green onions, sliced (for garnish)
- 1 tablespoon (9g) sesame seeds (for garnish)
Instructions
- Pat the chicken thighs dry with paper towels. Season both sides generously with salt and pepper. Let them sit at room temperature for 10 minutes.
- In a small bowl, whisk together honey, soy sauce, rice vinegar, and sesame oil. In another small bowl, mix cornstarch with 2 tablespoons cold water until smooth.
- Heat a large skillet over medium-high heat and add neutral oil. Swirl to coat. Wait until the oil shimmers, about 2 minutes.
- Place chicken thighs skin-side down in the hot skillet. Cook undisturbed for 5-6 minutes until skin is deep golden brown and crispy. Flip and cook for another 4 minutes.
- Transfer seared chicken to a plate. Pour off all but 1 tablespoon of rendered fat from the skillet, leaving browned bits.
- Reduce heat to medium-low. Add minced garlic and stir constantly for about 30 seconds until fragrant.
- Pour honey-soy mixture into the skillet, scraping up browned bits. Let it come to a gentle simmer.
- Return chicken to the skillet, skin-side up. Spoon some sauce over the tops. Cover and cook on low heat for 10 minutes.
- Remove lid and transfer chicken to a serving plate. Stir cornstarch slurry and pour into simmering sauce. Stir constantly for about 1 minute until sauce thickens into a glossy glaze.
- Spoon thickened sauce over chicken. Garnish with sliced green onions and sesame seeds. Serve immediately.
Notes
Do not skip drying the chicken for crispy skin. Watch the garlic carefully to avoid burning. Use low-sodium soy sauce to control saltiness. Make extra sauce for drizzling over rice or vegetables. Leftovers keep in the refrigerator for up to 4 days and can be frozen for up to 3 months.
Nutrition
- Serving Size: 1 chicken thigh with
- Calories: 380
- Sugar: 20
- Sodium: 720
- Fat: 18
- Saturated Fat: 5
- Carbohydrates: 22
- Protein: 28
Keywords: honey garlic chicken, sticky chicken, one-pan dinner, chicken thighs, easy weeknight dinner


