Love this? Save it for later!
Share the inspiration with your friends
There used to be a little lakeside café tucked away on the edge of Lake Geneva that made these incredible blueberry cheesecake bars decorated like the American flag. When they closed down unexpectedly one summer, it felt like more than just the loss of a favorite hangout spot—it was the loss of that perfect summer dessert that everyone eagerly waited for. I mean, honestly, it was the kind of treat that made you pause on a hot July afternoon, your fingers sticky with sweet glaze, and just smile. After about a dozen tries—some too soggy, others too crumbly, and one batch where I somehow forgot the cream cheese—I finally got it right.
The memory of biting into those creamy, tangy bars with bursts of fresh blueberries and the delicate crunch of a buttery crust stayed with me, and let me tell you, recreating that exact balance has been a personal mission ever since. Maybe you’ve been there too—chasing down a flavor that’s slipped away, trying to catch that little spark of joy from a dish that vanished. What makes these Creamy Blueberry Cheesecake Flag Bars so special is not just the sweet-tart filling or the festive look, but the way they bring that summer feeling right back to your kitchen. So here we are, with a recipe that’s not only easy to make but also refreshingly satisfying, perfect for the 4th of July or any time you want a little patriotic sweetness on your plate.
Why You’ll Love This Recipe
This Creamy Blueberry Cheesecake Flag Bars recipe is my go-to when I want something that’s both impressive and totally doable. I’ve tested this over many weekends, and it consistently hits that sweet spot between rich and light. Here’s why you’ll love it:
- Quick & Easy: Ready in under an hour, it’s a breeze for last-minute celebrations or casual get-togethers.
- Simple Ingredients: No need for specialty stores—you’ll find everything in your pantry or local grocery.
- Perfect for Summer Parties: Whether it’s a 4th of July BBQ, picnic, or a casual brunch, these bars steal the show without extra fuss.
- Crowd-Pleaser: Kids and adults alike rave about the creamy texture and fresh blueberry pop.
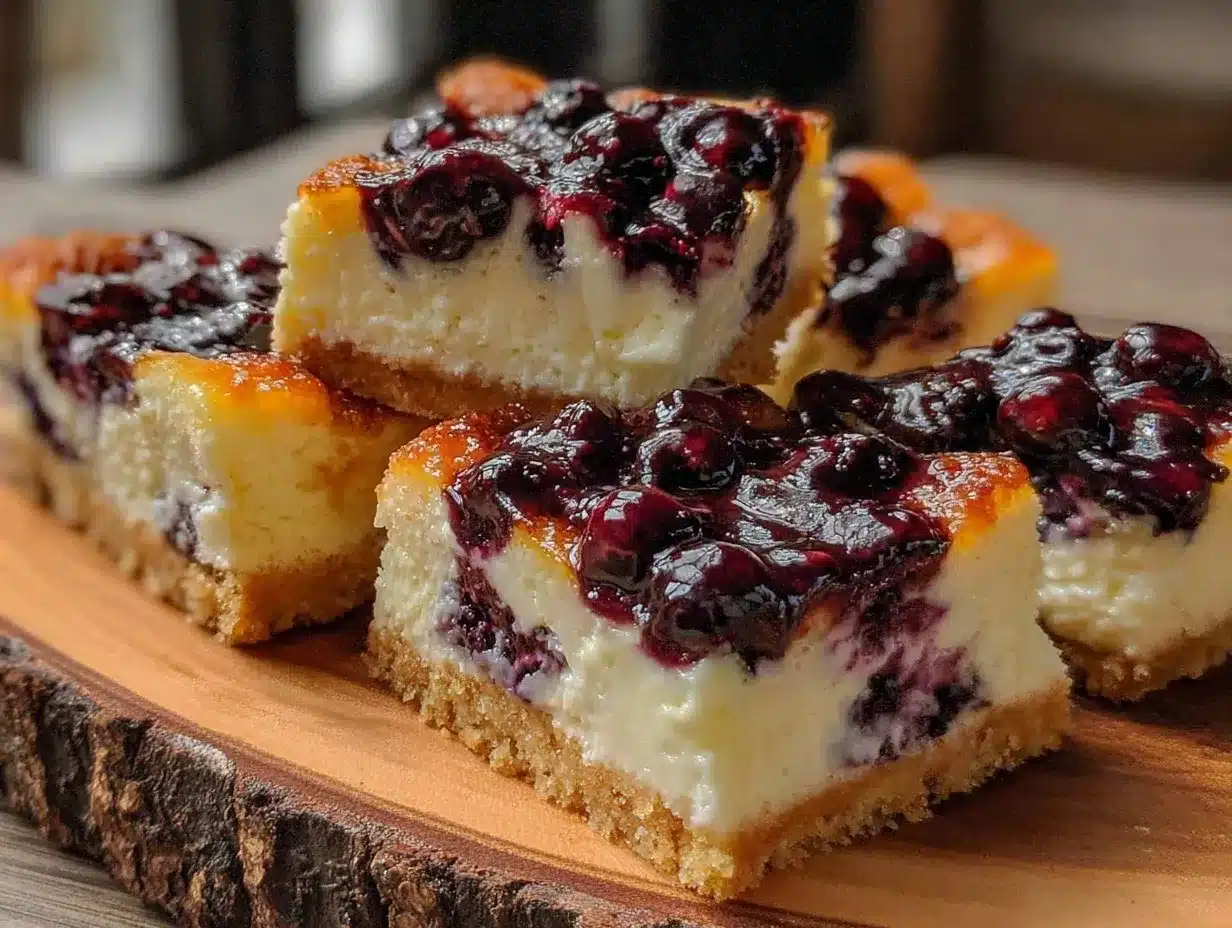
- Unbelievably Delicious: The combination of a buttery crust, smooth cheesecake filling, and juicy berries is pure comfort food with a twist.
What sets this recipe apart? I blend the cream cheese until ultra-smooth before folding in the berries gently, which keeps the filling velvety without turning runny. Plus, the star-spangled design isn’t just for show—it’s a fun way to bring a festive vibe to your dessert table. I promise, this isn’t just another cheesecake bar; it’s the kind of treat that makes you close your eyes after the first bite and savor that cool, creamy delight.
What Ingredients You Will Need
This recipe uses straightforward, wholesome ingredients to create a bold flavor and satisfying texture without any complicated steps. Most are pantry staples, with fresh blueberries adding that seasonal pop. Here’s what you’ll need:
- For the Crust:
- 1 ½ cups graham cracker crumbs (about 10 full sheets, finely crushed)
- ⅓ cup unsalted butter, melted (I like Land O Lakes for its richness)
- 2 tablespoons granulated sugar (balances the tang of the filling)
- For the Cheesecake Filling:
- 16 oz (450g) cream cheese, softened (room temperature is key for smoothness)
- ⅔ cup granulated sugar
- 2 large eggs, room temperature
- 1 teaspoon pure vanilla extract
- ½ cup sour cream (adds creaminess and slight tang)
- For the Blueberry Topping:
- 1 ½ cups fresh blueberries (if out of season, frozen works fine—just thaw and drain)
- 2 tablespoons granulated sugar
- 1 teaspoon lemon juice (brightens the berry flavor)
- For Decoration:
- Strawberries, sliced (for the red stripes)
- Blueberries (for the blue field)
- Whipped cream or frosting lines (optional, to outline the flag)
If you want a gluten-free option, almond flour can replace the graham cracker crumbs (just add a pinch of salt). And if you’re dairy-free, swap the cream cheese with a plant-based alternative like Tofutti or almond cream cheese, and use coconut yogurt instead of sour cream. These substitutions won’t compromise the creamy texture too much, though I recommend trying the original first—you know, to honor that lakeside café memory.
Equipment Needed
To make these Creamy Blueberry Cheesecake Flag Bars, here’s what you’ll want on hand:
- 9×13-inch baking pan (glass or metal both work well; I prefer glass because it bakes evenly)
- Mixing bowls (one large for the crust, another for the filling)
- Hand mixer or stand mixer (for smooth cream cheese blending)
- Spatula (a silicone one helps scrape every bit of batter)
- Measuring cups and spoons (accuracy matters for cheesecake!)
- Cooling rack (optional, but helps bars cool evenly)
- Sharp knife (for slicing neat bars)
If you don’t have a hand mixer, a sturdy whisk and some elbow grease can do the job—just prepare for a little arm workout. For budget-friendly baking pans, thrift stores are a goldmine. Also, keeping your cream cheese at room temperature really smooths out the mixing process, so plan ahead a bit to avoid lumps.
Preparation Method
- Preheat the oven: Set to 325°F (160°C). Line your 9×13-inch pan with parchment paper, leaving some overhang to lift bars out later.
- Make the crust: In a medium bowl, combine 1 ½ cups graham cracker crumbs, ⅓ cup melted butter, and 2 tablespoons sugar. Mix until the crumbs are evenly moistened. Press firmly into the bottom of the prepared pan to form an even layer. Bake for 10 minutes until set and slightly golden. Remove and let cool while you prepare the filling.
- Prepare the cheesecake filling: Using a hand mixer, beat 16 oz softened cream cheese on medium speed until fluffy (about 2-3 minutes). Gradually add ⅔ cup sugar and mix until combined. Add 2 eggs one at a time, beating well after each. Then stir in 1 teaspoon vanilla extract and ½ cup sour cream until smooth and creamy. Be careful not to overmix once the eggs are added to avoid cracks.
- Blueberry topping: In a small bowl, toss 1 ½ cups blueberries with 2 tablespoons sugar and 1 teaspoon lemon juice. Let sit for about 10 minutes to macerate and release juices.
- Assemble the bars: Pour half of the cheesecake filling over the cooled crust and spread evenly. Spoon half of the blueberry mixture over the filling, gently pressing some berries in but leaving some whole on top. Pour the remaining cheesecake filling over the berries and smooth the top carefully.
- Bake: Place the pan in the oven and bake for 40-45 minutes, or until the edges are set and the center slightly jiggles when shaken. Avoid over-baking to keep it creamy.
- Cool and decorate: Let the bars cool completely at room temperature, then chill in the fridge for at least 4 hours or overnight. When ready, cut into rectangles and decorate the surface with fresh sliced strawberries and blueberries to create the flag pattern. Add thin lines of whipped cream if desired for stripes and stars.
Pro tip: Don’t rush the chilling step—it helps the bars firm up perfectly and makes slicing cleaner. If you notice the crust pulling away slightly, that’s normal and actually makes serving easier. Also, a warm knife dipped in hot water and wiped dry can give you smooth cuts without tearing the bars.
Cooking Tips & Techniques
Making cheesecake bars can feel tricky, but here are some tips I learned the hard way to keep your bars creamy and picture-perfect:
- Room temperature ingredients matter: Always soften your cream cheese and eggs to avoid lumps and cracking.
- Don’t overmix after adding eggs: Over-beating can introduce air bubbles that cause cracks and uneven texture.
- Use parchment paper: It’s a lifesaver for lifting bars out cleanly and keeps your pan scratch-free.
- Gently fold berries: Stirring too vigorously breaks them down, turning your filling blue and watery.
- Keep an eye on baking time: A slightly jiggly center means perfect creamy texture once cooled.
- Multitask during baking: Use the baking time to prep your fruit decorations or clean up mess—it saves time and stress later.
I once baked a batch where I didn’t let the cream cheese soften enough, and the filling ended up lumpy—lesson learned! Also, trying to slice the bars straight from the oven? Big no-no. They’ll crumble or stick terribly. Let them chill, and use a warm knife for best results.
Variations & Adaptations
Feel free to tweak this recipe to suit your taste or dietary needs. Here are some ideas I’ve played with:
- Seasonal Fruits: Swap blueberries with fresh raspberries, blackberries, or even chopped peaches for a summer twist.
- Gluten-Free Crust: Use almond flour or gluten-free graham crackers instead of regular crumbs.
- Vegan Version: Replace cream cheese with vegan cream cheese and eggs with flax eggs (1 tbsp flaxseed meal + 3 tbsp water per egg).
- Lemon Blueberry Bars: Add 1 tablespoon lemon zest to the filling for a bright citrus zing.
- Chocolate Drizzle: After cooling, drizzle melted dark chocolate over the top for a rich touch.
Personally, I once tried adding a thin layer of raspberry jam between the crust and filling—it added a nice tart surprise. Also, if you want a no-bake option, you can chill the crust and filling overnight and top with fresh berries the next day, but the texture will be less firm and more mousse-like.
Serving & Storage Suggestions
Serve these bars chilled or at room temperature for the creamiest texture. They look stunning arranged on a platter with the blueberry and strawberry flag design front and center. I like pairing them with a cold glass of lemonade or iced tea—such a refreshing combo on a warm day.
To store, cover the bars tightly with plastic wrap or store in an airtight container in the refrigerator. They keep well for up to 4 days, and honestly, the flavors deepen as they sit. You can also freeze them for up to 2 months; just thaw overnight in the fridge before serving.
When reheating, I recommend serving chilled rather than warmed, but a few minutes at room temperature helps soften the bars if they’ve been in the fridge too long. The crust stays delightfully crisp, while the filling remains smooth and luscious.
Nutritional Information & Benefits
Each serving of these Creamy Blueberry Cheesecake Flag Bars typically contains around 250-300 calories, depending on portion size. The bars provide a good source of calcium from the cream cheese and sour cream, plus antioxidants and vitamins from fresh blueberries and strawberries.
Using fresh fruit boosts the fiber content, and the recipe can be adapted to lower sugar by reducing granulated sugar or using natural sweeteners like honey or maple syrup. The crust’s graham crackers add some whole grain, and swapping in almond flour can increase healthy fats and protein.
These bars aren’t low-calorie, but they offer a satisfying treat with some nutritional perks, making them a balanced choice for a festive dessert. If you’re mindful of allergens, note the presence of dairy, gluten (unless substituted), and eggs.
Conclusion
These Creamy Blueberry Cheesecake Flag Bars are more than just a dessert—they’re a little slice of summer nostalgia, a perfect balance of creamy, sweet, and fresh that brings people together. Whether you’re celebrating the 4th of July or just craving a refreshing treat, this recipe delivers every time. Don’t hesitate to make it your own by adjusting the fruit or decoration to fit your style.
Honestly, I keep coming back to this recipe because it’s easy, dependable, and just plain delicious. I’d love to hear how your version turns out, what twists you try, or any memorable stories that come with making it. So please leave a comment or share your photos—I’m always excited to connect with fellow dessert lovers!
Frequently Asked Questions
Can I use frozen blueberries instead of fresh?
Yes, frozen blueberries work well. Just thaw and drain them to reduce excess moisture before adding to the filling.
How long can I store these cheesecake bars?
Store in the refrigerator for up to 4 days in an airtight container. For longer storage, freeze for up to 2 months.
Can I make these bars ahead of time?
Absolutely! They actually taste better after chilling overnight, which helps the flavors meld and the bars firm up perfectly.
What’s the best way to cut the bars neatly?
Use a sharp knife dipped in hot water and wiped dry between cuts. This prevents sticking and keeps edges clean.
Is there a vegan or dairy-free version of this recipe?
You can substitute dairy-free cream cheese and use flax eggs to make a vegan version, but expect a slightly different texture and flavor.
For a fun twist on summer desserts, you might also enjoy the classic strawberry rhubarb crisp or the lemon blueberry poppy seed muffins that share a similar fresh fruit vibe and easy prep.
Pin This Recipe!
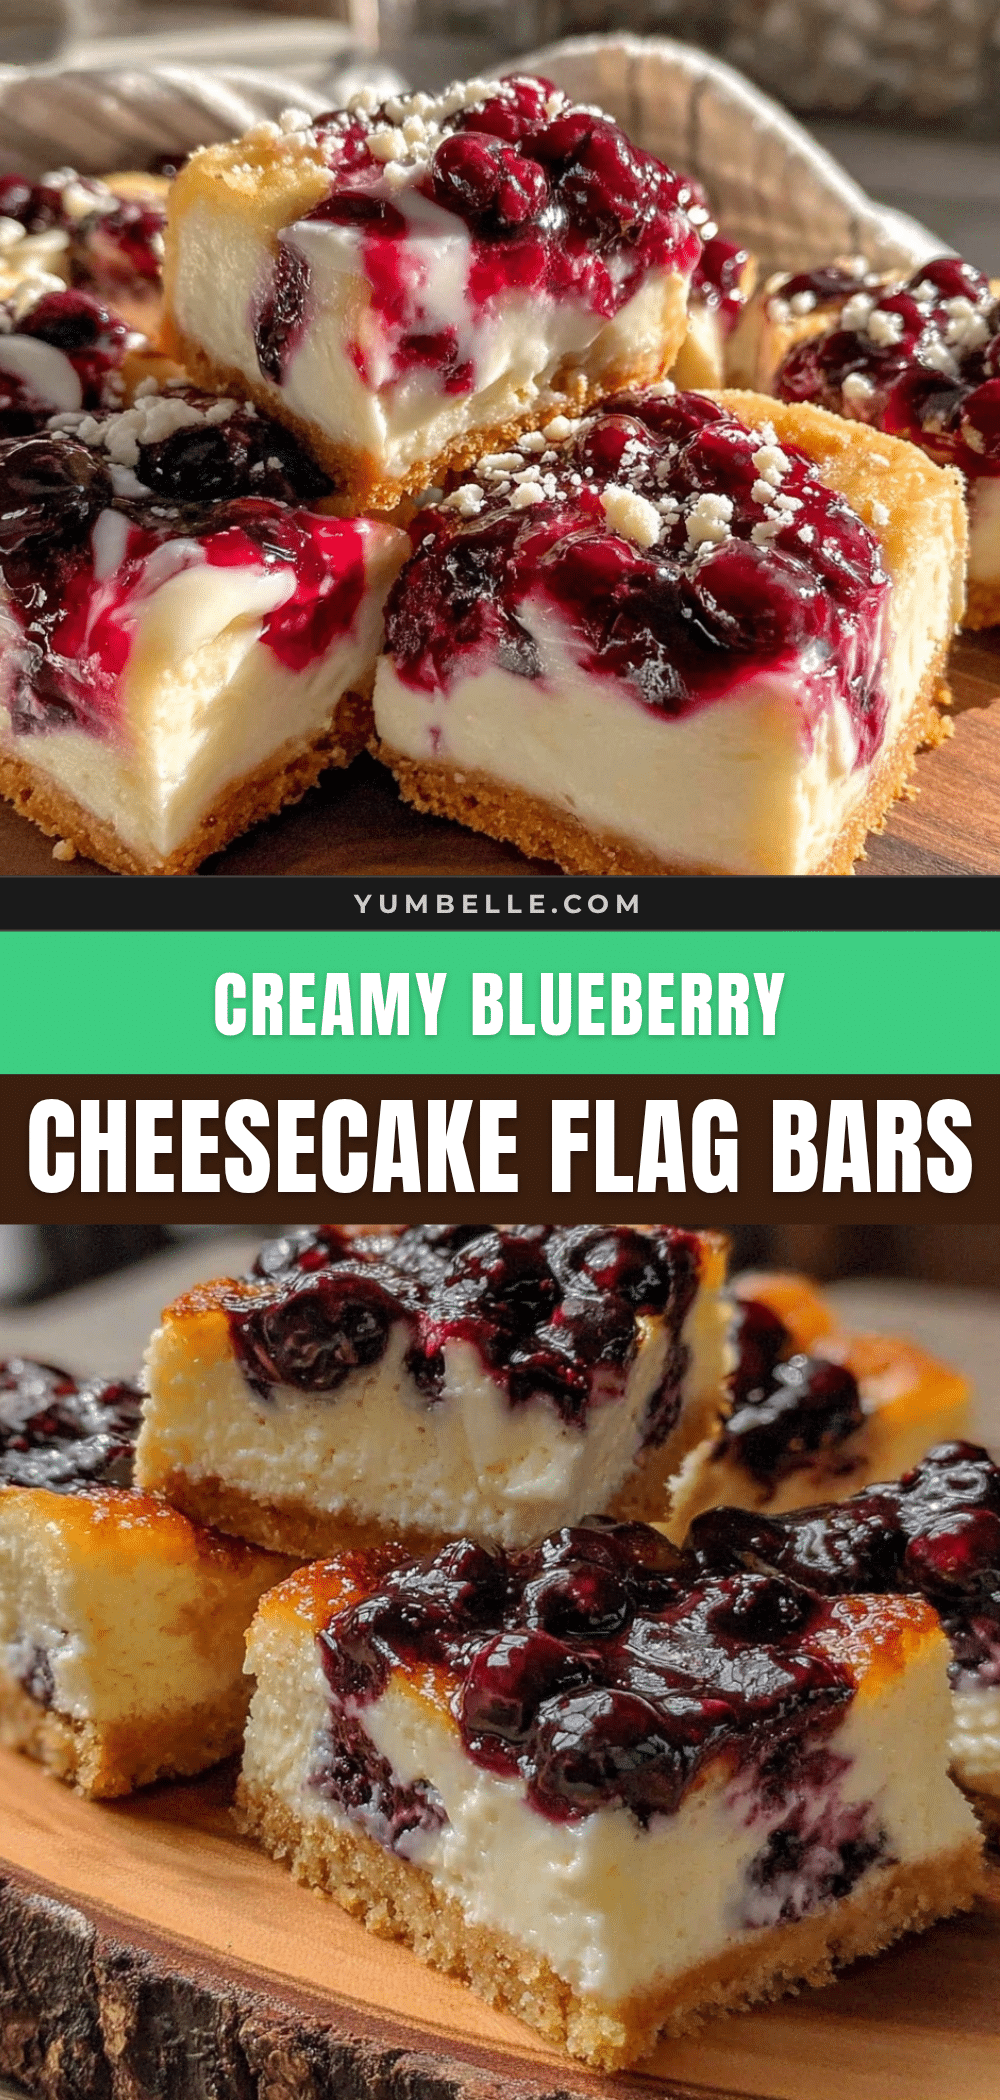
Creamy Blueberry Cheesecake Flag Bars
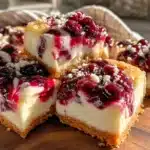
These creamy blueberry cheesecake bars feature a buttery graham cracker crust, smooth cheesecake filling, and fresh blueberries, decorated like the American flag. Perfect for 4th of July celebrations or any summer party.
- Prep Time: 20 minutes
- Cook Time: 50 minutes
- Total Time: 4 hours 70 minutes
- Yield: 12 servings 1x
- Category: Dessert
- Cuisine: American
Ingredients
- 1 ½ cups graham cracker crumbs (about 10 full sheets, finely crushed)
- ⅓ cup unsalted butter, melted
- 2 tablespoons granulated sugar
- 16 oz (450g) cream cheese, softened (room temperature)
- ⅔ cup granulated sugar
- 2 large eggs, room temperature
- 1 teaspoon pure vanilla extract
- ½ cup sour cream
- 1 ½ cups fresh blueberries
- 2 tablespoons granulated sugar
- 1 teaspoon lemon juice
- Strawberries, sliced (for decoration)
- Blueberries (for decoration)
- Whipped cream or frosting lines (optional, for decoration)
Instructions
- Preheat the oven to 325°F (160°C). Line a 9×13-inch pan with parchment paper, leaving some overhang.
- In a medium bowl, combine graham cracker crumbs, melted butter, and 2 tablespoons sugar. Mix and press firmly into the bottom of the pan. Bake for 10 minutes until set and slightly golden. Let cool.
- Using a hand mixer, beat softened cream cheese on medium speed until fluffy (2-3 minutes). Gradually add ⅔ cup sugar and mix until combined.
- Add eggs one at a time, beating well after each. Stir in vanilla extract and sour cream until smooth. Avoid overmixing.
- In a small bowl, toss blueberries with 2 tablespoons sugar and lemon juice. Let sit for 10 minutes to macerate.
- Pour half of the cheesecake filling over the cooled crust and spread evenly.
- Spoon half of the blueberry mixture over the filling, gently pressing some berries in but leaving some whole on top.
- Pour the remaining cheesecake filling over the berries and smooth the top carefully.
- Bake for 40-45 minutes, until edges are set and center slightly jiggles when shaken. Avoid over-baking.
- Cool completely at room temperature, then chill in the fridge for at least 4 hours or overnight.
- Cut into rectangles and decorate with sliced strawberries and blueberries to create the flag pattern. Add whipped cream lines if desired.
Notes
Use room temperature cream cheese and eggs to avoid lumps and cracking. Do not overmix after adding eggs to prevent cracks. Use parchment paper for easy removal. Gently fold berries to avoid breaking them down. Let bars chill thoroughly for best texture. Use a warm knife dipped in hot water for clean slicing.
Nutrition
- Serving Size: 1 bar (1/12th of rec
- Calories: 275
- Sugar: 18
- Sodium: 220
- Fat: 18
- Saturated Fat: 10
- Carbohydrates: 25
- Fiber: 2
- Protein: 5
Keywords: blueberry cheesecake bars, 4th of July dessert, patriotic dessert, blueberry cheesecake, easy cheesecake bars, summer dessert