Love this? Save it for later!
Share the inspiration with your friends
My roommate swore she hated ice cream. Not just “not a fan” — she claimed she’d turn down a scoop from the best parlor in town. For two years, I watched her eat frozen yogurt, sorbet, and once, a frozen banana blended into something she called “close enough.” I never pushed it. But last July, during a heatwave that made our apartment feel like a sauna, I caught her standing in front of the open freezer with a spoon in one hand and my brand-new batch of salted caramel ice cream in the other. She froze when she saw me. “I was just… checking the temperature,” she mumbled, with caramel literally on her chin. I didn’t say a word. I just handed her a napkin and walked away. Honestly, that moment was better than any five-star review I could have imagined.
That’s the thing about this creamy no-churn salted caramel ice cream. It doesn’t try to convince you. It just sits there in the freezer, all velvety and golden, waiting for you to discover it on your own terms. Maybe you’ve been there — you think you know what homemade ice cream tastes like, and then you take a bite of something that actually rivals the fancy stuff. No ice cream maker. No eggs. No complicated candy thermometer. Just three ingredients and a little patience. I stumbled onto this method by accident when I was craving something sweet but didn’t feel like running to the store. Now, I honestly can’t imagine summer without a container of this stuff tucked away in the back of the freezer. It’s the kind of recipe that makes you feel like you’ve cracked some secret code of the dessert world.
Why You’ll Love This Recipe
Let’s be real for a second — there are a lot of ice cream recipes out there. Some require you to babysit a custard on the stove for twenty minutes. Others call for equipment that costs more than my first car. This one? It’s different. Here’s why this creamy no-churn salted caramel ice cream has earned a permanent spot in my kitchen:
- Three Ingredients Only — Heavy cream, sweetened condensed milk, and salted caramel sauce. That’s it. No eggs, no vanilla extract (unless you want it), no weird stabilizers you have to hunt down at a specialty store.
- No Ice Cream Maker Required — I know, it sounds too good to be true. But you whip the cream, fold in the caramel mixture, and freeze. The arm workout from whisking is optional — I usually use my hand mixer and call it a day.
- Ready in Under 6 Hours — Most of that time is hands-off freezing. You can make this in the morning and have dessert ready by dinner. Perfect for those “I need to bring something to a barbecue in six hours” moments.
- Perfectly Balanced Sweetness — The salted caramel cuts through the richness of the cream and condensed milk in a way that makes every spoonful interesting. It’s not cloying. It’s not boring. It’s just right.
- Foolproof for Beginners — I’ve made this with friends who claim they can’t cook, and every single time they walk away looking proud. You literally cannot mess this up unless you forget to put it in the freezer. And even then, you’d just have a really delicious milkshake base.
This recipe is the one I bring to potlucks when I want to impress without stress. It’s the one I make on a random Tuesday when the craving hits hard. And it’s the one that made my roommate finally admit she does like ice cream — she just hadn’t met the right one yet.
What Ingredients You Will Need
This creamy no-churn salted caramel ice cream relies on a short list of simple ingredients, but each one plays a crucial role. Don’t let the simplicity fool you — the magic happens in how they come together.
- 2 cups heavy cream (also called heavy whipping cream) — This is the backbone of your ice cream. You want cream with at least 36% milk fat for the best texture. I’ve tried this with half-and-half in a pinch, and it just doesn’t whip up the same way. Look for brands like Organic Valley or Horizon if you can — they tend to whip more consistently. Keep it cold until you’re ready to use it.
- 1 can (14 ounces) sweetened condensed milk — This is your sweetener and your texture secret weapon. It adds richness without requiring you to cook a custard. I prefer Eagle Brand or Carnation — both work beautifully. Do not confuse this with evaporated milk, which is unsweetened and will leave you with a sad, icy mess.
- 1/2 cup salted caramel sauce — You can use store-bought (I’m partial to Trader Joe’s salted caramel sauce or Ghirardelli’s) or make your own. If you’re using homemade, let it cool completely before folding it in. The salt level matters here — you want a caramel that has a noticeable saltiness to balance the sweetness of the condensed milk.
- Optional: 1 teaspoon vanilla extract — Not strictly necessary, but it rounds out the flavor and makes the caramel taste even richer. I add it about half the time, depending on my mood.
- Optional: Flaky sea salt for topping — A sprinkle of Maldon sea salt right before serving takes this from “really good” to “I can’t stop eating this.” Trust me on this one.
That’s genuinely it. If you have these three (or four) things in your kitchen, you are exactly 10 minutes of active work away from a frozen dessert that tastes like it came from a fancy creamery. No churning, no tempering eggs, no stress.
Equipment Needed
You don’t need much for this creamy no-churn salted caramel ice cream, which is honestly my favorite part. Here’s what you’ll want to have on hand:
- Large mixing bowl — Glass or metal works best. Plastic bowls can sometimes retain odors or grease that prevent cream from whipping properly. I use a stainless steel bowl that I pop in the freezer for 10 minutes before starting — it helps the cream whip up faster.
- Hand mixer or stand mixer — You can technically whip the cream by hand with a whisk, but your arm will hate you by the end. A hand mixer on medium-high speed does the job in about 3 minutes. If you’re using a stand mixer, use the whisk attachment.
- Rubber spatula — For folding the caramel mixture into the whipped cream. A silicone spatula is ideal because it won’t scratch your bowl and it gets every last bit of caramel out of the jar.
- Loaf pan or freezer-safe container — A standard 9×5 inch loaf pan works perfectly. You can also use a wide, shallow container if you want faster freezing. I’ve used a metal loaf pan for years — it conducts cold well and helps the ice cream freeze evenly.
- Plastic wrap or parchment paper — To press directly onto the surface of the ice cream before freezing. This prevents ice crystals from forming on top. Yes, it makes a difference.
- Measuring cups and spoons — For precision, though honestly, this recipe is forgiving enough that you can eyebit the caramel sauce if you’re feeling brave.
If you don’t have a hand mixer, you can use a stand mixer or even a whisk and some determination. I once made this at a friend’s cabin with nothing but a fork and a lot of optimism — it worked, but I wouldn’t recommend it for regular use.
Preparation Method
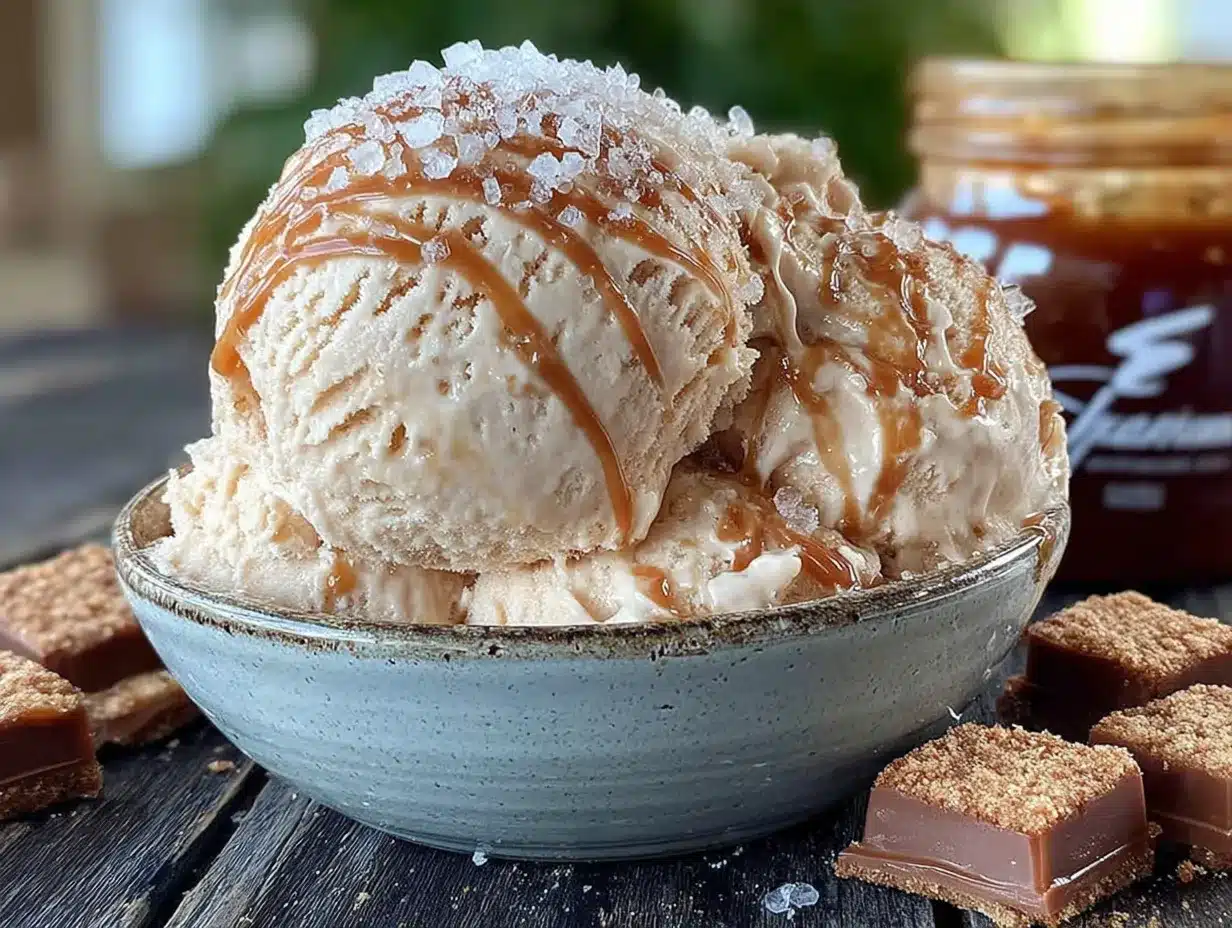
Making this creamy no-churn salted caramel ice cream is almost embarrassingly easy. But follow these steps carefully, and you’ll end up with a texture that rivals anything from a churned batch.
- Chill your bowl and cream — Place your mixing bowl and the beaters from your hand mixer in the freezer for 10-15 minutes before you start. Cold cream whips better and holds its structure longer. While that’s chilling, make sure your heavy cream is refrigerator-cold — not straight-from-the-grocery-bag cold, but properly chilled.
- Whip the cream — Pour the 2 cups of cold heavy cream into your chilled bowl. Beat on medium speed for about 2 minutes, then increase to high speed. You’re looking for stiff peaks — the cream should hold its shape when you lift the beaters, but not look grainy or curdled. This usually takes 3-4 minutes total. Watch carefully because over-whipped cream turns into butter, and nobody wants butter ice cream. Well, actually, that might be interesting, but not today.
- Prepare the caramel mixture — In a separate small bowl, whisk together the entire can of sweetened condensed milk and 1/3 cup of your salted caramel sauce. If you’re using vanilla extract, add it here. The mixture will be thick and a little sticky — that’s exactly right. Taste it at this point. It should be sweet with a noticeable salt kick. If it tastes too sweet, add another tablespoon of caramel sauce to balance it.
- Fold it together — Scoop about a quarter of the whipped cream into the caramel mixture and stir gently to lighten it. This step is important — it makes the caramel mixture easier to fold into the rest of the cream without deflating it. Then pour the caramel mixture back into the bowl with the remaining whipped cream. Using your rubber spatula, fold gently. Cut through the middle, scrape along the bottom, and turn the mixture over itself. Repeat until you see no more white streaks. Be patient here — rushing will deflate all that air you worked so hard to whip in.
- Layer in the pan — Spoon about a third of the mixture into your loaf pan or container. Drizzle a tablespoon of the remaining caramel sauce over the top. Add another third of the ice cream base, another drizzle of caramel, and repeat with the final layer. Use a knife or skewer to gently swirl the caramel through the top layer — don’t overdo it or you’ll lose the distinct ribbons of caramel.
- Cover and freeze — Press a piece of plastic wrap directly onto the surface of the ice cream. This isn’t optional — it prevents ice crystals from forming and keeps the texture creamy. Place the lid on your container or wrap the whole loaf pan tightly with another layer of plastic wrap. Freeze for at least 6 hours, but overnight is better. The texture really develops after a full 12 hours.
- Let it soften before serving — Here’s the trick most people skip: take the ice cream out of the freezer and let it sit at room temperature for 5-10 minutes before scooping. This makes it creamy and scoopable instead of rock-hard. If you’ve ever struggled to scoop homemade ice cream, this is the step you’ve been missing.
One thing I learned the hard way — don’t use a glass loaf pan unless you have a very cold freezer. Glass doesn’t conduct cold as efficiently as metal, and your ice cream will take longer to freeze. Stick with metal or a wide, shallow plastic container if you’re impatient like me.
Cooking Tips & Techniques
After making this creamy no-churn salted caramel ice cream more times than I can count, I’ve picked up a few tricks that make the difference between “pretty good” and “I can’t believe I made this.”
Temperature matters more than you think. I once made the mistake of using cream that had been sitting on the counter while I prepped other things. It whipped okay, but the final texture was slightly grainy. Keep everything as cold as possible — the cream, the bowl, even the beaters if you can fit them in the freezer. On hot summer days, I sometimes put my mixing bowl in an ice bath while I work. It sounds extra, but the results speak for themselves.
Don’t skip the folding technique. I know it’s tempting to just dump everything together and stir, but that deflates the air bubbles that give this ice cream its creamy texture. Fold gently and patiently. Think of it as a meditation exercise with a delicious reward at the end. I ruined my first batch by overmixing — it turned into a dense, icy block that tasted fine but had the texture of frozen buttercream. Not ideal.
Swirl strategically. When you’re adding those caramel ribbons, don’t go crazy with the swirling. You want distinct pockets of gooey caramel, not a uniform tan color. I do about five or six figure-eight motions with a knife, then stop. Less is genuinely more here.
Watch for freezer burn. If you’re storing this for more than a week, the plastic wrap directly on the surface is non-negotiable. I learned this when I got lazy and just put the lid on — within three days, the top layer had developed a thin crust of ice crystals. Still edible, but not as luxurious. Press that wrap down firmly and smooth out any air bubbles.
Make extra caramel sauce. I always save a few extra tablespoons for drizzling over the top when serving. It adds a beautiful presentation and an extra hit of salty-sweet flavor that makes people think you went to culinary school. Your secret is safe with me.
Variations & Adaptations
This creamy no-churn salted caramel ice cream is a fantastic base for experimentation. Here are some twists I’ve tried and loved:
Chocolate Salted Caramel — Add 1/4 cup of unsweetened cocoa powder to the condensed milk mixture before folding. Whisk it until smooth, then proceed as usual. The bitterness of the cocoa balances the sweetness beautifully. I made this for a chocolate-loving friend, and she literally asked for the recipe before finishing her bowl.
Vegan Version — Swap the heavy cream for two cans of full-fat coconut cream (chilled overnight) and use a dairy-free sweetened condensed milk (Natur-a makes a good one). The coconut flavor is subtle and actually complements the caramel nicely. Whip the coconut cream the same way you would dairy cream — it takes a little longer, but it works. My vegan sister-in-law approved this version, which I consider a high honor.
Boozy Salted Caramel — Add 2 tablespoons of bourbon or dark rum to the caramel mixture before folding. The alcohol lowers the freezing point, so the ice cream stays slightly softer and scoopable straight from the freezer. I did this for a grown-up dinner party, and the bourbon version disappeared first. Just don’t add more than 3 tablespoons, or it won’t freeze properly.
Nutty Crunch — Fold in 1/2 cup of toasted pecans or chopped salted peanuts right before transferring to the pan. The crunch against the creamy texture is addictive. Toast the nuts in a dry pan for 3-4 minutes until they smell fragrant — it makes a huge difference in flavor.
Espresso Caramel — Dissolve 1 tablespoon of instant espresso powder in 1 tablespoon of warm water and add it to the caramel mixture. The coffee flavor deepens the caramel notes and adds a grown-up complexity. I make this version when I want something that feels a little more sophisticated than plain caramel.
Feel free to mix and match these ideas — chocolate and espresso together is a revelation, and the nutty version with a bourbon kick is my personal current obsession.
Serving & Storage Suggestions
This creamy no-churn salted caramel ice cream is delicious straight from the freezer, but a few serving touches can make it feel extra special.
Serving temperature — Let it sit at room temperature for 5-10 minutes before scooping. This is the single most important tip for smooth, creamy scoops. I set a timer because I always forget and end up hacking at a frozen block.
Presentation ideas — Serve in chilled bowls or glass cups for a fancy feel. Drizzle extra caramel sauce on top and sprinkle with flaky sea salt. A dollop of whipped cream never hurts, though honestly, this ice cream is rich enough on its own. For a fun twist, serve it in waffle cones with a drizzle of chocolate sauce.
Pairing suggestions — This ice cream is incredible alongside a warm brownie or a slice of apple pie. It also pairs beautifully with fresh berries — the tartness cuts through the richness. For drinks, try it with a strong cup of black coffee or an espresso martini. The bitterness balances the sweetness perfectly.
Storage — Keep the ice cream in an airtight container with plastic wrap pressed directly onto the surface. It will stay good for up to 2 weeks, though I doubt it will last that long. The texture is best within the first week.
Re-freezing — If the ice cream melts slightly, don’t re-freeze it. The texture will become icy and grainy. Instead, use the melted ice cream as a milkshake base or pour it over pancakes. Waste not, want not.
Flavor development — Interestingly, the caramel flavor deepens after a day or two in the freezer. I actually prefer this ice cream on day two — the flavors meld together and the texture becomes even creamier. If you can resist eating it all on day one, you’ll be rewarded.
Nutritional Information & Benefits
Let’s be honest — this creamy no-churn salted caramel ice cream is a treat, not a health food. But knowing what’s in it can help you enjoy it mindfully.
Estimated per serving (1/2 cup): Calories: 380 | Fat: 24g | Carbohydrates: 38g | Protein: 5g | Sugar: 34g | Sodium: 180mg
Key ingredients and their benefits: The heavy cream provides calcium and vitamin A, which support bone health and immune function. The sweetened condensed milk adds protein and calcium, though it’s also the main source of sugar here. The salted caramel sauce, when made with real caramel, contains small amounts of iron and potassium.
Dietary considerations: This recipe is naturally gluten-free and contains no eggs, which is great for those with egg allergies. It is not dairy-free, vegan, or low-sugar. If you’re watching your sugar intake, consider the vegan variation with coconut cream and a sugar-free caramel sauce.
Potential allergens: Contains dairy. If you’re using store-bought caramel sauce, check the label for potential allergens like soy or wheat (some brands use wheat-based thickeners).
My personal take: I believe in enjoying treats in moderation. This ice cream is made with real ingredients — no artificial flavors, no preservatives, no weird chemicals. That counts for something. A scoop after a long day feels like a small, earned luxury. And honestly, the joy it brings is worth every calorie.
Conclusion
This creamy no-churn salted caramel ice cream has become my go-to summer dessert, my emergency party contribution, and my secret weapon for impressing people who think homemade ice cream requires a culinary degree. It’s proof that sometimes the simplest things are the most satisfying.
I love that this recipe doesn’t demand perfection. You can use store-bought caramel or make your own. You can add mix-ins or keep it pure. You can serve it in a fancy glass or eat it straight from the container at 11 PM (no judgment here). It adapts to your mood, your schedule, and your pantry.
If you make this recipe — and I really hope you do — I’d love to hear about it. Did you add chocolate? Bourbon? Did your roommate get caught with a spoon in the freezer? Drop a comment below and let me know how it turned out. And if you have a variation I haven’t tried, please share it. I’m always looking for my next obsession.
Now go make some ice cream. Your future self will thank you.
Frequently Asked Questions
Can I use half-and-half instead of heavy cream?
I don’t recommend it. Half-and-half has too little fat to whip into stiff peaks, which means your ice cream will be icy and thin instead of creamy and rich. Stick with heavy cream for the best texture. If you’re in a pinch, you can use full-fat coconut cream for a dairy-free option.
How long does this ice cream need to freeze?
At least 6 hours, but overnight (12 hours) is ideal. The longer it freezes, the better the texture develops. If you’re in a hurry, use a wide, shallow container to speed up freezing time. Just don’t try to rush it — I’ve made that mistake, and the result was a soft, slushy mess.
Why is my ice cream icy instead of creamy?
This usually happens for one of three reasons: you over-whipped the cream (it turned buttery), you didn’t press plastic wrap onto the surface before freezing (ice crystals formed), or you used a container that wasn’t airtight. Next time, focus on gentle folding and proper covering. Also, make sure your freezer is cold enough — ideally 0°F (-18°C) or below.
Can I make this without a hand mixer?
Absolutely, but be prepared for an arm workout. You can whip the cream by hand with a whisk, but it will take 5-8 minutes of vigorous whisking. Alternatively, you can use a stand mixer with the whisk attachment. If you’re really in a bind, a jar with a tight lid and some vigorous shaking can work — though I’ve never tried it myself.
How long will this ice cream keep in the freezer?
Properly stored (with plastic wrap pressed onto the surface and an airtight lid), this ice cream stays good for up to 2 weeks. The texture is best within the first week. After that, it may develop some ice crystals, but it’s still perfectly safe to eat. If it gets too hard, let it sit at room temperature for 10-15 minutes before scooping.
Pin This Recipe!
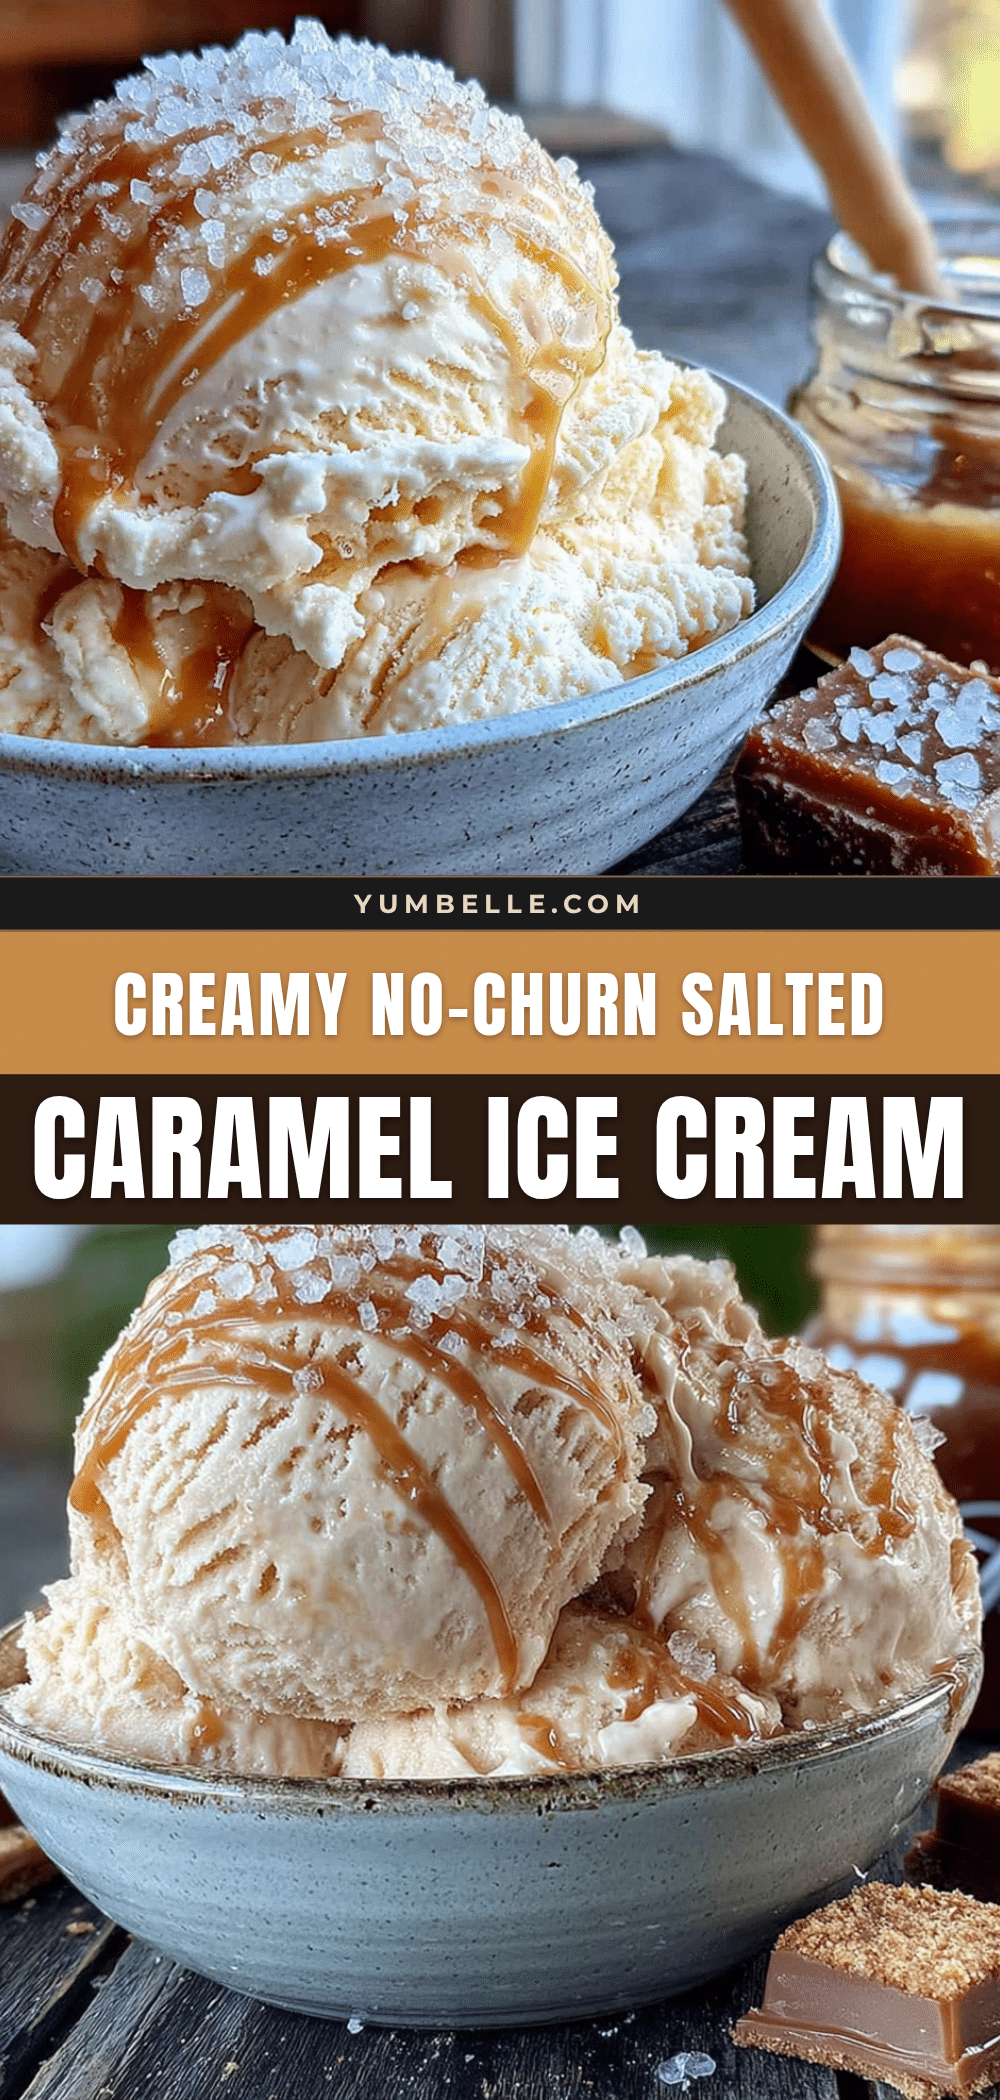
Creamy No-Churn Salted Caramel Ice Cream: Easy 3-Ingredient Recipe
This creamy no-churn salted caramel ice cream requires only three ingredients and no ice cream maker. It’s a foolproof, velvety dessert that rivals fancy creamery versions, perfect for summer heatwaves or any sweet craving.
- Prep Time: 10 minutes
- Cook Time: 0 minutes
- Total Time: 6 hours 10 minutes (includes freezing)
- Yield: 8 servings 1x
- Category: Dessert
- Cuisine: American
Ingredients
- 2 cups heavy cream (heavy whipping cream, at least 36% milk fat)
- 1 can (14 ounces) sweetened condensed milk
- 1/2 cup salted caramel sauce
- 1 teaspoon vanilla extract (optional)
- Flaky sea salt for topping (optional)
Instructions
- Chill your mixing bowl and beaters in the freezer for 10-15 minutes. Ensure heavy cream is refrigerator-cold.
- Pour 2 cups cold heavy cream into the chilled bowl. Beat on medium speed for 2 minutes, then increase to high speed until stiff peaks form (3-4 minutes total). Do not over-whip.
- In a separate small bowl, whisk together the entire can of sweetened condensed milk and 1/3 cup salted caramel sauce. Add vanilla extract if using.
- Scoop about a quarter of the whipped cream into the caramel mixture and stir gently to lighten. Then pour the caramel mixture back into the remaining whipped cream and fold gently with a rubber spatula until no white streaks remain.
- Spoon about a third of the mixture into a loaf pan or freezer-safe container. Drizzle 1 tablespoon of remaining caramel sauce over the top. Repeat layers, then gently swirl the top layer with a knife or skewer.
- Press plastic wrap directly onto the surface of the ice cream to prevent ice crystals. Cover with lid or additional plastic wrap. Freeze for at least 6 hours, preferably overnight (12 hours).
- Before serving, let the ice cream sit at room temperature for 5-10 minutes to soften for easy scooping.
Notes
Keep everything as cold as possible for best texture. Don’t over-whip the cream or overmix when folding. Press plastic wrap directly onto the surface to prevent ice crystals. Let soften before serving. Flavor deepens after a day or two in the freezer.
Nutrition
- Serving Size: 1/2 cup
- Calories: 380
- Sugar: 34
- Sodium: 180
- Fat: 24
- Saturated Fat: 15
- Carbohydrates: 38
- Protein: 5
Keywords: no-churn ice cream, salted caramel, easy ice cream, 3-ingredient ice cream, homemade ice cream, no ice cream maker


