Love this? Save it for later!
Share the inspiration with your friends
I used to think making gummies at home was one of those projects that sounded nice in theory but would end up a sticky, frustrating mess in practice. You know the feeling—you see a gorgeous photo on Pinterest, buy all the ingredients, and then spend an afternoon scrubbing gelatin off your counter while questioning your life choices. That was me, three Septembers ago, when my youngest started kindergarten and brought home what I can only describe as the plague disguised as a sniffle.
There used to be a little natural foods shop downtown called Bramble & Vine that made these incredible elderberry gummies. They were tart and sweet, with just enough honey to make you forget you were eating something good for you. When they closed their doors last spring—a casualty of rising rent and a landlord who wanted to open another vape shop—I genuinely panicked. I mean, I had stockpiled their gummies in my freezer, but that only lasts so long.
After seven tries—seven!—I finally got it. The first batch was a rubbery blob that bounced when I dropped it. The second tasted like cough syrup mixed with regret. But batch number four? That was the turning point. I figured out the trick to keeping the immune-boosting power of elderberries intact without the gummies turning into a science experiment. Now, these Homemade Elderberry Immune Gummies are my secret weapon every back-to-school season, and honestly, they work better than anything I ever bought. Maybe you’ve been there—watching your kid wipe their nose on their sleeve for the third time in an hour and thinking, “There has to be a better way.” There is, and it starts with a saucepan and a silicone mold.
Why You’ll Love This Recipe
I’ve tested this recipe more times than I care to count, and I can tell you with confidence: these gummies are the real deal. Here’s why they’ve earned a permanent spot in my kitchen—and why they’ll earn one in yours, too.
- Quick & Easy: From start to finish, these come together in about 20 minutes of active time. The hardest part is waiting for them to set in the fridge, which is really just an excuse to tidy the kitchen.
- Simple Ingredients: No weird additives or things you need a chemistry degree to pronounce. Dried elderberries, honey, gelatin, and a few pantry staples—that’s it. You probably already have everything except the elderberries, which you can find online or at a health food store.
- Perfect for Back-to-School Season: Let’s face it, the classroom is basically a petri dish. Having these on hand means you’re giving your family a daily boost without the sugar crash of store-bought gummies.
- Crowd-Pleaser: My kids actually ask for these. They think they’re getting a treat, and I know they’re getting immune support. It’s the parenting win I didn’t know I needed.
- Unbelievably Delicious: The tartness of the elderberries balances perfectly with the honey. They taste like a fancy candy, not like medicine.
What makes this recipe different from every other one I tried? It’s the technique. Most recipes tell you to just simmer the elderberries and add gelatin, but that destroys the beneficial compounds. I developed a method that keeps the immune-boosting properties intact while still getting that perfect, bouncy gummy texture. It’s not just another version—it’s the version that actually works.
This recipe is the kind that makes you feel like you’ve got your act together, even on chaotic mornings. It’s comfort food for the immune system—soothing, effective, and made with love.
What Ingredients You Will Need
This recipe uses simple, wholesome ingredients that work together to create a powerful immune-boosting snack. The beauty is in the simplicity—no obscure superfood powders or expensive extracts.
- Dried elderberries, ½ cup (about 60g) — These are the star of the show. I recommend Frontier Co-op for consistent quality, but any food-grade dried elderberries will work. Look for deep purple, shriveled berries that smell slightly sweet and earthy.
- Water, 2 cups (480ml) — Filtered is best, but tap water works fine. We’re making a concentrated elderberry syrup, so the water quality matters more than you’d think.
- Raw honey, ¼ cup (85g) — This adds natural sweetness and its own immune-supporting properties. Don’t use honey for infants under one year old—swap in maple syrup or agave instead.
- Gelatin powder, 3 tablespoons (about 28g) — I’ve tested this with Great Lakes and NOW Foods brands, and both work beautifully. Make sure it’s unflavored. For a vegan option, use agar agar powder, though the texture will be firmer and less bouncy.
- Lemon juice, 2 tablespoons (30ml) — Fresh squeezed is best. The acidity helps preserve the gummies and brightens the flavor. Plus, vitamin C helps with iron absorption.
- Optional: Vitamin C powder, 1 teaspoon (optional, adds extra immune boost) — I use NutriBiotic brand. It’s tasteless and dissolves completely.
- Optional: Ginger powder, ½ teaspoon — Adds warmth and anti-inflammatory benefits. My kids don’t notice it, but I love the subtle kick.
For the syrup base, you’ll want to use a fine-mesh strainer or cheesecloth to strain out the elderberry solids. I’ve learned this the hard way—those little seeds are not fun to bite into.
If you’re making these for a school lunchbox, consider using silicone molds in fun shapes. I have a set of bear-shaped molds that my kids go crazy for. The gummies pop right out and look like the expensive store-bought ones, except I know exactly what’s in them.
Equipment Needed
You don’t need a professional kitchen to make these gummies, but having the right tools makes the process smoother. Here’s what I use every time:
- Medium saucepan — A 2-quart pot works perfectly. I use my old stainless steel one because it heats evenly and doesn’t react with the acidic lemon juice.
- Fine-mesh strainer or cheesecloth — Essential for straining out the elderberry solids. I prefer a fine-mesh strainer because it’s easier to clean, but cheesecloth gives a slightly clearer syrup.
- Silicone gummy molds — These are non-negotiable for getting that perfect gummy shape. I got a set of four on Amazon for under ten dollars, and they’ve lasted through dozens of batches. If you don’t have molds, you can pour the mixture into a small glass dish and cut it into squares once set.
- Small bowl — For blooming the gelatin. Use a glass or ceramic bowl, not metal, as metal can sometimes react with the gelatin.
- Whisk — A small whisk helps incorporate the gelatin without lumps. A fork works in a pinch, but you’ll have to whisk faster.
- Dropper or small measuring cup with spout — For filling the molds without making a mess. I use a glass dropper bottle I repurposed from an old vanilla extract bottle.
- Refrigerator space — The gummies need at least 2-3 hours to set. Clear a shelf beforehand so you’re not playing Tetris with your leftovers.
One tip: if you’re using new silicone molds, wash them with hot soapy water first to remove any manufacturing residue. Trust me on this—I learned when my first batch tasted faintly of plastic.
Preparation Method
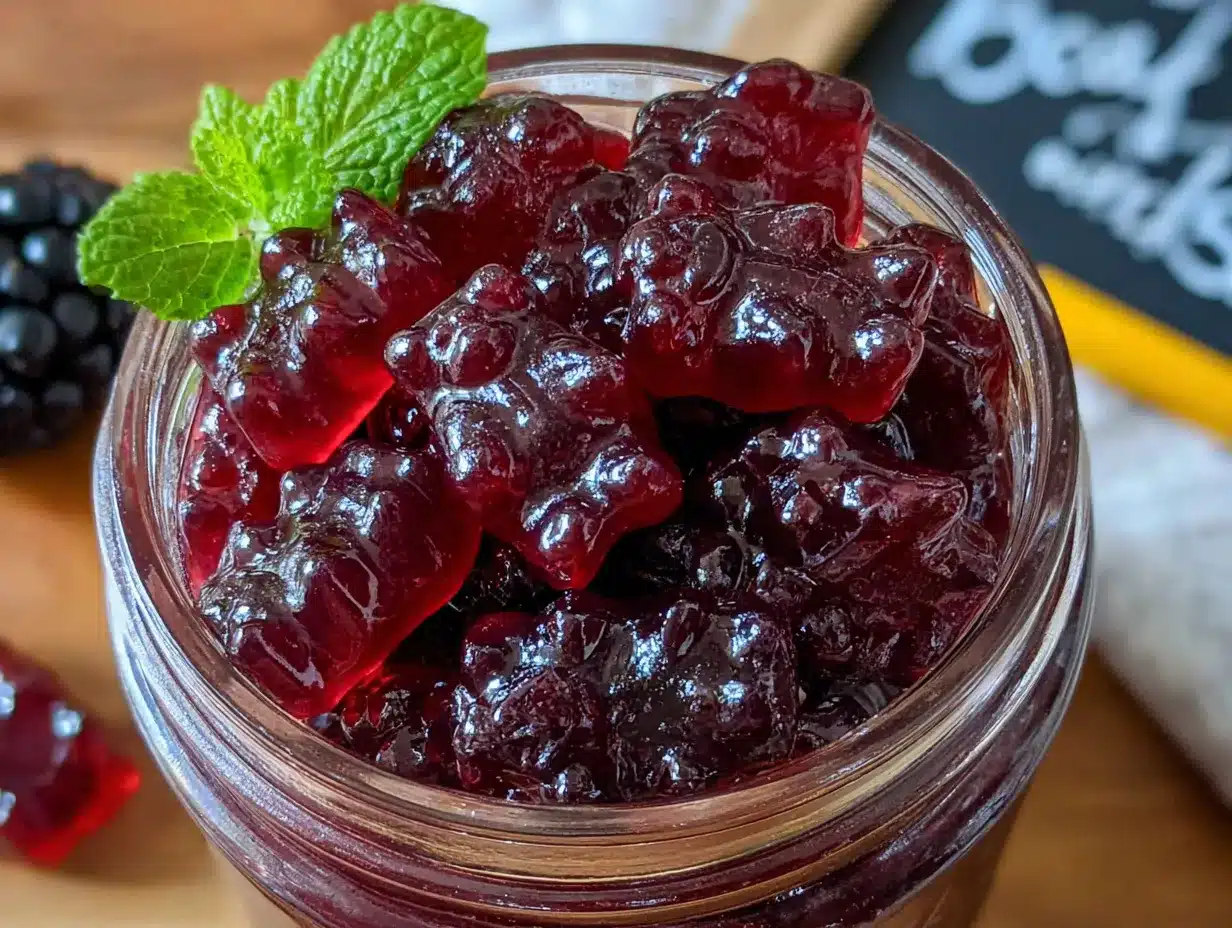
Making these gummies is simpler than you might think, but there are a few key moments where attention to detail makes all the difference. Let me walk you through it step by step.
- Make the elderberry concentrate: Combine the dried elderberries and water in your saucepan. Bring to a boil over medium-high heat, then reduce to a simmer. Let it bubble away for 20-25 minutes, or until the liquid has reduced by about half. You’ll know it’s ready when the kitchen smells like a cozy autumn day and the liquid is a deep, almost-black purple. Don’t let it boil too hard or you’ll lose too much water too quickly.
- Strain the berries: Place your fine-mesh strainer over a heat-safe bowl or large measuring cup. Carefully pour the mixture through the strainer, pressing gently on the berries with the back of a spoon to extract every last drop of that glorious purple syrup. Discard the solids—or compost them if you’re feeling virtuous. You should have about 1 cup (240ml) of concentrated elderberry syrup. Let it cool for 5 minutes.
- Bloom the gelatin: While the syrup cools, pour ¼ cup (60ml) of the warm elderberry syrup into a small bowl. Sprinkle the gelatin powder evenly over the surface. Let it sit for 5 minutes without stirring. This is called “blooming,” and it’s the secret to smooth, lump-free gummies. I once skipped this step because I was in a hurry, and I ended up with grainy gummies that nobody wanted to eat.
- Combine everything: Pour the remaining ¾ cup (180ml) of warm elderberry syrup back into the saucepan. Add the honey, lemon juice, and any optional add-ins (vitamin C powder, ginger). Warm over low heat, stirring gently, until the honey dissolves completely. Don’t let it boil—high heat can destroy the beneficial compounds in the honey and elderberries.
- Incorporate the gelatin: Remove the saucepan from heat. Add the bloomed gelatin mixture and whisk until completely smooth. This should take about 30 seconds of steady whisking. If you see any lumps, keep whisking—they’ll dissolve. The mixture should look like thin, glossy syrup.
- Fill the molds: Using your dropper or measuring cup with spout, carefully fill the silicone molds. Work quickly but steadily—the mixture will start to thicken as it cools. If it gets too thick to pour easily, warm it gently over low heat for a few seconds. Don’t overfill the molds; leave a tiny bit of space at the top for the gummies to settle.
- Set in the fridge: Place the filled molds on a flat tray or plate (this makes them easier to move without spilling). Refrigerate for at least 2-3 hours, or until the gummies are firm to the touch. I usually make these in the evening and let them set overnight—it’s deeply satisfying to wake up to a batch of perfect gummies.
- Pop them out: Once set, gently push the gummies out of the molds. They should release easily. If they stick, try flexing the mold gently or let them sit at room temperature for 5 minutes. Store in an airtight container in the refrigerator.
A quick note: the gummies will be quite soft when first removed from the fridge. Give them about 10 minutes at room temperature before serving for the best texture.
Cooking Tips & Techniques
I’ve made this recipe more times than I can count, and I’ve learned a few things the hard way. Here are my best tips for gummy success:
Don’t skip the blooming step. I know it seems like an extra step, but blooming the gelatin prevents those annoying little white specks that ruin the texture. Trust me, I learned this lesson after a particularly sad batch that looked like it had dandruff.
Temperature matters. If your syrup is too hot when you add the gelatin, it can break down the protein structure and your gummies won’t set properly. If it’s too cold, the gelatin won’t dissolve evenly. Aim for warm but not hot—around 120°F (49°C) is ideal. I test it by dipping a clean finger in; it should feel pleasantly warm, not hot.
Work in batches if you have multiple molds. The mixture starts to thicken as it cools, so if you have a lot of molds to fill, keep the saucepan in a warm water bath or reheat it gently between pours. I learned this one Thanksgiving when I tried to make three batches at once and ended up with a sticky disaster.
Use a non-stick spray for stubborn molds. If your gummies are sticking, lightly spray the molds with coconut oil before filling. This is especially helpful with intricate shapes like dinosaurs or flowers.
Don’t over-simmer the elderberries. The longer you cook them, the more of the beneficial compounds break down. Twenty minutes is the sweet spot—enough to extract the goodness without destroying it. I set a timer every single time because I get distracted easily.
One mistake I still make: Forgetting to label the container. These look exactly like store-bought gummies, and my husband once ate half a batch thinking they were candy. Now I slap a bright label on the jar that says “IMMUNE GUMMIES – DO NOT DEVOUR.”
Variations & Adaptations
One of the best things about this recipe is how flexible it is. Here are some ways I’ve adapted it over the years:
Vegan version: Substitute the gelatin with agar agar powder. Use 2 tablespoons (about 14g) of agar agar, and dissolve it in the warm syrup before adding any other ingredients. The texture will be firmer and slightly less bouncy, but they still taste great. I made these for a friend’s vegan daughter, and she asked for the recipe.
Low-sugar version: Replace the honey with monk fruit sweetener or stevia. Start with half the amount and adjust to taste. I’ve found that monk fruit works better than stevia because it doesn’t have that weird aftertaste. The gummies will be less sticky, so they might not hold together as well—add an extra tablespoon of gelatin to compensate.
Berry blend: Mix in dried hibiscus flowers or rose hips with the elderberries for a different flavor profile. Hibiscus adds a tart, cranberry-like taste and extra vitamin C. I tried this on a whim when I ran out of elderberries, and it was surprisingly good.
Spiced version: Add a cinnamon stick and a few cloves to the simmering elderberries. Strain them out with the berries. This gives the gummies a warming, chai-like flavor that’s perfect for winter. My neighbor swears by this version and makes double batches every December.
Citrus boost: Replace half the water with fresh orange juice. The extra vitamin C is a nice immune boost, and the orange flavor pairs beautifully with the elderberries. Just be aware that the gummies will be slightly softer because of the extra acid.
I’ve also experimented with adding a teaspoon of turmeric for its anti-inflammatory properties. It turns the gummies a slightly muddy orange color, but the flavor is masked well by the honey and lemon. My kids didn’t even notice.
Serving & Storage Suggestions
These gummies are best served cold or at room temperature. I like to pop one in my mouth straight from the fridge on busy mornings—it’s a quick, satisfying way to start the day with a immune boost.
Serving ideas:
- Pack 2-3 gummies in a small container for school lunches. They hold up well for a few hours at room temperature, but I wouldn’t leave them out all day.
- Serve them as an after-school snack alongside apple slices and cheese sticks. My kids call them “purple bears” and genuinely get excited.
- Keep a jar on the counter for quick access during cold and flu season. Just remember they need to be refrigerated long-term.
Storage instructions:
- Store in an airtight container in the refrigerator for up to 2 weeks. I use a glass jar with a tight-fitting lid.
- For longer storage, freeze them in a single layer on a baking sheet, then transfer to a freezer bag. They’ll keep for up to 3 months. Thaw in the refrigerator overnight before eating.
- Don’t leave them at room temperature for more than a few hours. The gelatin can start to break down, and they’ll get sticky and soft.
How flavors develop: These gummies actually taste better after a day or two in the fridge. The flavors meld together, and the texture becomes more consistent. I always make a batch on Sunday for the week ahead.
One thing I’ve noticed: if you store them with other strongly flavored foods (like onions or garlic), they can absorb those odors. Keep them in a sealed container away from the onion drawer.
Nutritional Information & Benefits
Here’s the approximate nutritional breakdown for one serving (2 gummies, based on a batch of 40 gummies):
- Calories: 25
- Total Fat: 0g
- Sodium: 5mg
- Total Carbohydrates: 6g
- Sugars: 5g (from honey and elderberries)
- Protein: 1g
- Vitamin C: 2mg (from lemon juice and optional vitamin C powder)
Health benefits of key ingredients:
- Elderberries are packed with antioxidants and flavonoids that support immune function. Studies suggest they can reduce the duration and severity of cold symptoms.
- Honey has natural antibacterial properties and soothes sore throats. Raw honey also contains trace amounts of beneficial enzymes.
- Gelatin is a good source of collagen, which supports joint health, skin elasticity, and gut health. It also helps the gummies set without artificial thickeners.
- Lemon juice provides vitamin C and helps preserve the gummies naturally.
Dietary considerations: These gummies are gluten-free, dairy-free, and nut-free. They contain honey (not suitable for infants under one year) and gelatin (not suitable for vegetarians or vegans without modification).
I’m not a nutritionist, but I feel good about giving these to my family. They’re a far cry from the sugar-laden gummy snacks at the grocery store, and I know exactly what went into them.
Conclusion
These Homemade Elderberry Immune Gummies have become a staple in our household, and I honestly can’t imagine going through another school year without them. They’re simple enough to make on a Sunday afternoon, effective enough to notice a difference during cold season, and delicious enough that my kids actually ask for them. That’s the trifecta right there.
I hope you give this recipe a try—and I hope you make it your own. Maybe you’ll add a pinch of cayenne for an extra kick, or swap in local honey from the farmer’s market. That’s the beauty of homemade food: it bends to your needs and tastes.
I’d love to hear how your batch turns out. Drop a comment below and let me know what variations you tried, or tag me in your photos on social media. There’s nothing quite like seeing a kitchen full of purple gummy molds and knowing you’re doing something good for your family. Happy cooking, and here’s to a healthy school year!
Frequently Asked Questions
Can I use fresh elderberries instead of dried? Yes, but you’ll need to adjust the amount. Use 1 cup of fresh elderberries in place of ½ cup dried. Keep in mind that fresh elderberries have a shorter shelf life and should be cooked thoroughly before using.
My gummies didn’t set. What went wrong? This usually happens if the gelatin wasn’t bloomed properly or the mixture was too hot when added. Make sure your syrup is warm but not hot (around 120°F), and always bloom the gelatin in a small amount of liquid first. If your gummies are still soft after 4 hours in the fridge, you can reheat the mixture and add an extra tablespoon of gelatin.
How many gummies should I eat per day? I recommend 2-3 gummies per day for adults and 1-2 for children. They’re a supplement, not a candy, so treat them as such. Start with a smaller amount and see how your body responds.
Can I use a different sweetener? Absolutely. Maple syrup, agave nectar, or monk fruit sweetener all work well. Keep in mind that different sweeteners have different consistencies, so you may need to adjust the amount of gelatin slightly. Start with the same amount called for in the recipe and adjust to taste.
How long do these gummies last at room temperature? They’re best kept refrigerated, but they’ll hold up for a few hours at room temperature. I wouldn’t leave them out for more than 4-6 hours, especially in warm weather. If you’re packing them for a lunchbox, use an ice pack to keep them cool.
Pin This Recipe!
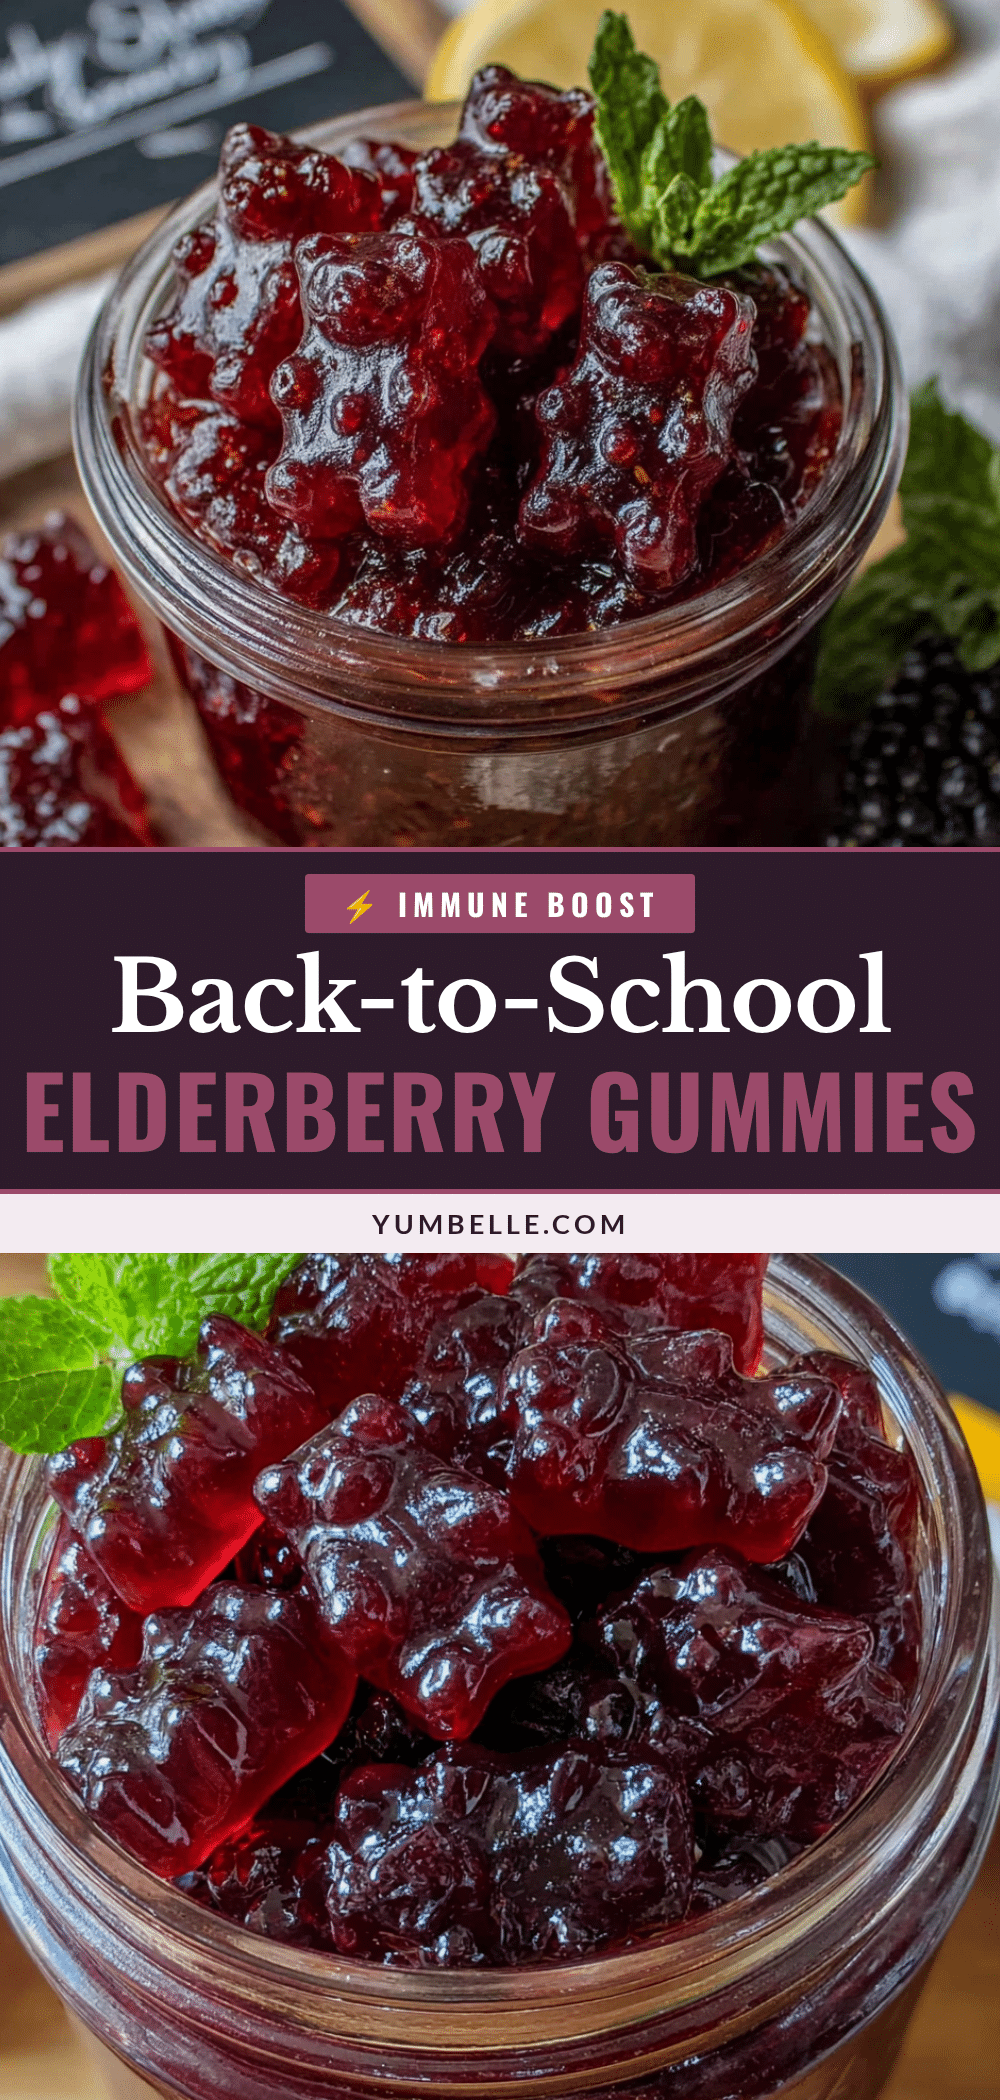
Homemade Elderberry Gummies for Back-to-School Immune Support
These homemade elderberry gummies are a quick and easy immune-boosting snack made with simple ingredients like dried elderberries, honey, and gelatin. Perfect for back-to-school season, they’re a delicious treat that kids love and parents can feel good about.
- Prep Time: 20 minutes
- Cook Time: 25 minutes
- Total Time: 45 minutes (plus 2-3 hours setting time)
- Yield: 40 gummies (about 20 servings of 2 gummies each) 1x
- Category: Snack
- Cuisine: American
Ingredients
- ½ cup (about 60g) dried elderberries
- 2 cups (480ml) water
- ¼ cup (85g) raw honey
- 3 tablespoons (about 28g) unflavored gelatin powder
- 2 tablespoons (30ml) fresh lemon juice
- 1 teaspoon vitamin C powder (optional)
- ½ teaspoon ginger powder (optional)
Instructions
- Make the elderberry concentrate: Combine the dried elderberries and water in a medium saucepan. Bring to a boil over medium-high heat, then reduce to a simmer. Cook for 20-25 minutes, or until the liquid has reduced by about half.
- Strain the berries: Place a fine-mesh strainer over a heat-safe bowl or large measuring cup. Carefully pour the mixture through the strainer, pressing gently on the berries with the back of a spoon to extract all the syrup. Discard the solids. You should have about 1 cup (240ml) of concentrated elderberry syrup. Let it cool for 5 minutes.
- Bloom the gelatin: While the syrup cools, pour ¼ cup (60ml) of the warm elderberry syrup into a small bowl. Sprinkle the gelatin powder evenly over the surface. Let it sit for 5 minutes without stirring.
- Combine everything: Pour the remaining ¾ cup (180ml) of warm elderberry syrup back into the saucepan. Add the honey, lemon juice, and any optional add-ins (vitamin C powder, ginger). Warm over low heat, stirring gently, until the honey dissolves completely. Do not let it boil.
- Incorporate the gelatin: Remove the saucepan from heat. Add the bloomed gelatin mixture and whisk until completely smooth, about 30 seconds.
- Fill the molds: Using a dropper or small measuring cup with a spout, carefully fill silicone gummy molds. Work quickly but steadily as the mixture will thicken as it cools. If it gets too thick, warm it gently over low heat.
- Set in the fridge: Place the filled molds on a flat tray or plate. Refrigerate for at least 2-3 hours, or until the gummies are firm to the touch.
- Pop them out: Once set, gently push the gummies out of the molds. Store in an airtight container in the refrigerator.
Notes
Don’t skip the blooming step for smooth gummies. Keep syrup warm but not hot (around 120°F) when adding gelatin. Gummies taste better after a day or two in the fridge. Store in an airtight container in the refrigerator for up to 2 weeks, or freeze for up to 3 months.
Nutrition
- Serving Size: 2 gummies
- Calories: 25
- Sugar: 5
- Sodium: 5
- Carbohydrates: 6
- Protein: 1
Keywords: elderberry gummies, immune support, homemade gummies, back-to-school, healthy snack, elderberry recipe, gelatin gummies


